Zones
Zones are flexible canvas partitions: create, rename, color, enable, and delete them, plus the Default zone and the Unassigned entry.
A zone is a flexible partition of a scene’s canvas. Each zone owns its own layer stack and its own spatial layout, and it is the switchable unit you light independently. One scene can hold a single zone covering everything, or several zones that each drive a different slice of your hardware with a different effect.
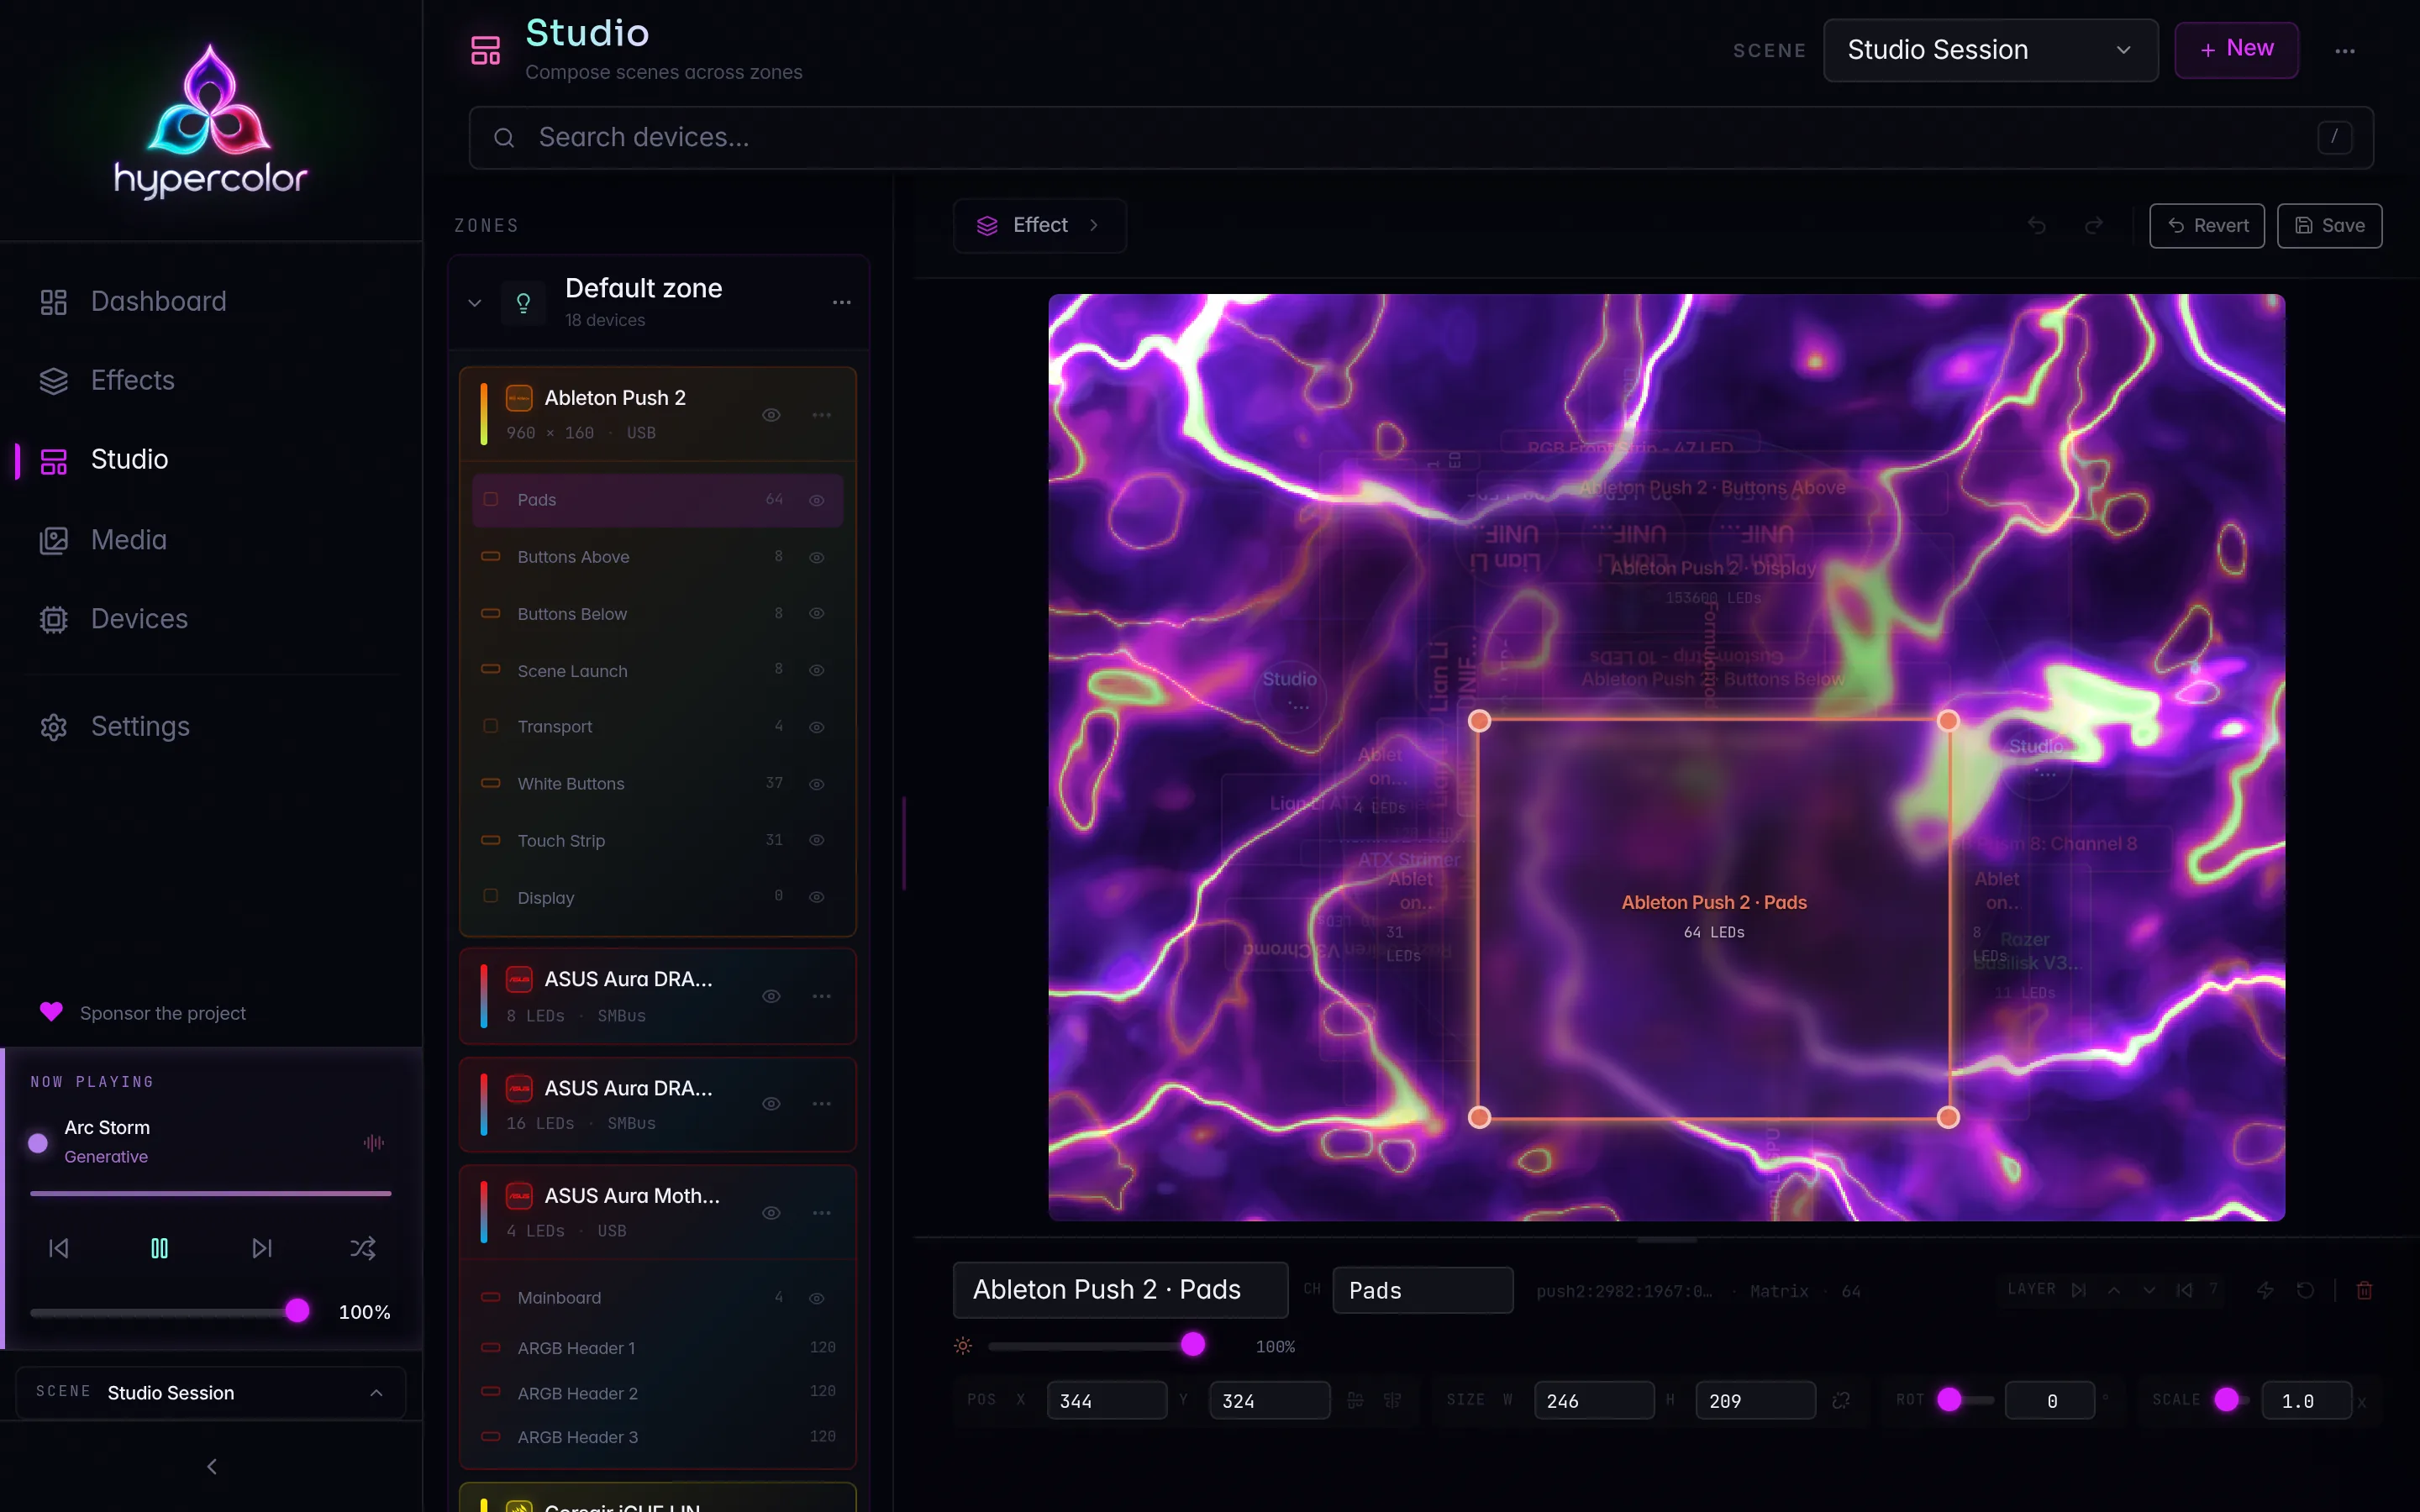
Zones live in the left column of Studio, the zone tree. Every zone shows up as a card there with its devices nested beneath it. This page covers the full zone lifecycle (create, rename, recolor, enable, delete), the permanent Default zone, and the Unassigned entry that catches hardware no zone has claimed.
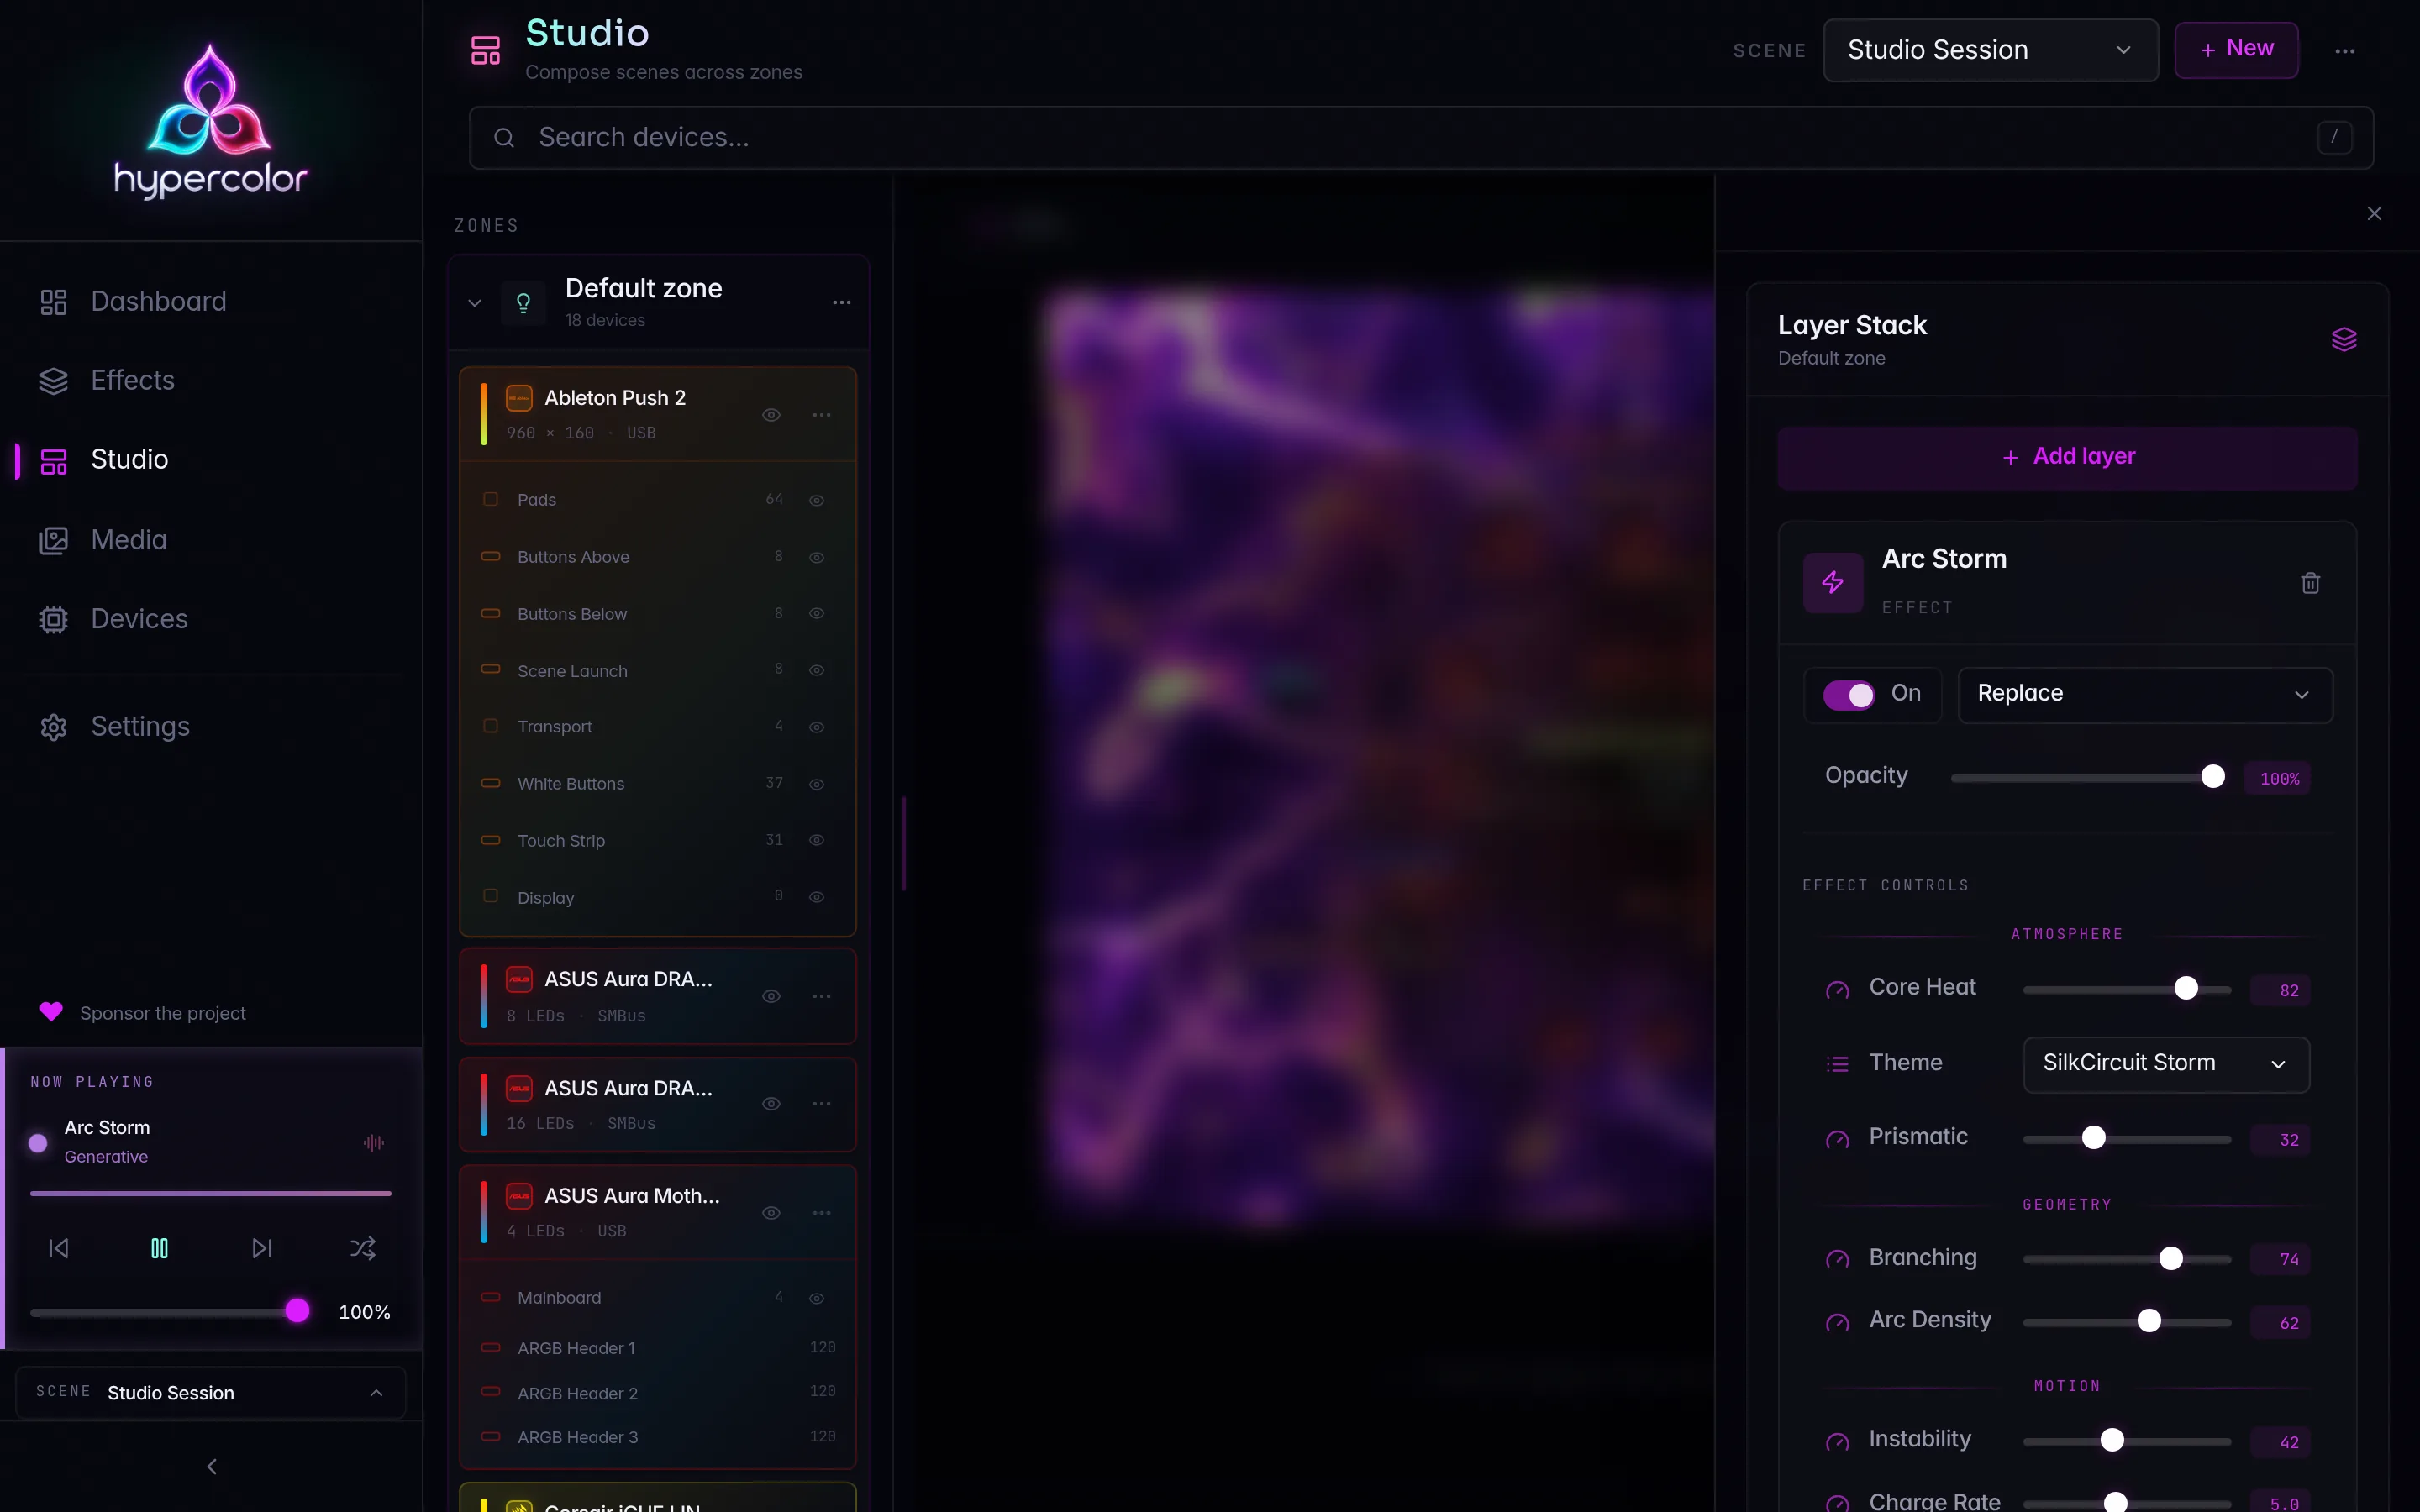
Zones are partitions of a scene, never “rooms.” A scene is a whole-rig config; a zone is a part of that scene. Switching scenes swaps your entire setup, while zones split one scene into independently lit regions.
#Single-zone and multi-zone scenes
Every scene starts with one zone, the Default zone, which covers all your LED hardware. That is a complete, useful setup on its own: pick an effect, and it plays across everything.
A scene becomes multi-zone the moment it holds more than one LED zone. That single fact changes how the zone tree behaves:
- Single-zone. Connected devices that belong to no zone fold directly under the sole zone as one-tap Available rows. There is no separate Unassigned bucket to manage, because there is nowhere ambiguous for a device to land.
- Multi-zone. Each zone lists only its own devices, and a dedicated Unassigned entry appears for hardware that no zone has claimed. This is where output-level assignment and the unassigned-lights policy come into play.
This progressive split keeps the simple case simple. You only meet the Unassigned entry once you actually have multiple zones to assign devices across.
#The Default zone
The Default zone is the Primary zone of a scene, and it is permanent. You can rename it, recolor it, disable it, and move devices in and out of it, but you cannot delete it through the zone controls. Every scene always has exactly one Default zone so there is always a home for your lights.
Until you give it a name, the zone tree shows it as “Default zone” rather than its internal seed label. Rename it and your name takes over immediately.
The Default zone is a real zone at every scale. In a single-zone scene it is just the zone, with no special chrome. You can still open its settings to rename or recolor it.
#Creating a zone
Click + New zone at the bottom of the zone tree. The button expands into an inline name input, no modal. Type a name and press Enter to create the zone; press Escape to cancel.
Zones
  ▸ Default zone        3 devices
  ▸ Desk strip          1 device
  ─────────────────────────────
  + New zone            ← click, type a name, Enter
A blank name is rejected with an error toast, and the input stays open so you can fix it. On success the new zone is selected automatically and a confirmation toast names it. The + New zone control only appears once the daemon reports it is ready to accept zone creation, so on a freshly started daemon it may take a moment to show up.
A new zone starts empty. Add hardware to it from the device assignment flow, then arrange those devices on its layout canvas.
#Zone settings: rename, color, enable
Every zone card has a settings affordance (the ⋯ kebab on the zone header) that reveals the per-zone control cluster. This row is available on every zone, including the Default zone, so a single-zone scene still has a route to rename or recolor its one zone.
Rename. Click Rename to turn the label into an inline input. Press Enter or click away to commit, Escape to cancel. Empty names are ignored rather than saved.
Color. The accent swatch opens a color picker. The color you choose tints the zone’s dot in the tree and the unassigned-lights “Follow” options. It is an identity cue for the zone, not a lighting color, so it never changes what your LEDs display.
Enable / disable. The power toggle turns a zone’s output on or off. A disabled zone dims in the tree and stops driving its devices, but it keeps its layers, layout, and color so you can bring it back exactly as it was.
Per-zone brightness. A zone carries its own brightness multiplier, clamped to 0.0-1.0, on top of global output brightness. Studio has no control for it today; set it over the API with PATCH /api/v1/scene/zones/{zone} and a brightness field. See zone API and concurrency for the route and its revision guard.
#Deleting a zone
Delete is a two-step confirm so a stray click never destroys a zone. Click the trash icon in the settings cluster; the control swaps to a red Delete button alongside a cancel ✕. Click Delete to remove the zone, or ✕ to back out.
Only Custom zones expose a delete control. The Default zone has no delete affordance at all, because every scene must keep one.
Deleting a zone removes its layer stack and its layout for the current scene. The physical devices are untouched, but their assignment to that zone, and any effects layered on it, are gone. The devices return to the Unassigned pool.
#The Unassigned entry
In a multi-zone scene, the Unassigned entry collects any device output that no zone has claimed. It sits below your zones in the tree, marked with a dashed border and a “Hardware in no zone” caption.
Unassigned is not a zone. It has no layer stack and no layout editor of its own. It exists to answer one question: what should hardware do when it belongs to no zone? Selecting it opens the unassigned-lights policy on the Stage instead of a layout editor.
#Unassigned-lights policy
The policy decides how unclaimed outputs behave while the scene is live:
| Option | What it does |
|---|---|
| Turn off | Unclaimed outputs go dark. |
| Hold last colors | They keep whatever they were last showing. |
| Follow a zone | They mirror a zone you choose, so they share that zone’s effect. |
Follow lists one option per LED zone in the scene. Selecting it ties the unclaimed outputs to that zone’s output. The Unassigned entry can never be its own follow target, so only real zones appear in that list.
The policy is editable only when the daemon advertises the scene-unassigned-behavior-write capability. When it does not, the Stage shows the current policy in plain words as a read-only value rather than a picker.
The cleanest fix for unclaimed hardware is usually to assign it. Use the green + on the device’s card under the Unassigned entry, which opens a picker listing every LED zone in the scene. See device assignment for the assignment flow.
#How zone edits stay safe under concurrent changes
Studio shares one active scene across every client, the CLI, and the MCP server. Two people, or you and an agent, can be editing the same scene at once. To keep edits from clobbering each other, every zone mutation carries the scene’s current revision as a precondition.
If the scene changed somewhere else between when you loaded it and when you saved, your edit does not silently overwrite the newer state. Studio reloads the scene, shows a “Scene changed elsewhere — reloaded, try again” toast, and lets you reapply your change against the fresh state. This applies to every zone action on this page: create, rename, color, enable, delete, and the unassigned-lights policy.
The full revision model, REST routes, and stale-retry semantics live in zone API and concurrency.
#Where to go next
- Device assignment puts hardware into your zones and splits outputs across them.
- Layouts arranges each zone’s devices on its own spatial canvas.
- Layers stacks effects, media, and faces on a zone.
- Multi-zone walkthrough builds a two-zone scene end to end.