Scenes
Scenes are whole-rig configurations. Switch, create, rename, and delete them, and learn how the ephemeral default scene and the apply-target fit together.
A scene is your whole rig captured as one configuration: every zone, every layer, every layout, every effect and control. Exactly one scene is active at a time, and switching scenes rewrites the entire rig in one move. The Studio scene selector lives at the trailing edge of the page header and is the headline control of the workspace.
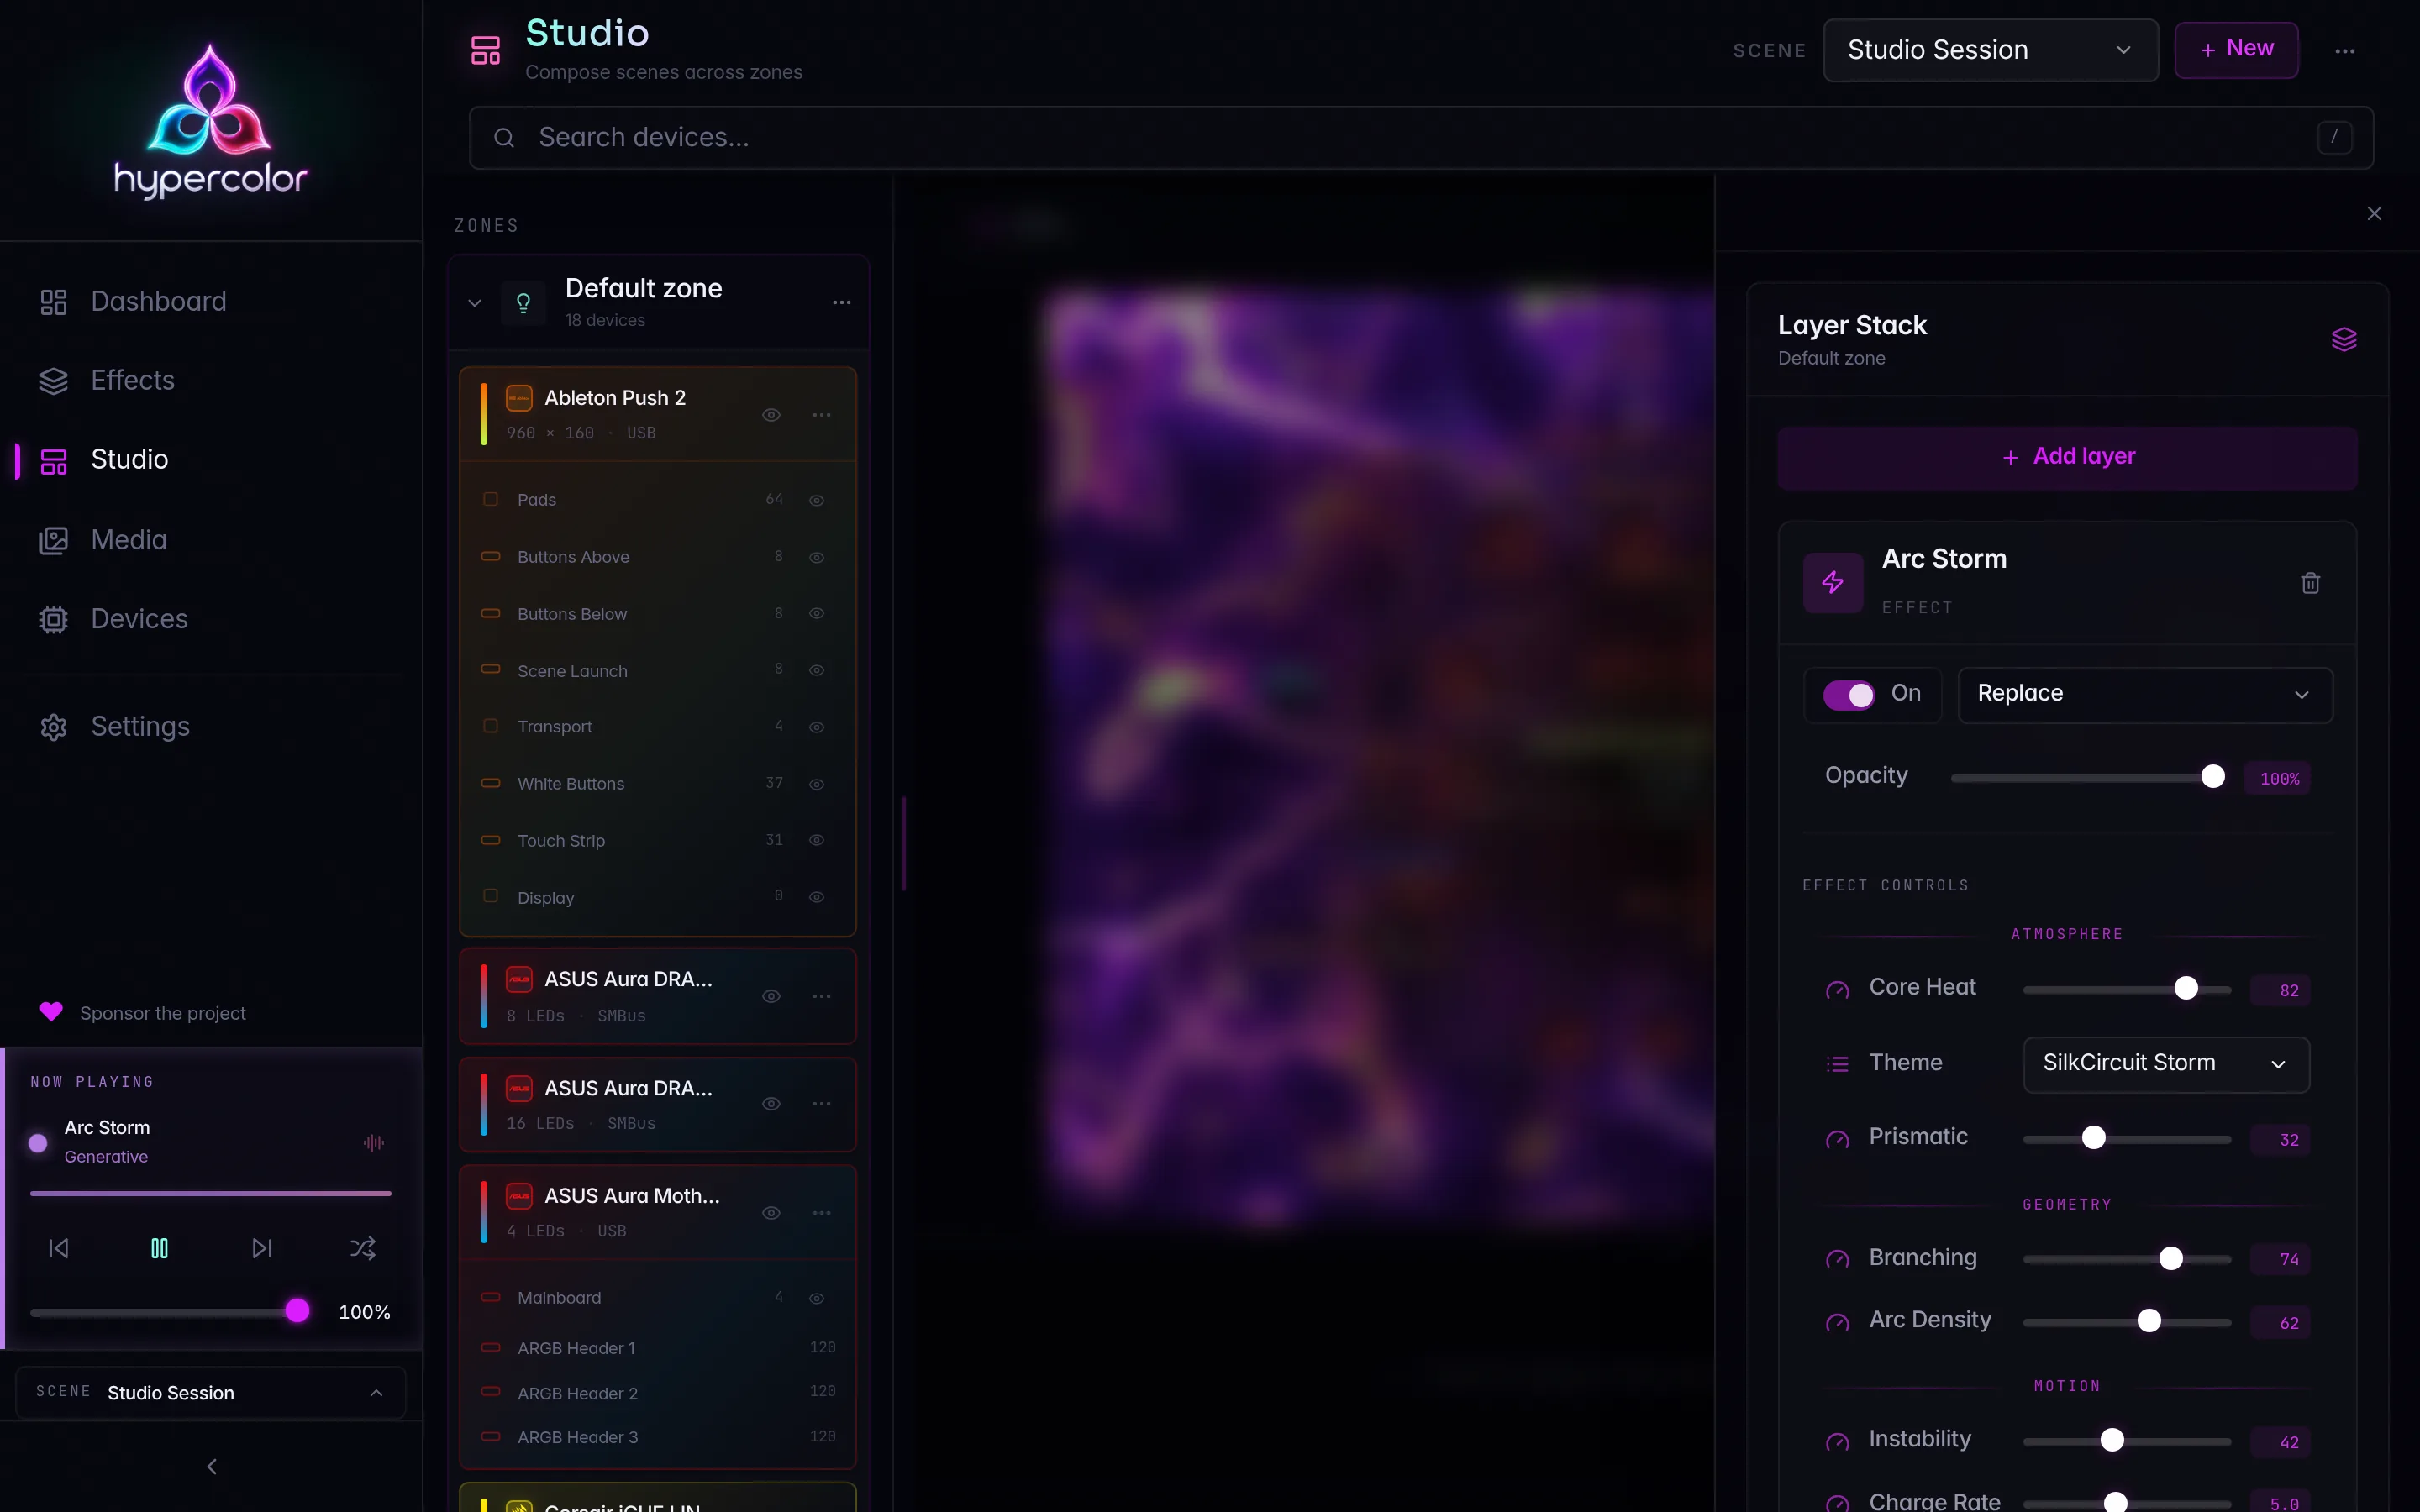
If you want the full mental model first, read the Studio overview. This page covers the scene itself: the full create / rename / delete / switch cycle, the ephemeral default scene you start out in, and how the active scene connects to where effects land.
#What a scene owns
A scene is the top-level object. It owns everything below it:
- The zones that partition your hardware (see Zones).
- Each zone’s layer stack of effects, faces, media, screen capture, and color (see Layers).
- Each zone’s spatial layout, where device outputs are placed on a canvas (see Layouts).
Switching scenes is therefore a whole-rig change, not a per-light tweak. Because the active scene is shared across the entire app, a switch made in Studio, from the dashboard, from another browser tab, or from the CLI lands everywhere at once.
Scenes are whole-rig configurations and zones are flexible partitions of the render canvas. They are not rooms, and Hypercolor uses no smart-home vocabulary. See Vocabulary and naming for the locked terms.
#The scene selector
The selector sits at the right of the Studio header and has three parts:
- A scene picker dropdown naming the scene currently on screen.
- A New button for creating a scene.
- An actions menu (the three-dot overflow) to rename or delete the active scene.
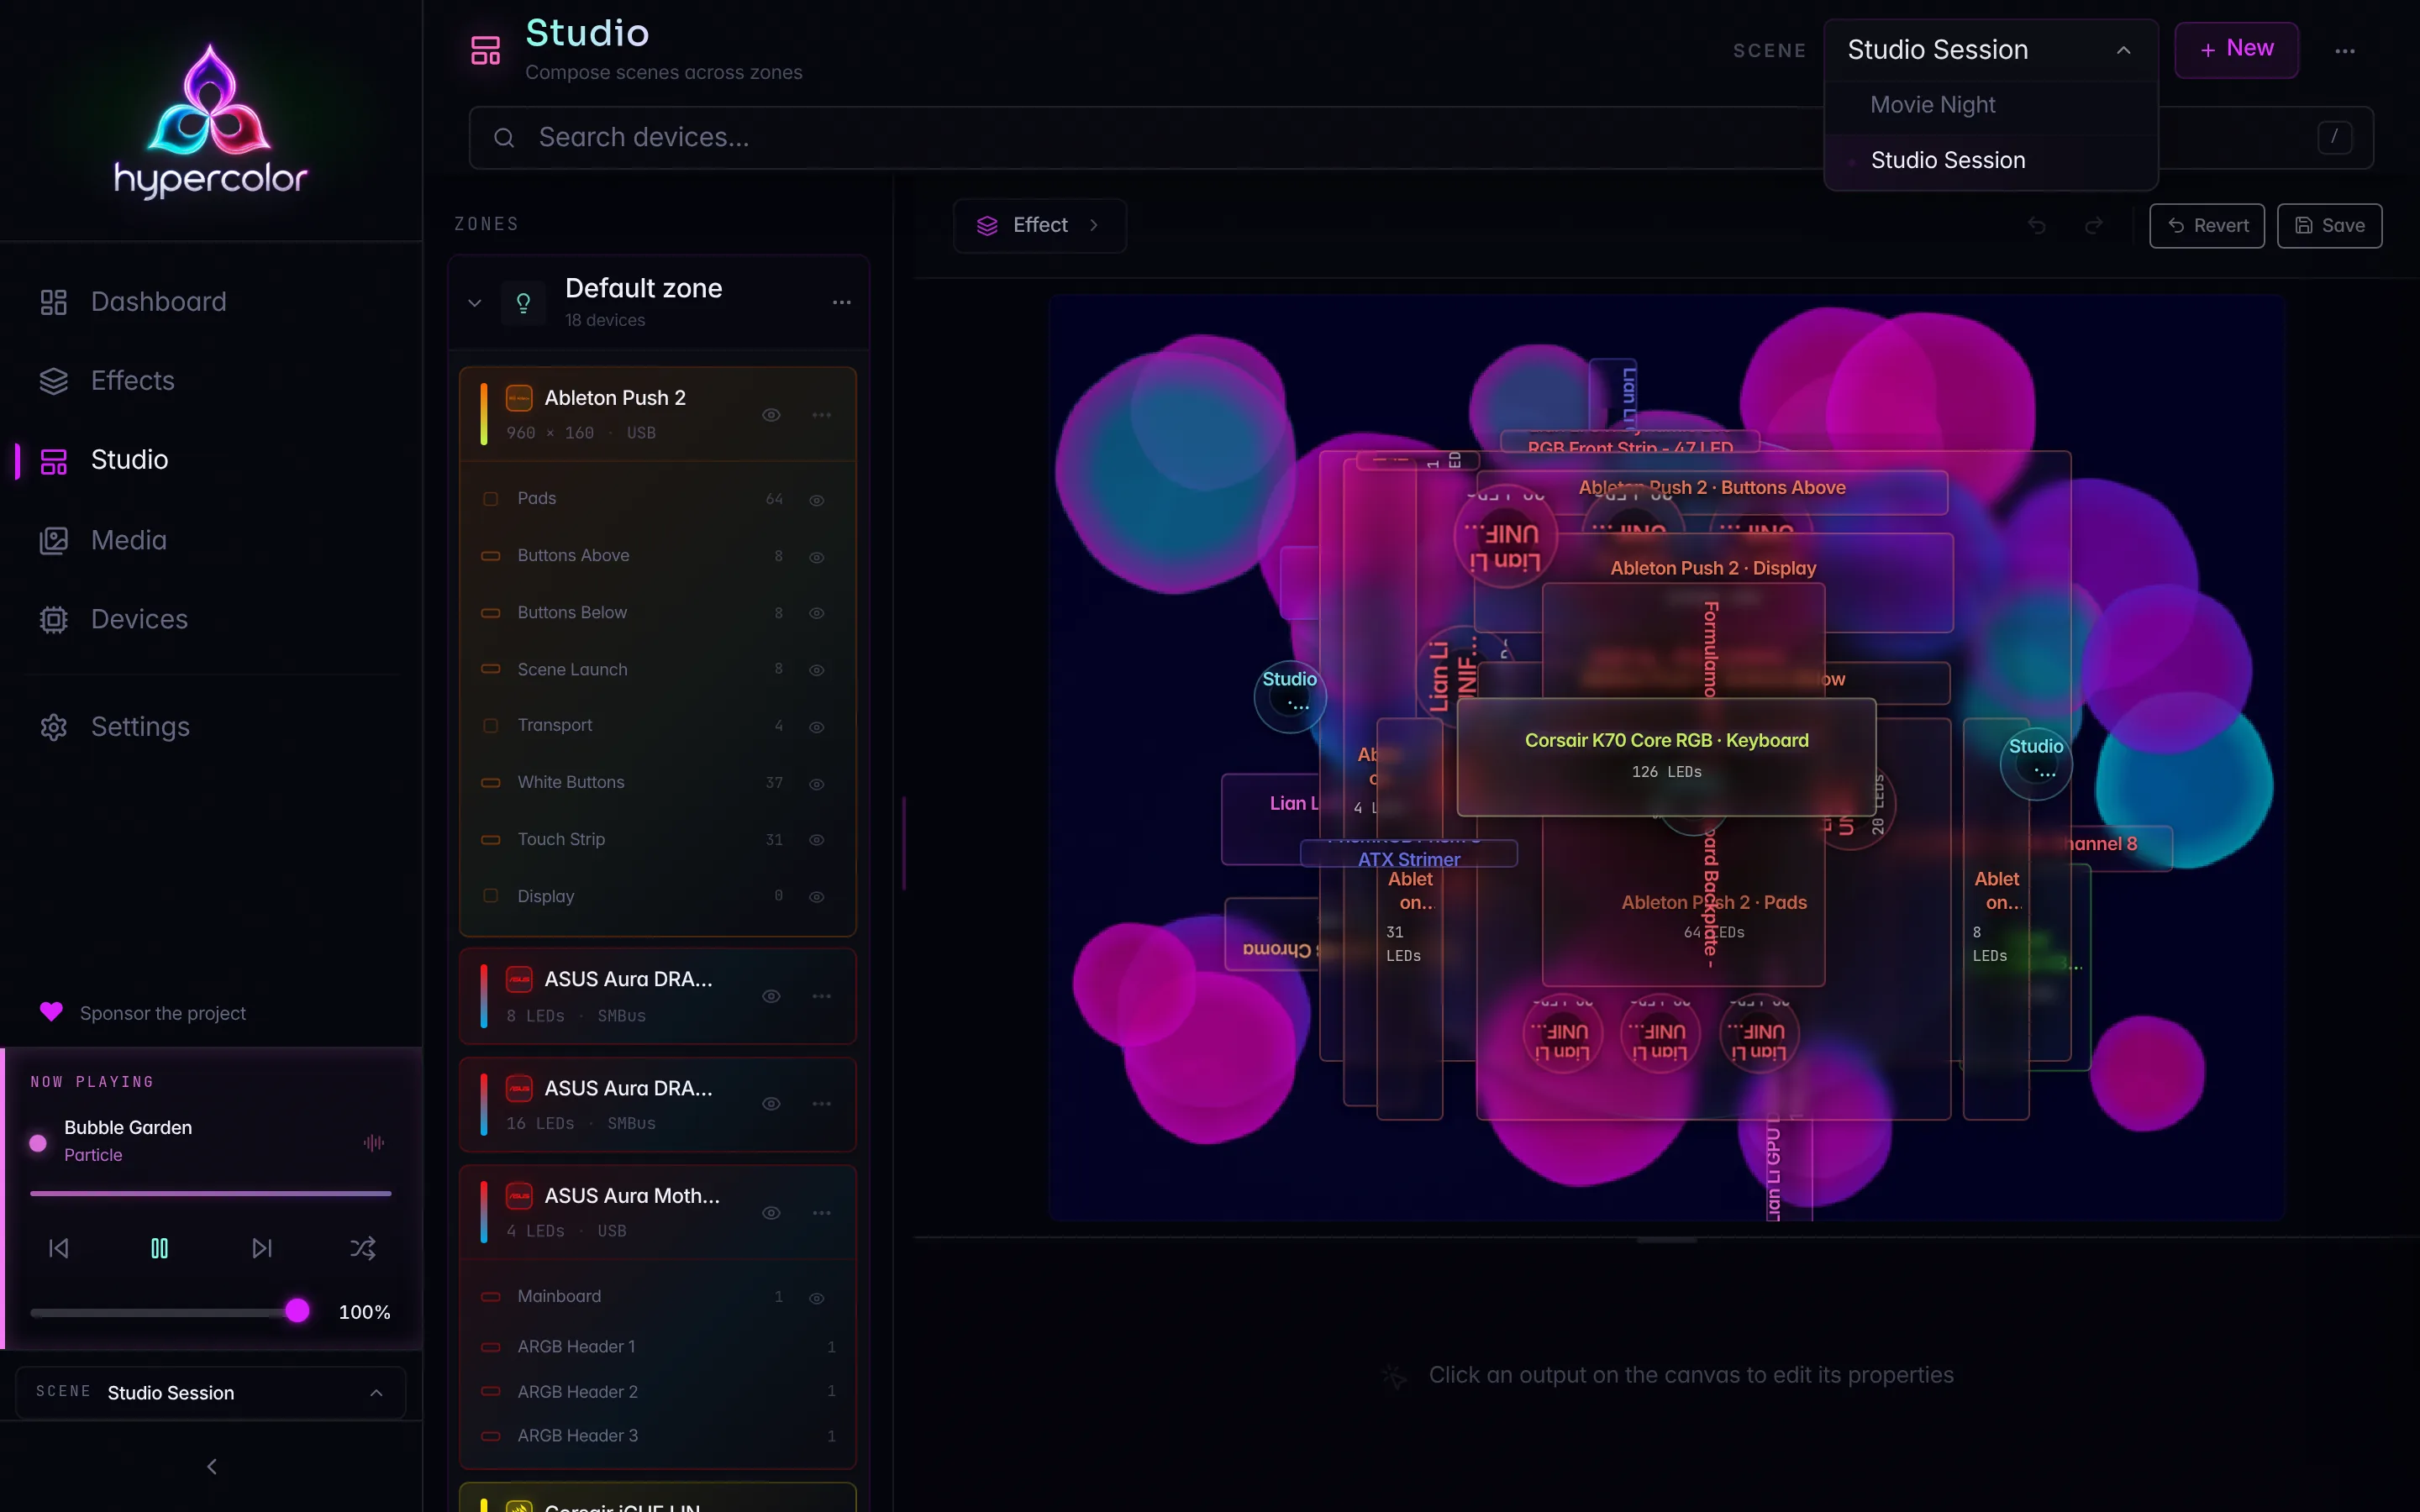
The picker always names what is actually rendering, even on a brand-new install where no scene has been saved yet. That fresh state is the ephemeral default scene, described next.
#The ephemeral default scene
When you first run Hypercolor, you are in the ephemeral default scene. It is the live working state of your rig before you have saved anything, and the daemon never lists it as a saved scene. The scene picker still names it so you always know what is on screen, but the rename and delete actions are hidden for it, because there is nothing persisted to rename or delete.
You leave the default scene the moment you create your first scene. Creating a scene captures the current rig as a saved, named configuration and switches to it.
To return to the default scene later, deactivate the active scene from the scene pill in the dashboard header. Deactivation rebuilds the ephemeral working state, and the picker only flips once the daemon confirms the switch.
Switching back to the default scene is itself a real switch. The scene switcher on the dashboard’s scene pill appears whenever there is somewhere to switch to: two or more saved scenes, or one saved scene while the ephemeral default is the one running, so you can always move between your saved scene and the live default.
#Create a scene
Click New, type a name, and press Enter. The new scene is created, refetched into the picker, and activated immediately, so the rig you have on screen becomes the saved configuration.
A few details worth knowing:
- An empty name is ignored. If you open the input and leave it blank, nothing is created.
- Pressing Escape cancels without creating anything.
- If the scene is created but activation fails for some reason, you keep the new scene and get a toast telling you it could not switch, so the failure is never silent.
#Switch scenes
Pick a different scene from the dropdown. The daemon activates it and the entire rig is rewritten to that configuration.
Activation is deliberately not optimistic. Because switching rewrites every zone wholesale and can fail validation on the daemon side, the picker does not flip to the new scene until the daemon confirms the switch. If activation fails, you get a toast and the picker stays on the scene that is genuinely active.
#Rename a scene
Open the actions menu and choose Rename, edit the name inline, and press Enter. Escape cancels. Renaming to the same name, or to an empty name, is a no-op.
Rename acts on the active scene, so it is offered only when the active scene is a real, saved one. It is never offered for the ephemeral default.
Renaming uses the same whole-document replacement contract as every stored-scene edit. The UI first reads the complete scene, changes only its name, then sends the document back with its revision as If-Match. If another client changes the scene before the rename lands, the daemon rejects the stale write instead of overwriting it.
#Delete a scene
Open the actions menu and choose Delete. Like rename, delete acts on the active scene and is only offered for a real, saved scene, never the default. The row then arms itself and reads “Delete scene? Click again”; a second click removes the scene, and a toast confirms what was deleted.
#Scenes and the apply-target
The scene you are composing is wired to where quick-applied effects land. When you select an LED zone in Studio, that zone becomes the app-wide apply-target, so applying an effect from the dashboard, the sidebar, or the command palette lands in the zone you are working on rather than somewhere unexpected.
The apply-target has three forms:
| Target | What it means |
|---|---|
| Default zone | The scene’s Default LED zone (ApplyTarget::Primary in the Rust enum). This is the fallback whenever no specific zone is selected. |
| A specific zone | Effects land in that one zone. |
| All zones | Effects fan out to every LED zone in the scene. |
A Screen or the synthetic Unassigned entry is never used as an apply-target. Selecting one leaves the current LED-zone target in place, and a target that points at a zone the active scene no longer has falls back to the Default zone, so a quick-apply always has a defined destination. Zones, the Default zone, and the Unassigned entry are covered in detail on the Zones page.
#Where scenes live in the bigger picture
graph TD
    S[Scene, one active, whole-rig] --> Z1[Zone]
    S --> Z2[Zone]
    Z1 --> L1[Layers]
    Z1 --> LO1[Layout]
    Z2 --> L2[Layers]
    Z2 --> LO2[Layout]
For the engine and concurrency story behind scene and zone mutations, see Studio architecture and Zone API and concurrency. For the REST surface itself, see the API reference.