Layouts
Map each zone's devices onto the canvas: drag, resize, and rotate device outputs, then save. No layout means no light.
A layout tells the engine where each light sits on the canvas. The effect paints a 2D canvas, and the spatial sampler reads one pixel position per LED to decide its color. Place an output on the canvas and it picks up whatever the effect paints there. Leave the canvas empty and the effect still renders, but every LED stays dark because nothing is sampling it.
This is the single most common “my effect runs but nothing lights up” cause. If a zone glows in the live preview yet your hardware is black, the fix is almost always here: drag the device’s outputs onto the canvas and hit Save.
In Studio, the layout editor is the Stage for a Light. Select a Light zone in the left tree and the canvas fills the center, with the live effect rendering under the device boxes. There is no Preview/Layout toggle. The Studio Stage is the canonical place to build a zone’s layout.
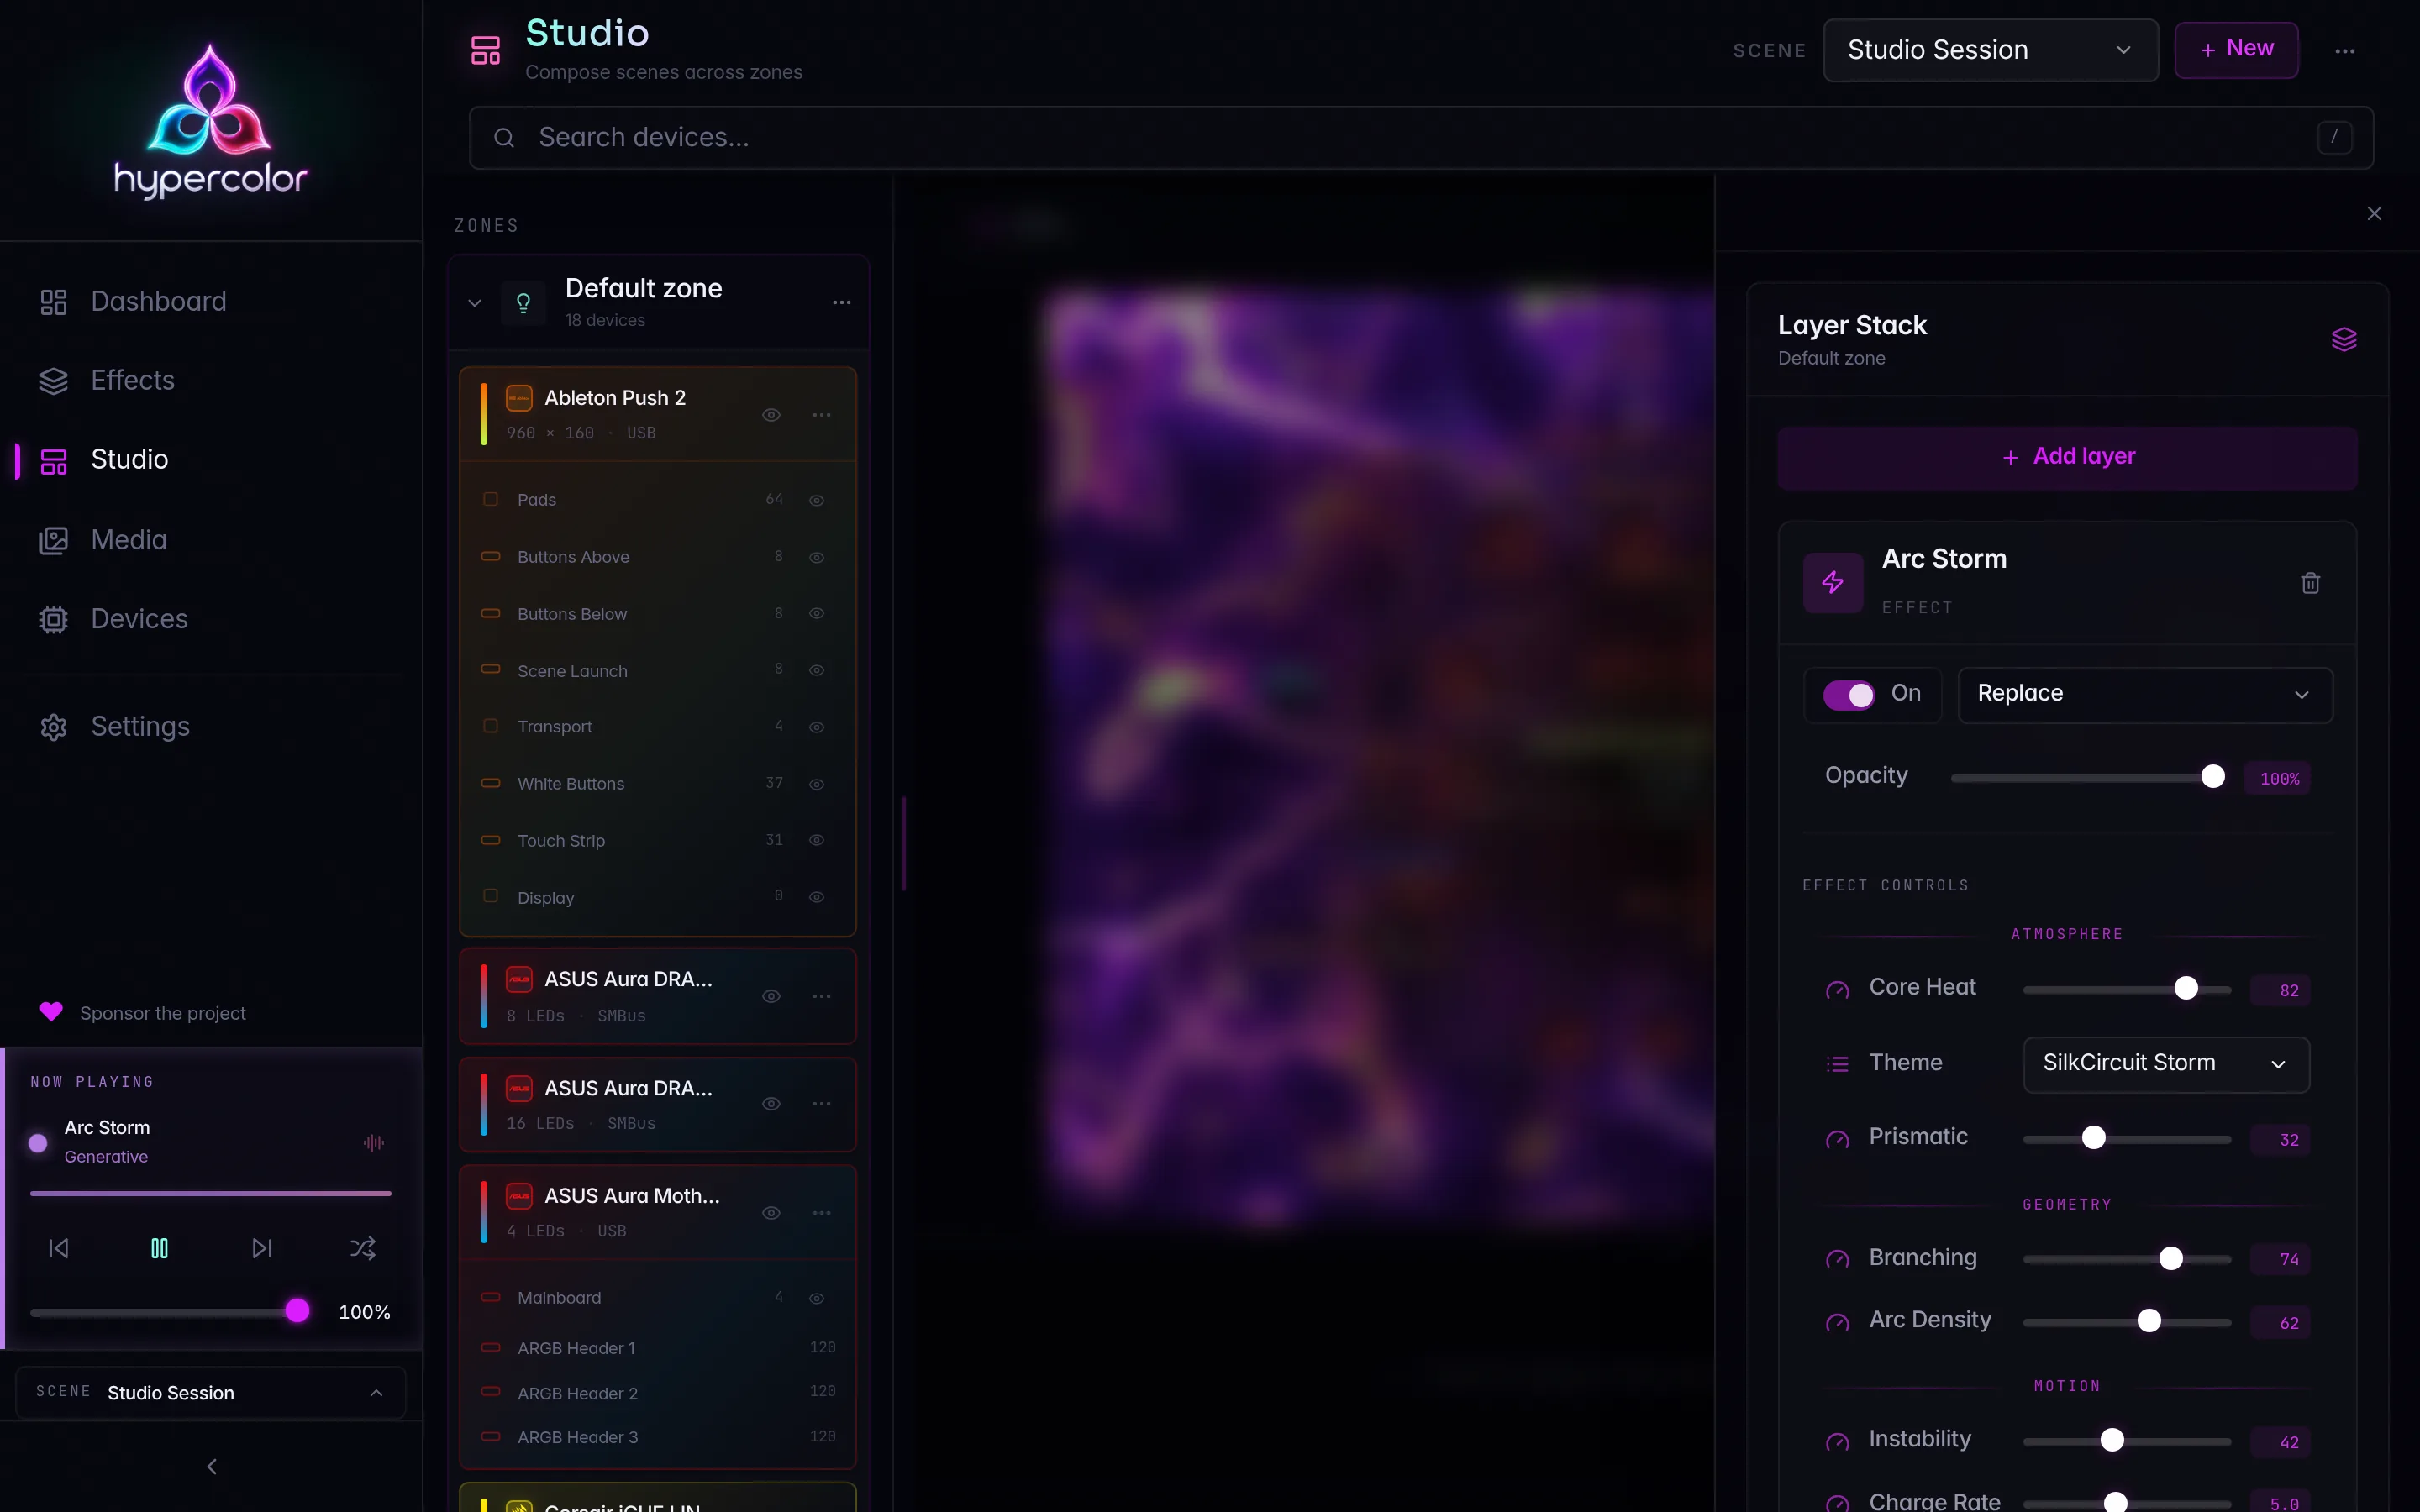
#The model in one picture
A scene has one shared canvas. Each zone partitions it and owns a layout that places its outputs on that canvas.
graph TD
    Scene["Scene (one active)"] --> Zone["Zone (a canvas partition)"]
    Zone --> Layout["Layout: the zone's output placements"]
    Layout --> O1["Output (device segment)"]
    Layout --> O2["Output (device segment)"]
    Layout --> O3["Output (device segment)"]
An output is one addressable run on a device: a fan, a strip segment, a keyboard. The canvas uses normalized coordinates from 0.0 to 1.0, so a layout is resolution-independent: an output centered at x = 0.5 stays centered whatever the canvas pixel size. The scene’s canvas defaults to 640×480 and is tunable daemon-wide via daemon.canvas_width and daemon.canvas_height.
A device output lives in exactly one zone’s layout at a time. Adding it to another zone moves it.
#Placing outputs on the canvas
In Studio, every output assigned to the selected Light zone already appears on its canvas. Use the device-assignment controls (covered in Device assignment) to add a device’s outputs to the zone, and they show up as draggable boxes.
An unattached generic ARGB controller channel does not draw on the canvas until you attach a component (a strip, a fan, an LED area) to it. The channel is just raw wiring until then. Fixed devices like keyboards and AIO coolers always render, because they have meaningful LEDs without any component setup.
#Moving, resizing, rotating
Every box on the canvas is a direct-manipulation handle.
- Drag anywhere on a box to move it. Selected outputs move together.
- Resize by grabbing one of the four corner handles that appear on a selected box. Toggle the aspect-ratio link in the properties panel to keep width and height proportional while you drag.
- Rotate with the rotation slider in the properties panel below the canvas, or type an exact degree value.
- Scale uniformly with the scale slider, a quick way to grow or shrink without touching width and height directly.
Ring and arc shapes always resize as perfect circles regardless of the canvas aspect ratio, so a fan ring never squashes into an ellipse while you drag.
The drag and resize path is built for a smooth 60 Hz feel: while you drag, positions paint straight to the canvas and the LED preview updates live, and the change is committed once when you release the pointer. You never see a stutter mid-drag even on a dense canvas.
#The properties panel
Select a single output and the panel below the canvas opens its full property set.
| Control | What it does |
|---|---|
| Name + Ch | Rename the output; set its channel label. A reset arrow restores the default name. |
| Pos X / Y | Exact pixel position of the output’s center, plus center-horizontally and center-vertically buttons. |
| Size W / H | Exact pixel size, with an aspect-ratio link toggle. |
| Rot | Rotation in degrees, slider plus numeric entry. |
| Scale | Uniform scale from 0.5× to 3×. |
| Layer | Bring to front, send to back, or nudge one step in stacking order. |
| Brightness | Per-output brightness; a multi-select shows “Mixed” until you collapse them to one value. |
The panel also carries quick actions: identify (flash the physical output so you can find it), reset to defaults (recenter, unrotate, restore default size), and remove (pull the output off this layout). All pixel values convert against the canvas dimensions, so they read in real pixels even though the layout stores normalized coordinates.
#Selecting and compound selection
Click an output to select it. Shift-click adds or removes outputs from a multi-selection without starting a drag. Click empty canvas to clear the selection.
Compound selection lets you treat a whole device, or a wired component, as one unit:
- Double-click descends one level: from the whole canvas into a device, then into a component slot.
- Escape ascends one level back out.
- A breadcrumb in the corner shows your current depth.
When more than one output is selected, the properties panel switches to group controls for aligning, distributing, and transforming the whole set together.
#Undo, save, and revert
The Stage header shows Saved, Unsaved layout, or Saving… alongside the editing controls.
- Undo / Redo follows one chronological history of assignments and canvas edits. Use the toolbar or
Ctrl+Z/Ctrl+Shift+Z(alsoCtrl+Yfor redo). Shortcuts are suppressed while you type in a text field. Assignment undo and redo save automatically; placement undo and redo update the local layout. - Save persists the selected zone’s placement edits. Assigning, moving, or removing devices saves automatically and does not require this button.
- Revert restores the selected zone’s saved placement. It does not undo device assignments.
Canvas edits preview immediately on the hardware, but only Save persists them. Switching zones preserves each zone’s draft while Studio remains open. Leaving Studio, reloading the page, or switching scenes discards unsaved drafts and resets the undo history. Save each edited zone before leaving.
If someone changes the same scene from another client or the CLI while you are editing, a save can come back stale. Studio reloads the scene and asks you to try again rather than clobbering the other change. Your in-flight edits to placement survive an unrelated refetch, so a device assigned elsewhere does not wipe the box you are dragging.
#Why an effect can run with dark LEDs
To make the dark-LED failure concrete, here is the full chain from effect to photons:
graph LR
    FX["Effect paints canvas"] --> SAMP["Sampler reads one pixel per LED"]
    SAMP --> OUT["Output's canvas position"]
    OUT --> HW["LEDs light up"]
If the output is not on the canvas, the sampler has no position to read for it, so it sends nothing, so the LED stays dark. The effect is rendering perfectly the whole time. The break is the missing placement. Drop the output on the canvas, Save, and the chain completes.
#Where to go next
- Zones: how a zone partitions the canvas and why each one owns a layout.
- Device assignment: adding device outputs to a zone so they appear on its canvas.
- Layers: stacking the effects, faces, and media that paint the canvas you are mapping onto.
- Multi-zone walkthrough: building a second zone and splitting outputs across zones end to end.