Layers
The per-zone layer stack: add effect/face/media layers, 11 blend modes, opacity, transform & color, reorder, and the health pill.
Layers are how a single zone shows more than one thing at once. Each zone owns a stack of layers, and the engine composites them bottom-to-top into the finished image that drives that zone’s LEDs or screen. A pulsing effect on the bottom, a logo clip blended over it, a color wash on top: that is a layer stack.
You edit the stack in the Layer Stack panel. It opens from the Stage by clicking the now-playing chip, which slides the composition panel over the canvas. Studio, the Media page, and any future surface all mount the exact same editor, so the controls never drift between places.
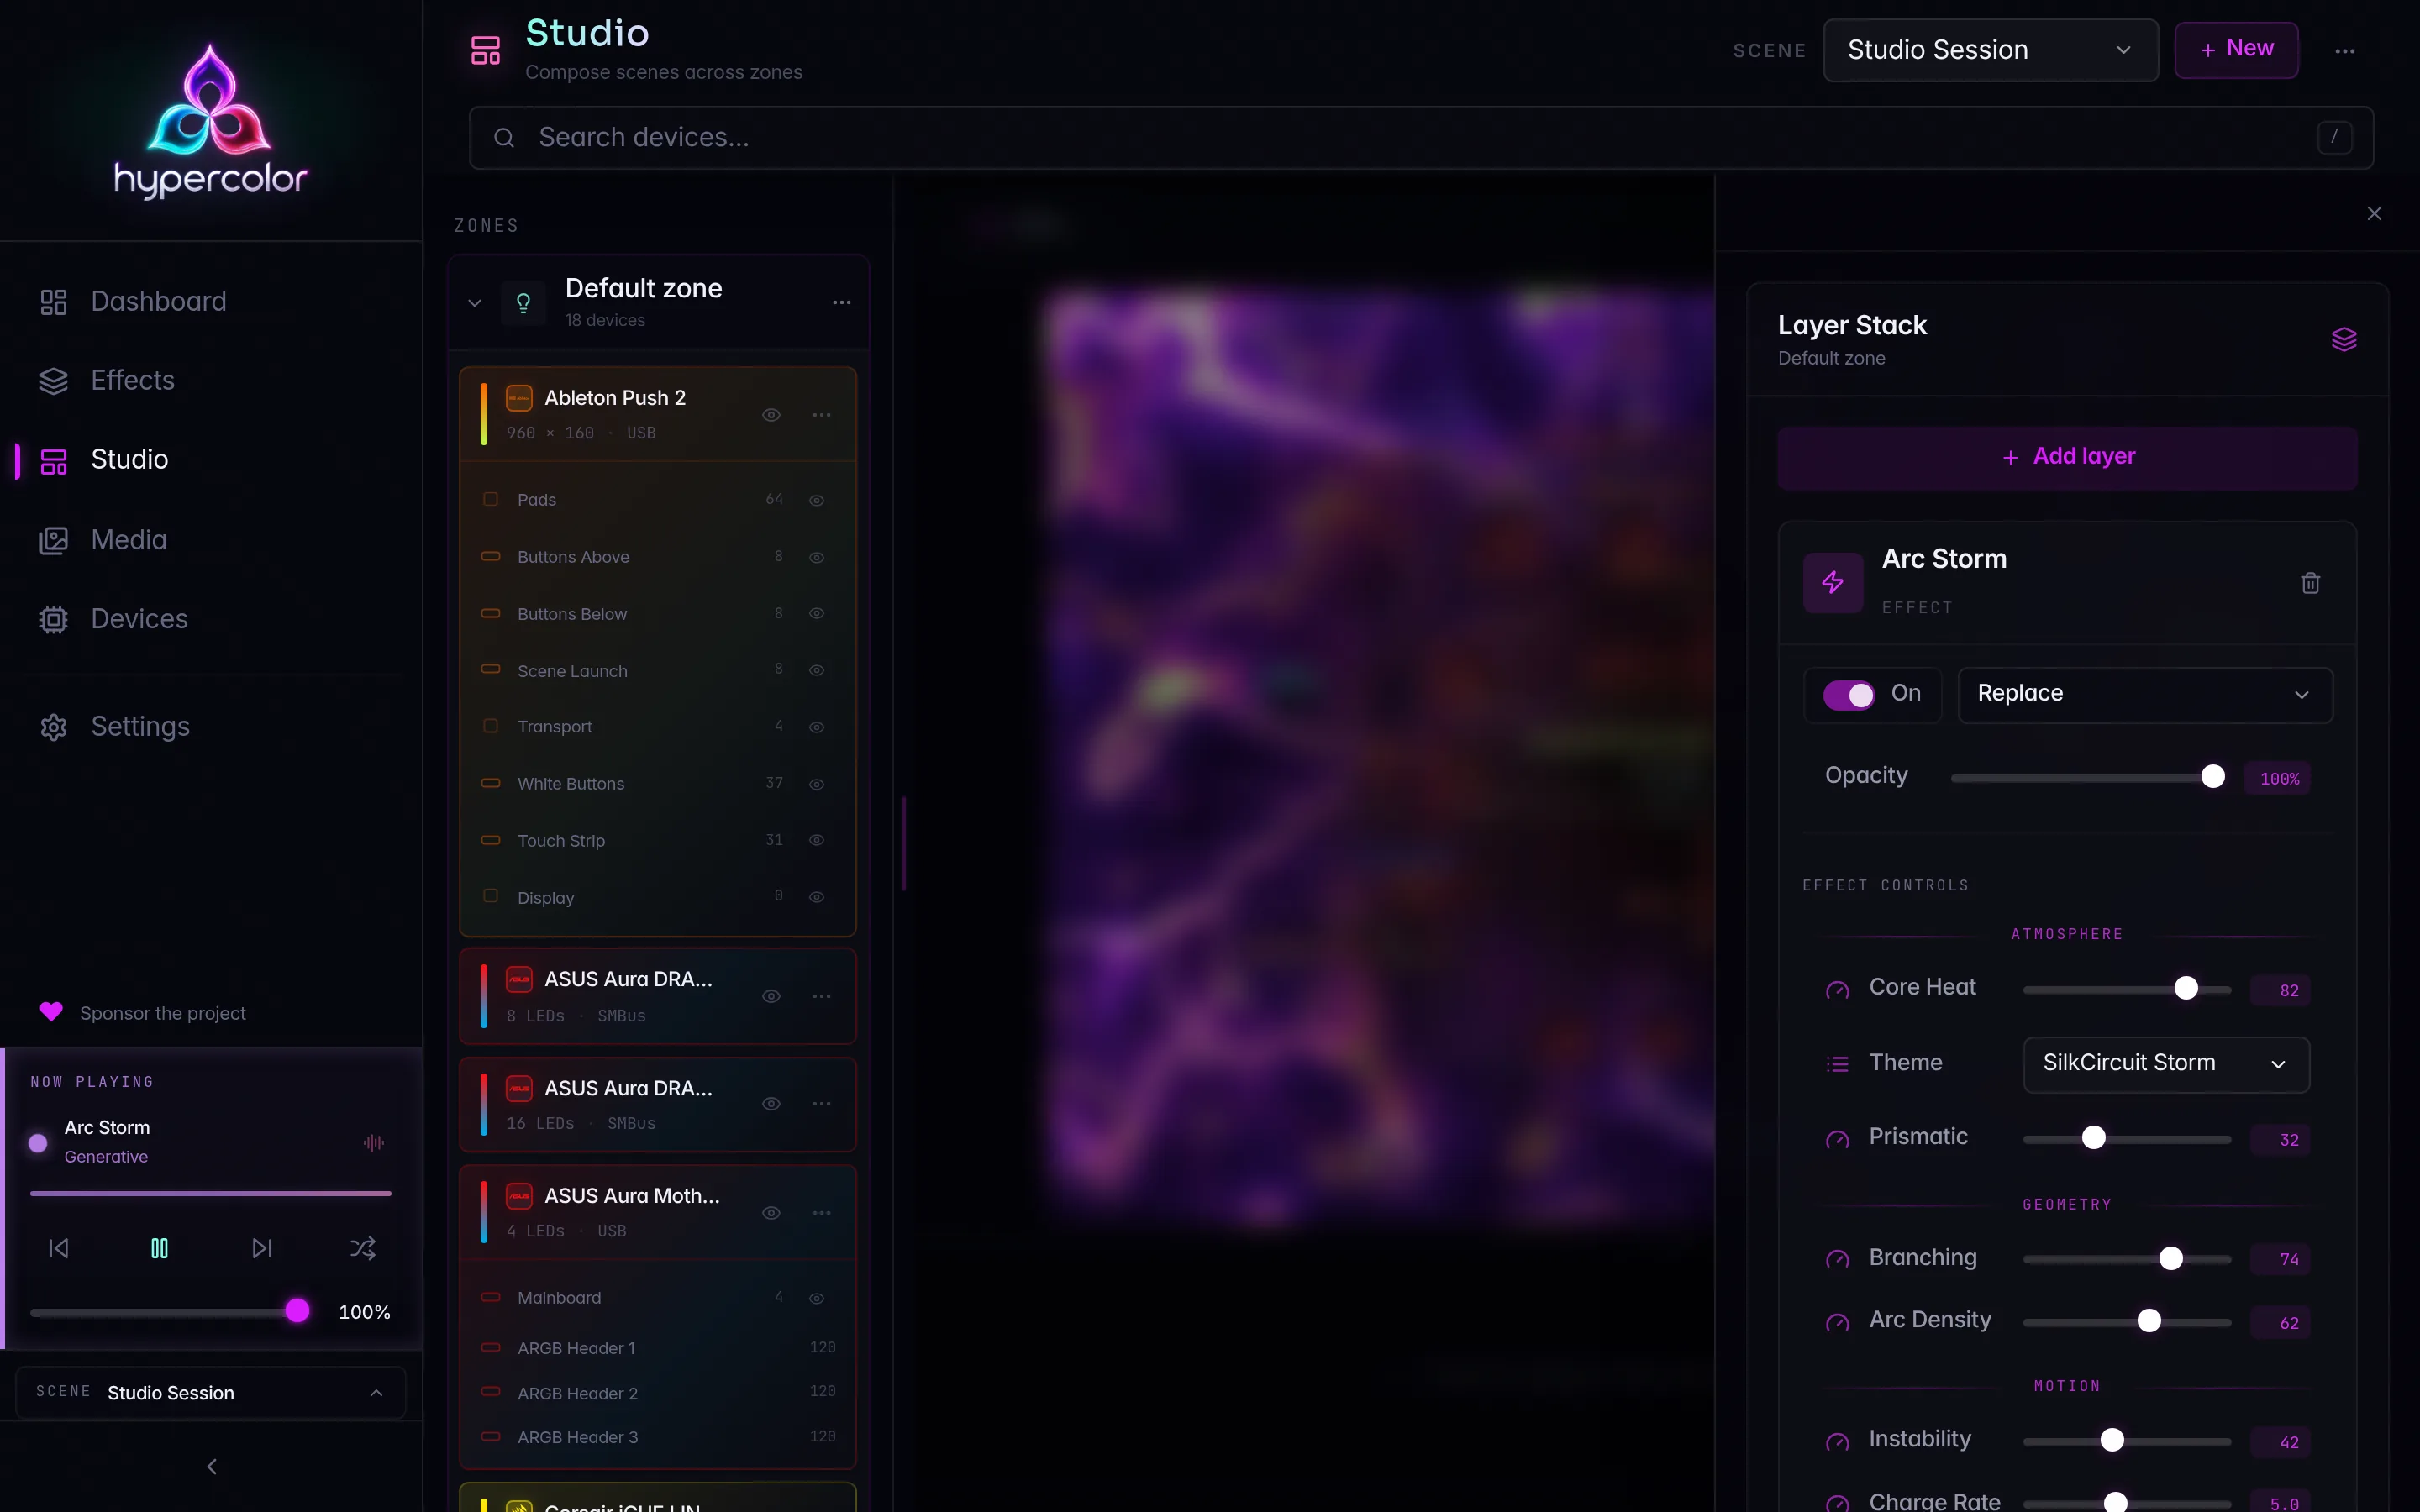
This page covers adding layers, the 11 blend modes, opacity, the transform and color adjustments, reordering, the runtime health pill, and the add-to scopes that let one layer land on several zones at once.
A scene is your whole-rig configuration and a zone is a flexible partition of that rig. The layer stack belongs to one zone. Switching zones in the left rail swaps which stack you are editing. See Zones for the zone model.
#The layer stack at a glance
The panel header names the surface you are editing (the selected zone). Below it sits the Add layer button, and under that the stack itself, listed from Top to Bottom.
The list is drawn in reverse of how layers are authored: layers are stored bottom-to-top (the bottom layer renders first, everything else composites over it), but the panel shows the top layer first so it reads like a stack of cards from above. The Top and Bottom markers only appear once you have more than one layer; with a single layer there is no order to convey.
Each layer is a card. From top to bottom a card carries:
- The source icon, the layer title, and the runtime health pill.
- The source kind in small caps: Effect, Media, Screen capture, Web page, or Color.
- Reorder arrows (only in a multi-layer stack) and a delete button.
- The blend mode dropdown.
- An Opacity slider.
- The source’s own controls: an effect’s live parameters, or a media clip’s playback.
- A collapsed Transform & Color disclosure.
#Adding a layer
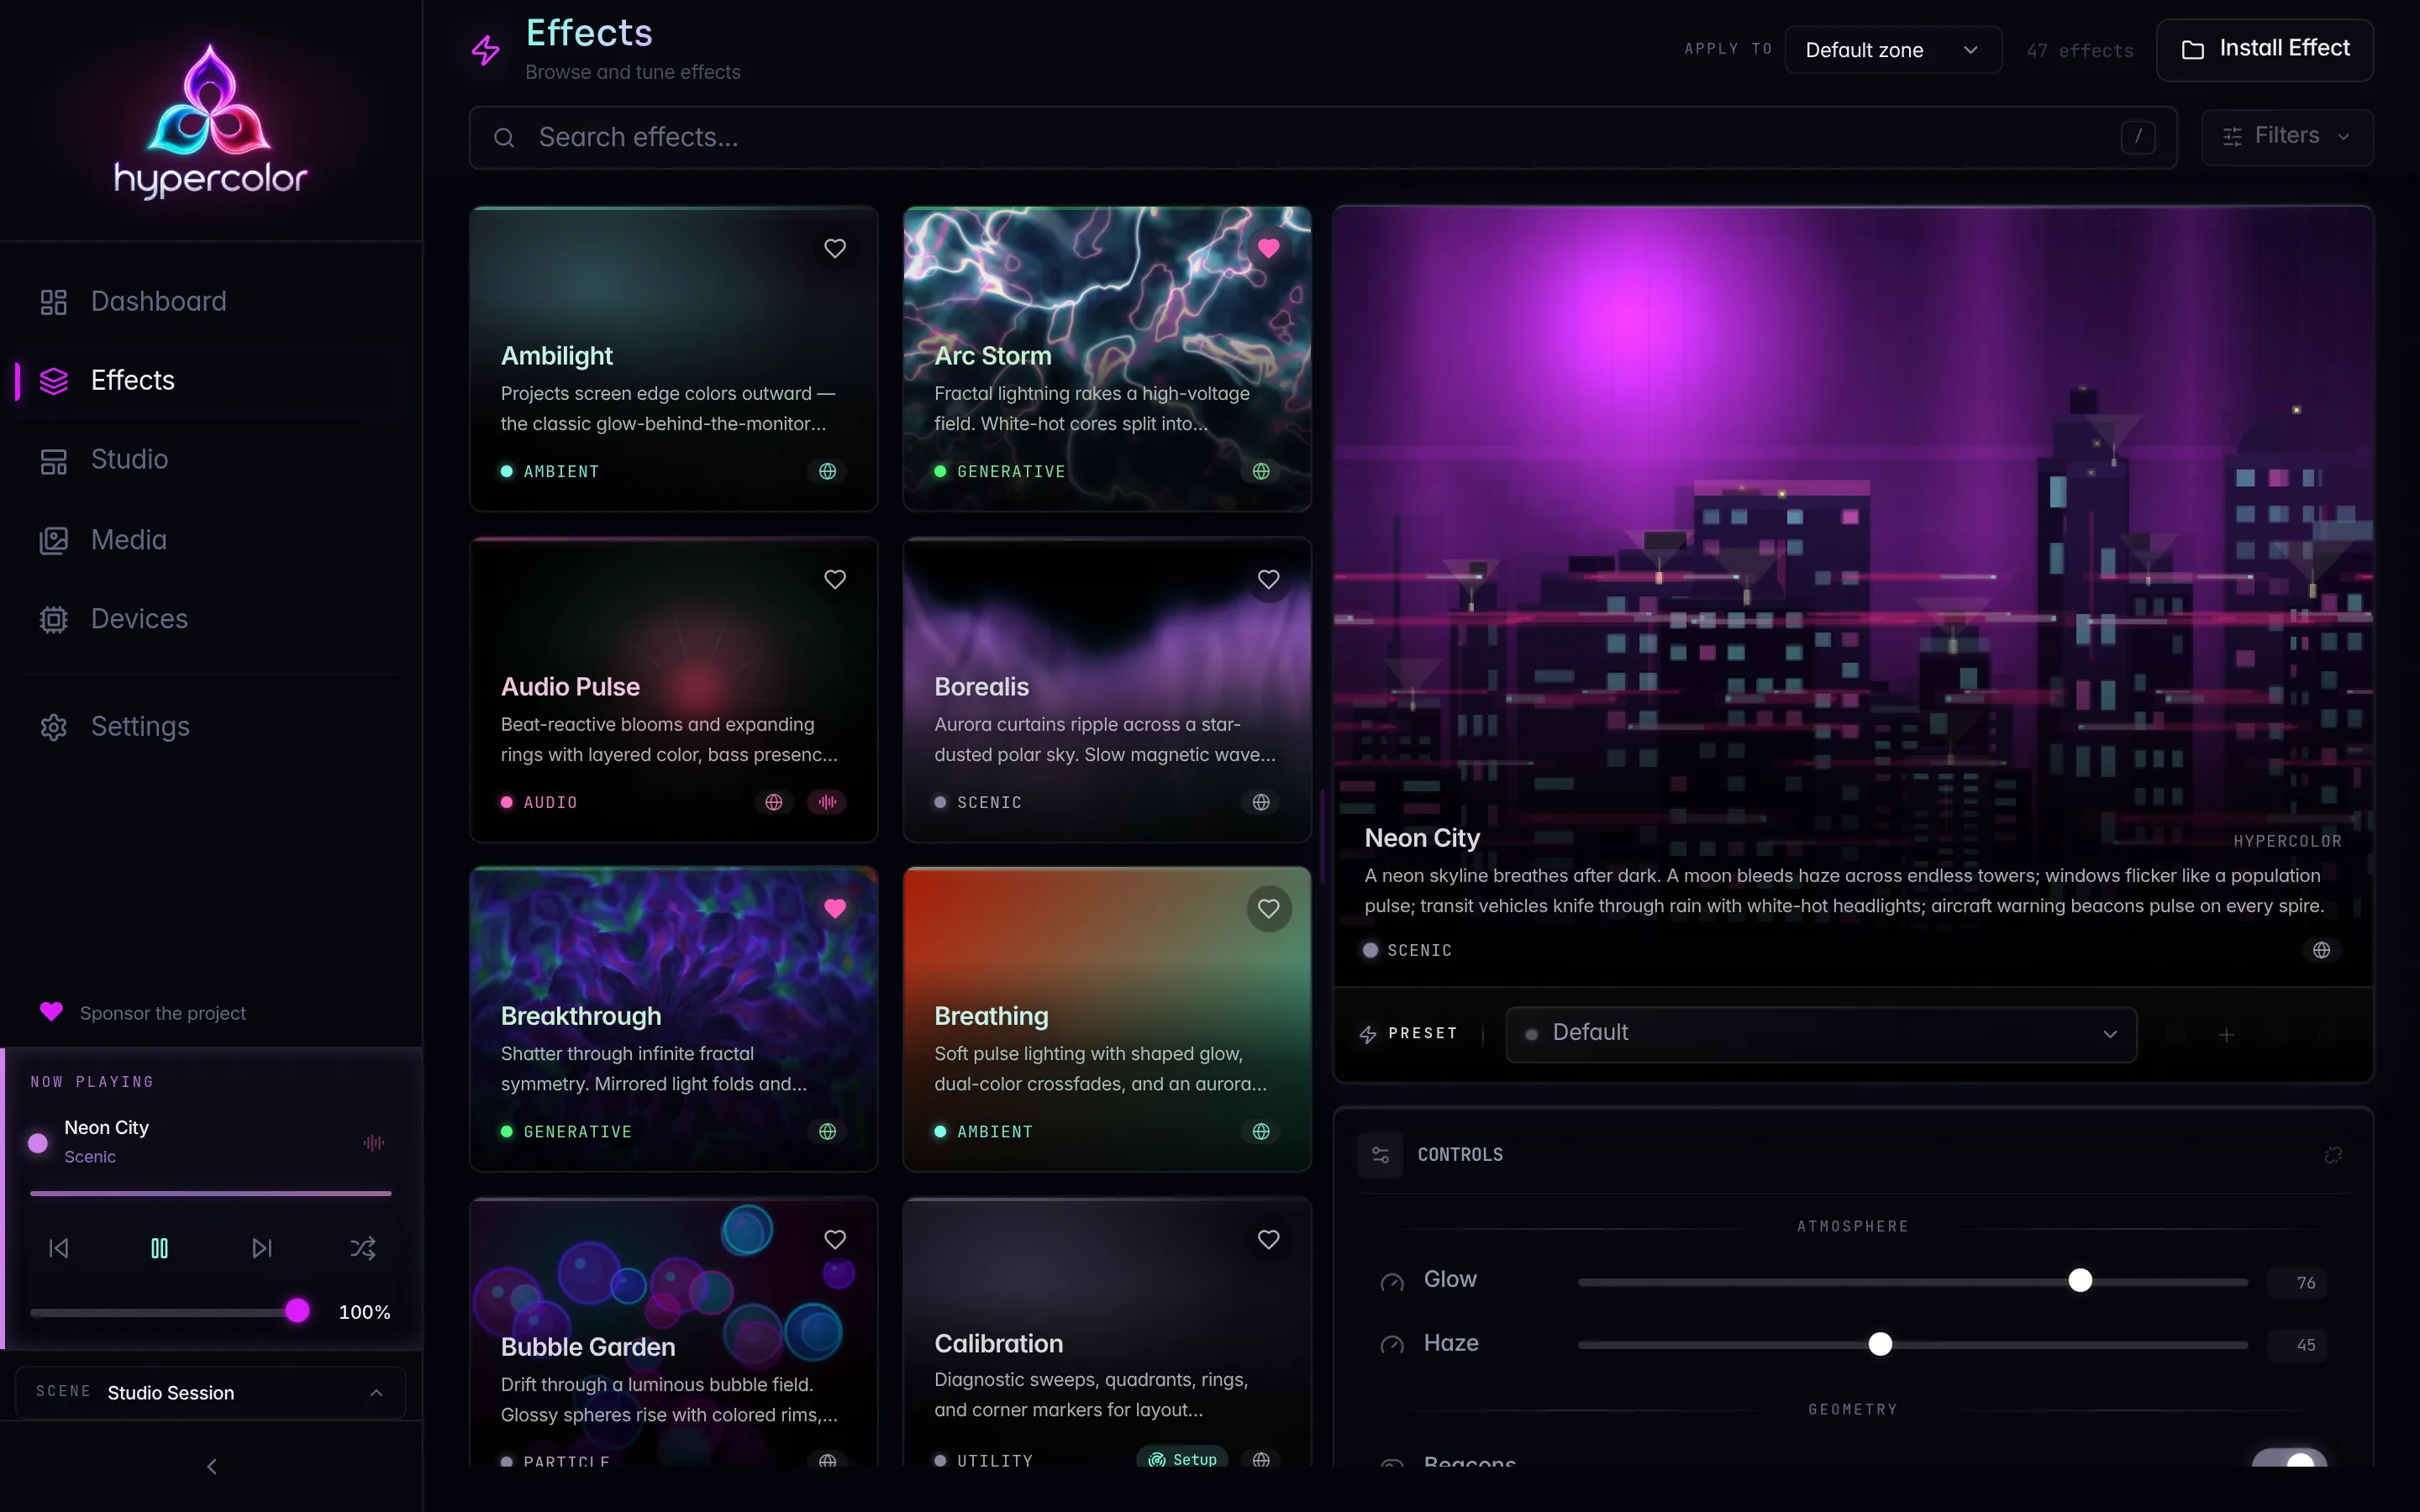
Click Add layer to open the picker. It has two tabs, Effect and Media, plus an optional Add to scope selector.
#Effect and face layers
The Effect tab lists every runnable effect from the catalog. Search filters by name or category. Picking one adds it as a layer named after the effect.
When the selected surface is a Screen (a display-face zone), the tab relabels to Face and floats the display-category effects (the animated faces meant for screens rather than LED zones) to the top of the list, with the rest still available below. The picker reads the surface’s role and reshapes which effects it offers, but either way you are adding an effect layer; “Face” is the screen-flavored framing of the same picker. Browse the full set on the effect catalog.
#Media layers
The Media tab shows your uploaded assets as a grid. Search filters by filename or MIME type. Click a tile and it is added immediately as a media layer, with no separate confirm step. If the grid is empty, upload from the Media library first; the picker refreshes its asset list every time you open it, so a file you just uploaded shows up without reloading the page.
A new Effect layer added onto a non-empty stack defaults to the Screen blend mode, so it lights up over what is already there instead of hiding it. The very first layer, and every media layer, starts on Alpha.
#Blend modes
The blend mode decides how a layer combines with everything beneath it. Pick it from the dropdown on each layer card. There are 11 modes:
| Mode | What it does |
|---|---|
| Alpha | Standard transparency. The layer’s own alpha decides how much shows through. The default for a base or media layer. |
| Replace | Overwrites the layers below outright, ignoring transparency. |
| Add | Sums colors with what is below. Brightens, never darkens. Great for glows and sparks. |
| Screen | Inverse-multiply lightening. Softer than Add, never blows past white. The default for stacked effect layers. |
| Multiply | Multiplies colors, which darkens. Useful for masks and shadowing. |
| Overlay | Multiply in the dark regions, screen in the bright ones. Boosts contrast. |
| Soft Light | A gentler Overlay. Subtle contrast and tinting. |
| Color Dodge | Brightens the lower layers based on the upper layer. Intense highlights. |
| Difference | Absolute difference of the two layers. Produces inverted, high-energy color. |
| Tint | Pushes the lower layers toward the upper layer’s hue. |
| Luma Reveal | Uses the upper layer’s brightness as a mask to reveal the layers below. |
The dropdown’s wire tokens, if you ever inspect the API, are the snake-case forms: alpha, replace, add, screen, multiply, overlay, soft_light, color_dodge, difference, tint, luma_reveal.
#Opacity
The Opacity slider sets how strongly the whole layer contributes, from 0 to 100 percent, independent of its blend mode. Drag it down to fade a layer back into the mix or pull it to full strength. The percentage readout updates live as you drag.
#Transform & color
Expand the Transform & Color disclosure on a layer card to reshape and recolor its content before it composites. These adjustments are most meaningful for media and screen-capture layers, where the source has real geometry, but they apply to any layer.
Fit controls how the source fills the zone canvas:
| Fit | Behavior |
|---|---|
| Cover | Scale to fill the canvas, cropping overflow. The default. |
| Contain | Scale to fit entirely inside, letterboxing the gaps. |
| Stretch | Distort to fill exactly, ignoring aspect ratio. |
| Tile | Repeat the source across the canvas. |
| Mirror | Repeat with alternating reflection. |
The remaining sliders fine-tune the layer:
- Brightness: 0 to 4x, default 1.0. Below 1 dims, above 1 boosts.
- Saturation: 0 to 4x, default 1.0. 0 is grayscale, above 1 is more vivid.
- Tint: 0 to 1. How strongly a color tint is applied to the layer.
- Scale X / Scale Y: 0.1 to 4x each, default 1.0. Stretch or shrink the source along one axis.
Every adjustment saves the moment you release the slider, guarded so a write never clobbers a change made elsewhere (see optimistic concurrency below).
#Reordering and removing
In a stack of more than one layer, each card shows up and down arrows. The up arrow moves a layer toward the top of the visual stack (later in compositing); the down arrow moves it toward the bottom. The arrow disables itself at the ends of the stack. A single-layer stack hides the arrows entirely, since there is nowhere to move.
The trash button removes a layer for good and pops a confirmation toast.
#The health pill
Each layer carries a small status pill next to its title that flags runtime trouble. The pill is silent when a layer is healthy; it only appears when something needs attention. Health streams in live over the WebSocket, independent of the stack you are editing.
| Pill | Meaning |
|---|---|
| (none) | The layer is Active and rendering normally. |
| Loading | The layer is still spinning up. |
| Stalled | The layer’s producer has stalled and stopped delivering frames. |
| Missing | The layer’s asset cannot be found (a deleted or moved media file). |
| Failed | The layer hit an error; hover the pill for the reason. |
If a layer is Missing or Failed, the Stage also raises a surface-level degraded banner so you notice without opening the stack.
#Add-to scopes
By default a new layer lands on the one zone you are editing. In a multi-zone scene, the picker grows an Add to row so you can drop the same layer onto several zones in one action:
- This surface: the selected zone only. The default.
- All zones: every LED zone in the scene.
- All screens: every display-face zone.
- Whole scene: every zone, lights and screens alike.
The scope selector only appears when there is genuinely more than one place to send a layer. In a single-zone scene it stays hidden, and a scope that would target nothing (for example All screens in a scene with no screens) is dropped from the list.
When you add a layer to multiple zones at once, the change is guarded against conflicts only for the zone currently on screen; the other zones receive the layer unconditionally. If a bulk add partially fails, the toast tells you how many zones got the layer and how many did not.
A Selected surfaces scope, adding to an arbitrary multi-select of zones, is planned but not yet shipped. It rides a surface multi-select that is still on the roadmap.
#How edits are saved
Every structural stack change sends the live scene document’s current revision as an If-Match precondition. If another client changes the scene first, the write is rejected as stale rather than silently overwriting their work. The panel reloads the document and asks you to reapply the change. Control-value patches are unguarded and apply in commit order against the real layer id.
This is the same one-revision concurrency model the rest of Studio uses. For the developer-level detail on SceneDocument.revision, If-Match, and the stale-outcome flow, see Zone API and concurrency.
#Where to go next
- Effects and controls: the live effect-control panel that lives inside an effect layer.
- Zones: creating and managing the zones each stack belongs to.
- Layouts: the spatial canvas that maps a zone’s composite onto real devices.
- Multi-zone walkthrough: building a second zone and composing across both.