Device assignment
Add and move devices between Studio zones, read the device card, and hide, identify, move, or remove a placed device.
Devices land in zones through the Studio zone tree. Each device shows up as a card under the zone that owns it, with one-tap actions to add it, move it, hide its outputs, flash the hardware, or pull it back out. This page walks the whole flow.
The unit that actually moves between zones is an output, not a whole device. An output is one device output or addressable segment. A single-segment strip has one output; a multi-channel controller contributes several. A device output lives in exactly one zone’s layout at a time, so adding a device to a new zone moves its outputs there rather than copying them.
New to the Scene → Zone → Layout model? Read Zones first. Scenes are whole-rig configs; zones are flexible partitions of a scene’s canvas. There is no “rooms” concept here.
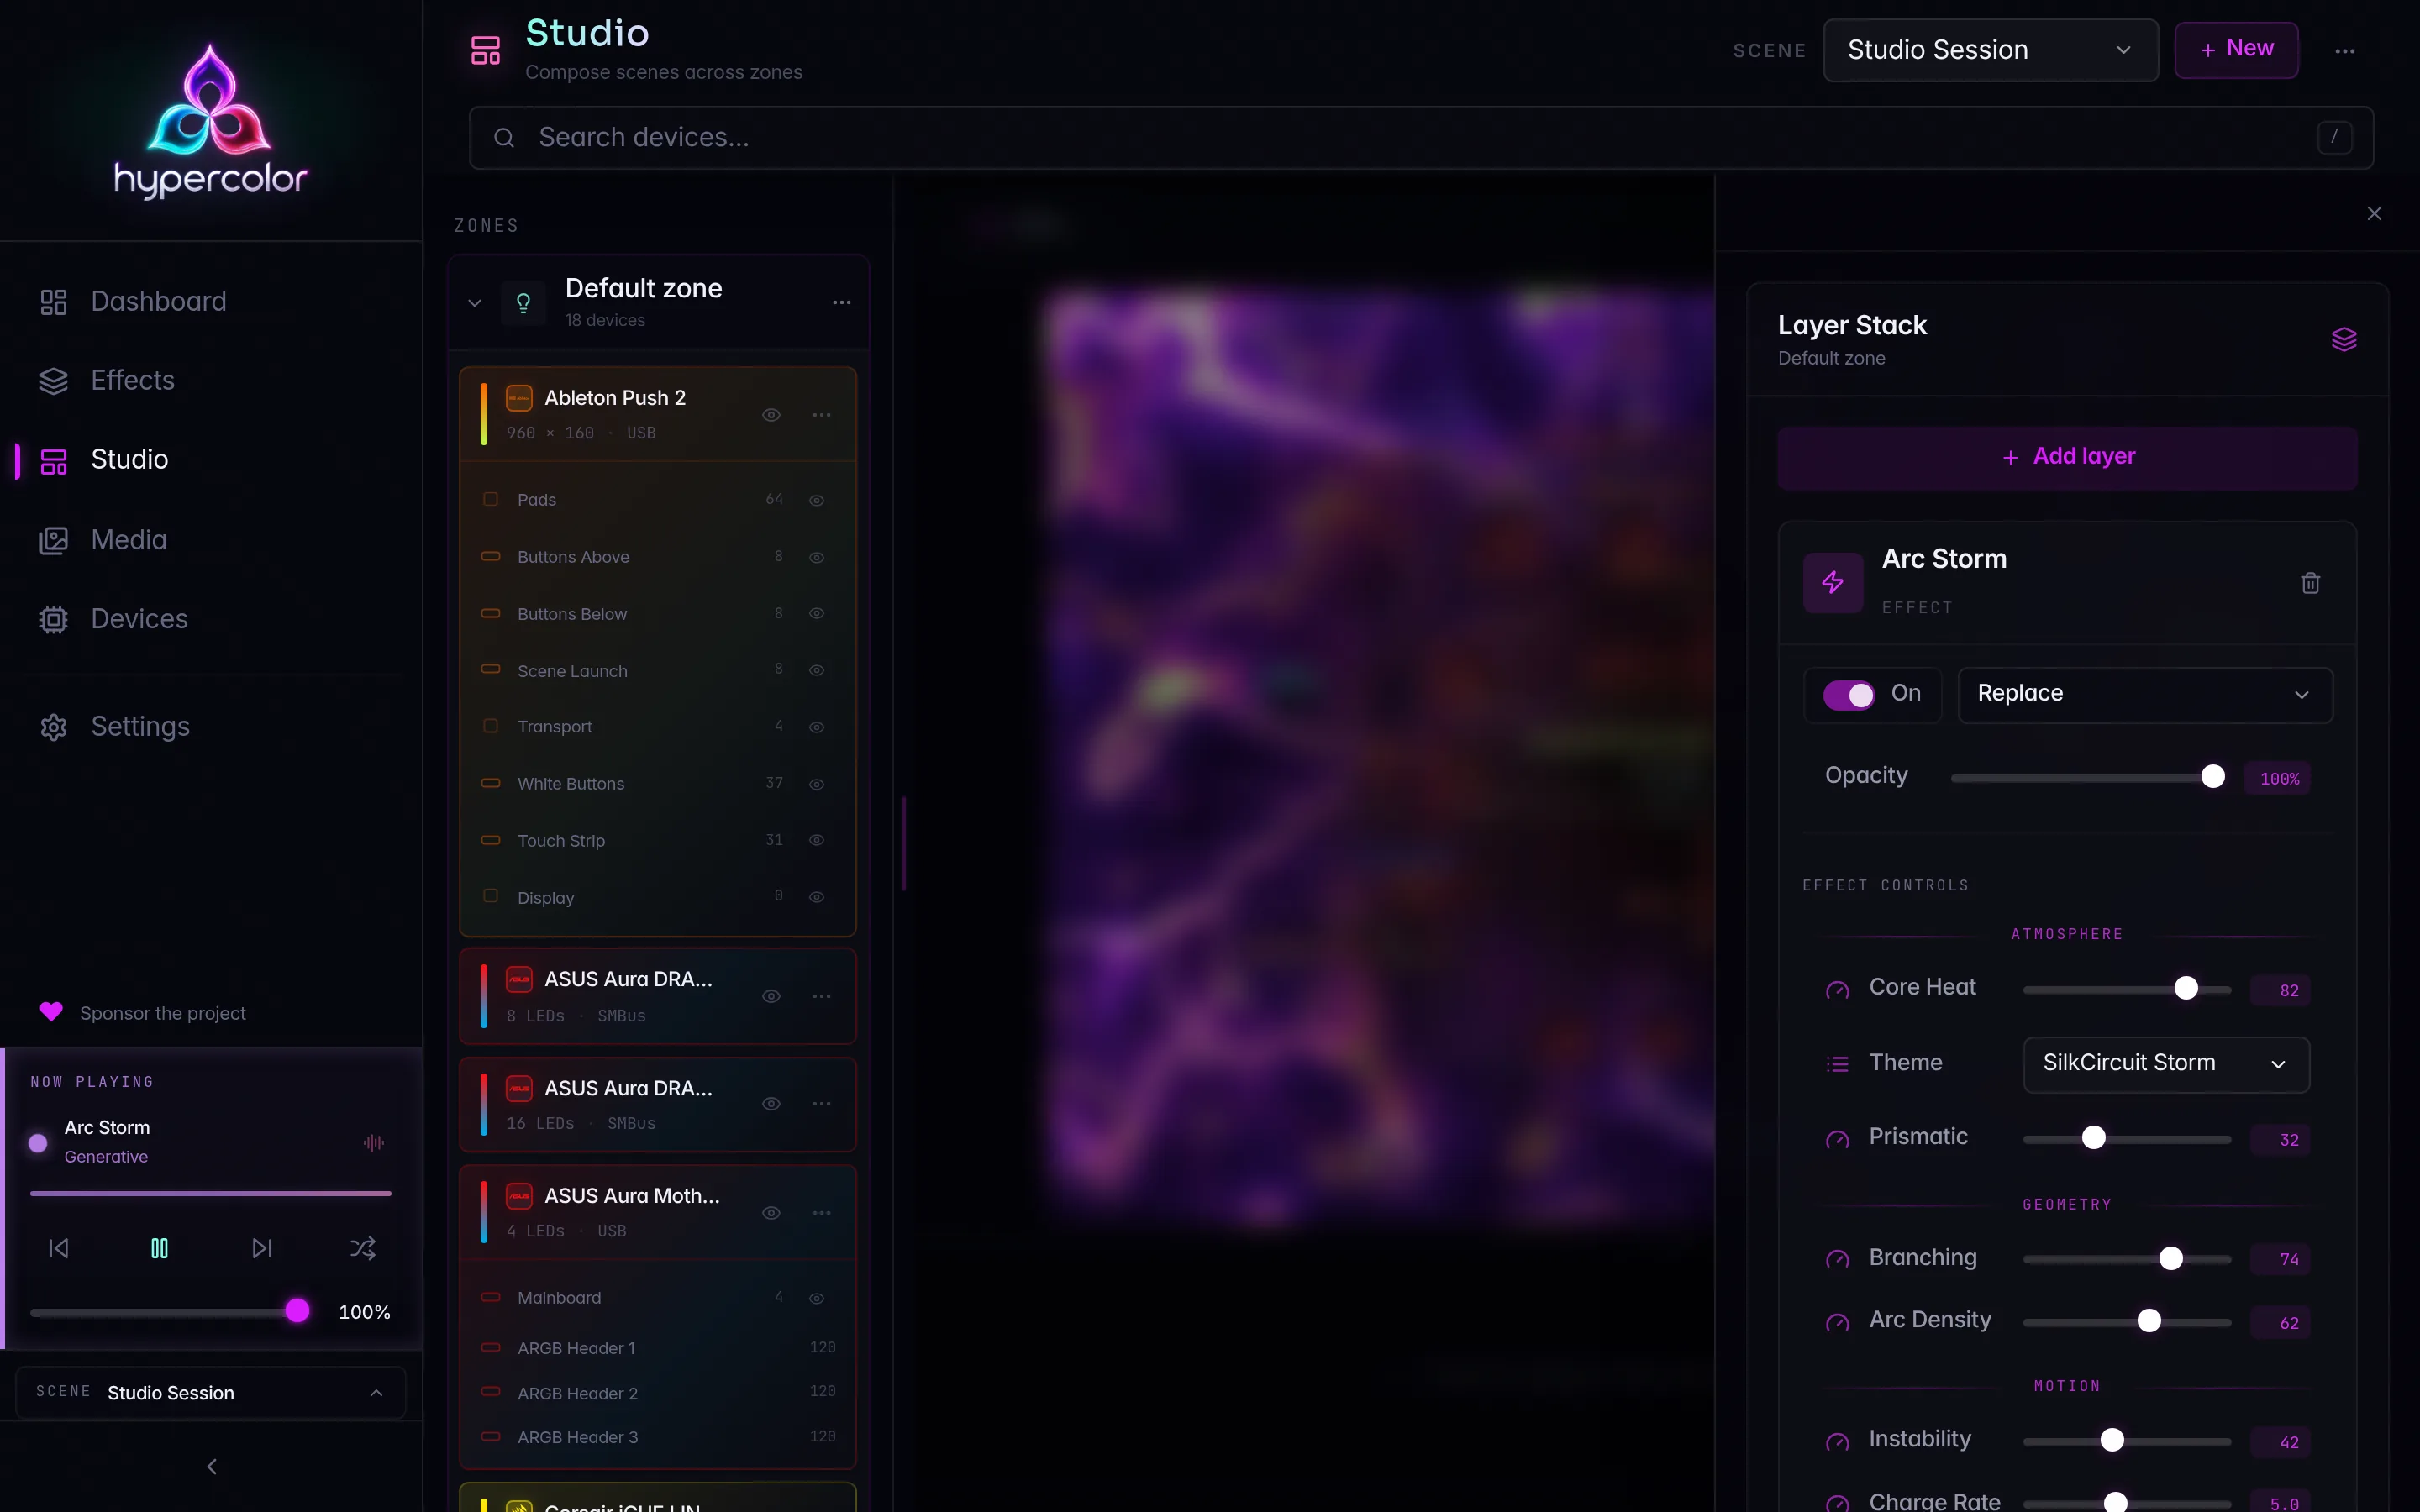
#The device card
Every physical device under a zone renders as a card in the zone tree. The card carries the device’s brand identity and its live state:
- A duotone accent strip down the left edge, tinted to the vendor’s brand colors.
- The vendor mark (or a device-class icon when there is no mark to carry the identity).
- The device name, then a meta line with the LED count, transport (USB, Network, SMBus, Bridge, MIDI, or Serial), and a driver label when there is no vendor mark.
- For a screen device, the card shows the real resolution (for example
2560 × 1440) instead of an LED count, because a screen’s layout is a pixel grid rather than addressable LEDs.
Clicking the card body selects that device’s zone and highlights its outputs on the Stage canvas. Hovering previews those outputs.
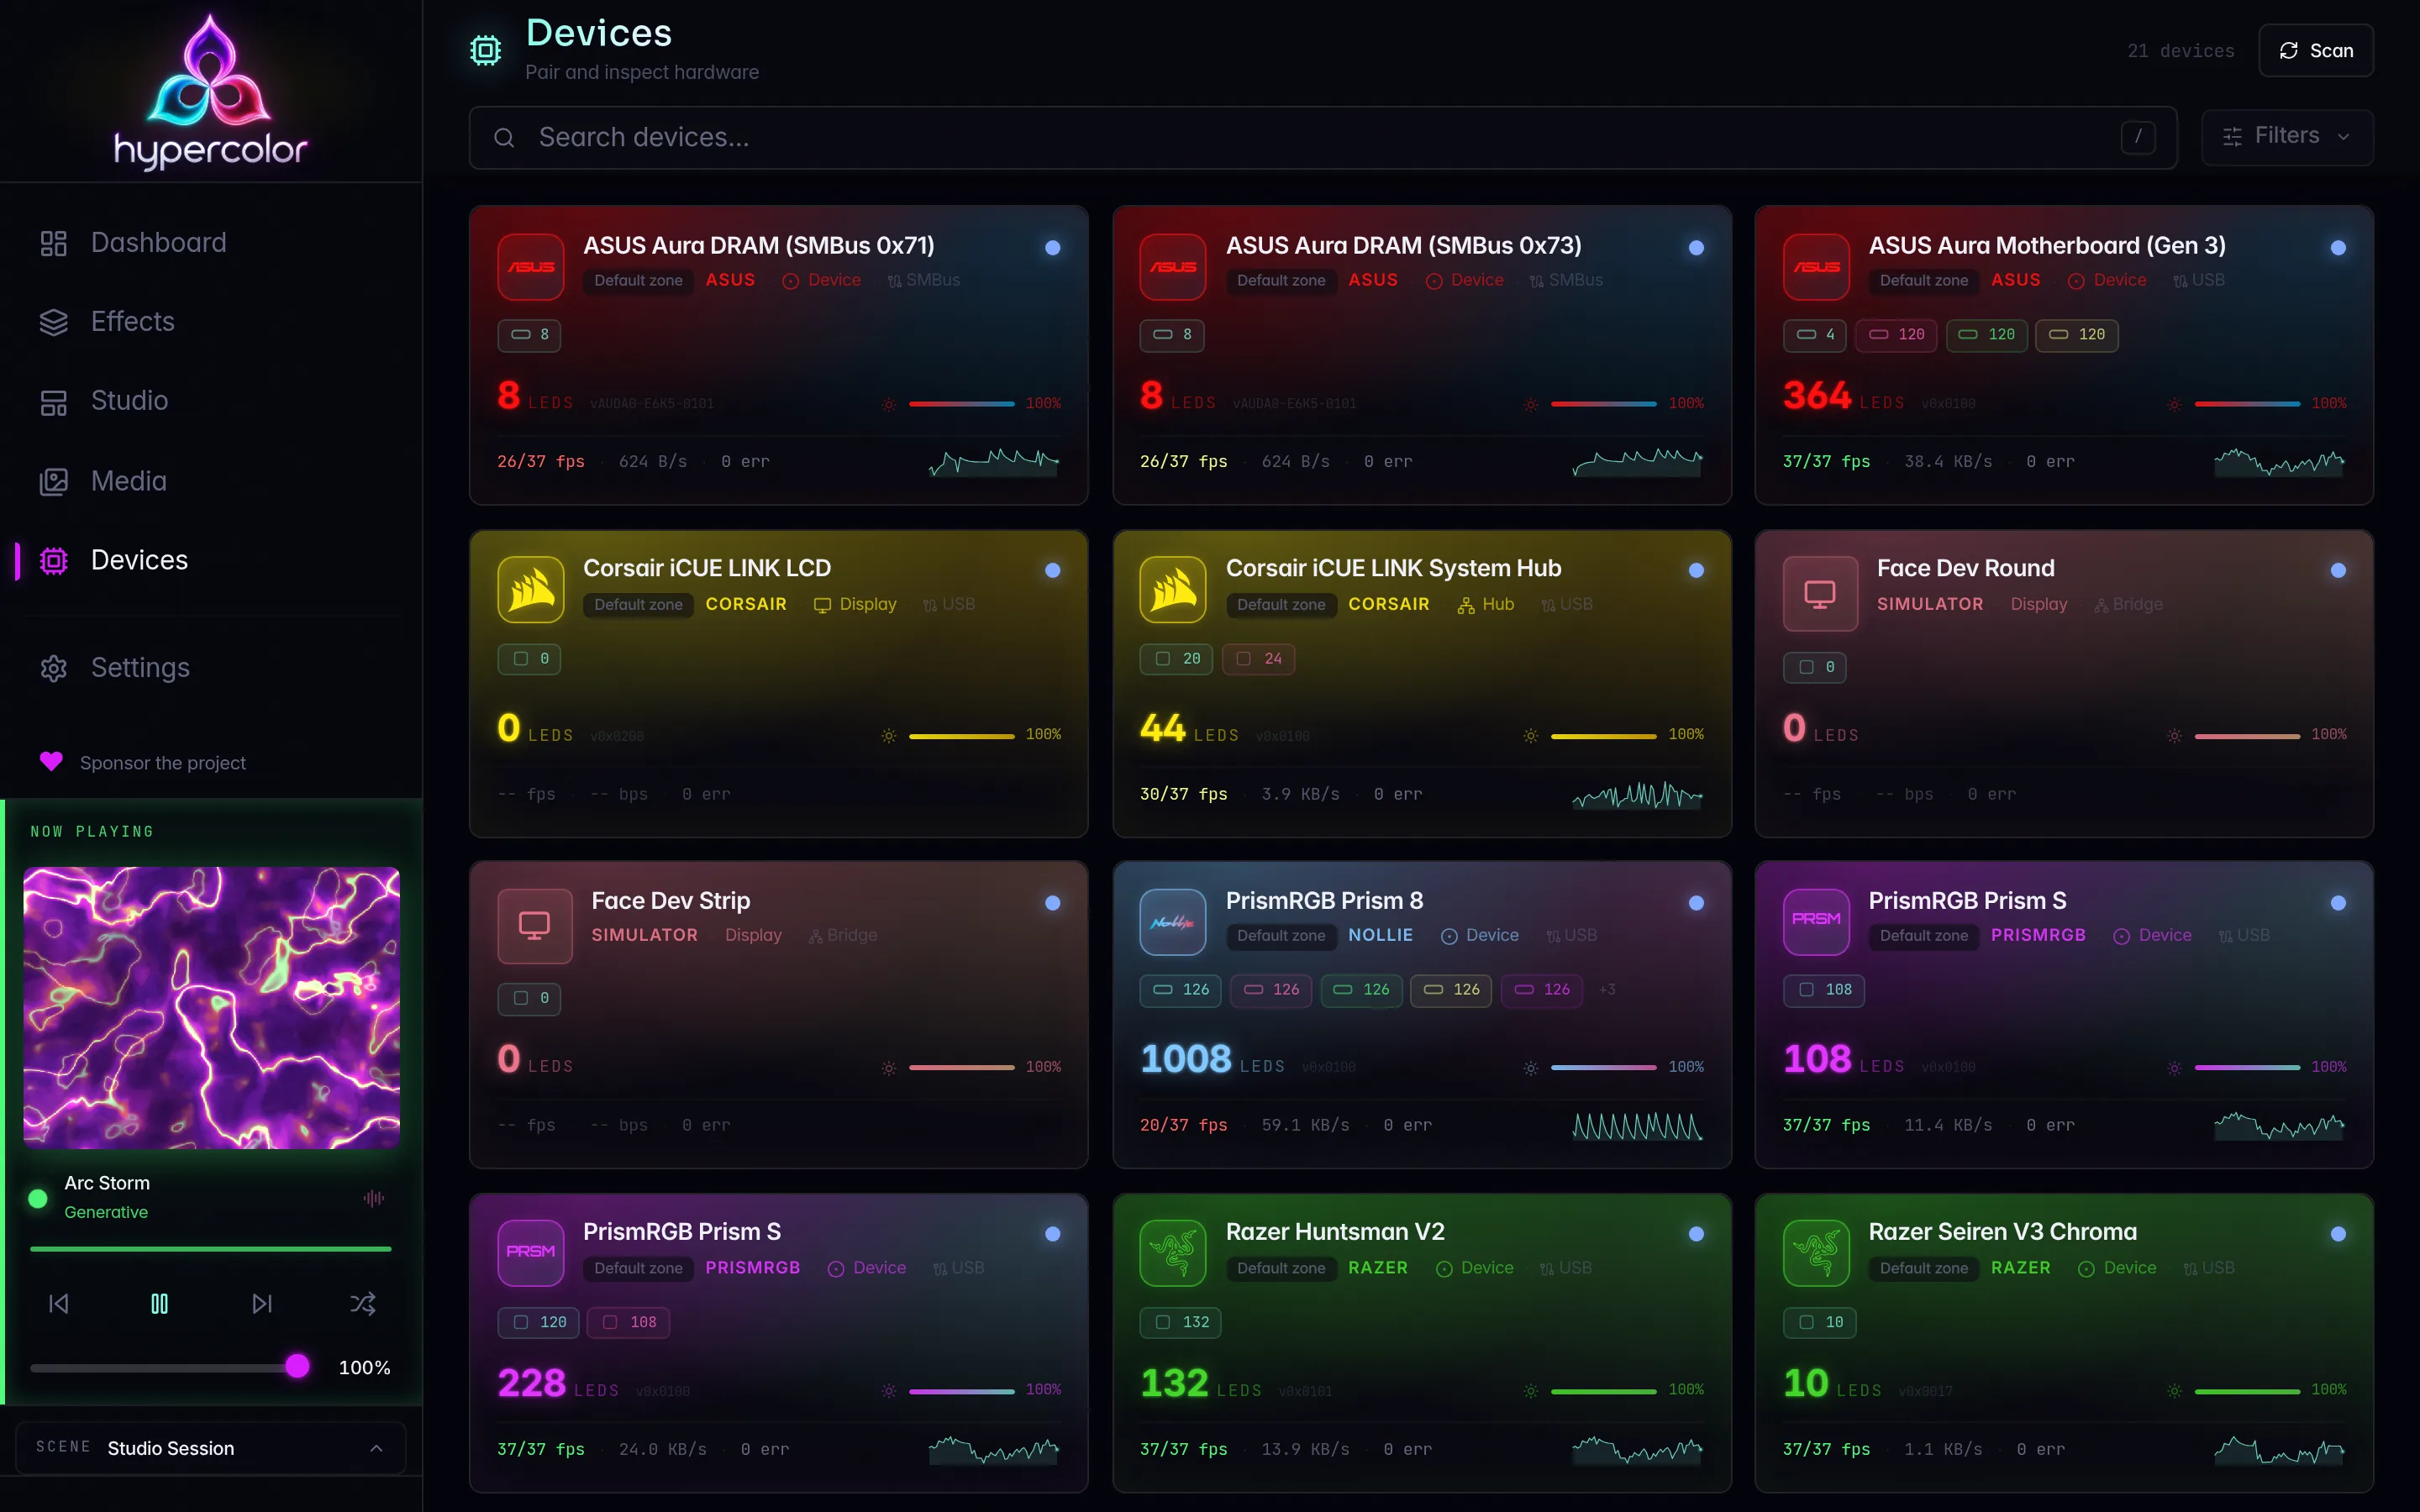
#Channels and outputs
A device with more than one channel expands into a per-channel breakdown beneath the card body. Each channel row shows:
- The channel’s topology shape (strip, ring, matrix) and its name.
- A live component badge when something is wired to that channel, naming the attached component or a count like
3 components. Hover the badge for the full per-component LED breakdown. - The channel’s LED count.
- A per-output hide toggle, when that channel has a placed output in the current zone.
The card shows each channel’s effective name (your rename if you’ve set one, otherwise the device’s own channel name), never a raw slot id.
#Adding a device to a zone
Each zone in the tree ends with an Add device button. Click it to open a picker listing every device that is not already entirely in this zone. Each option shows where the device currently lives, for example Corsair LS100 (in Desk) or WLED strip (unassigned), so you can see what the move pulls from.
Picking a device brings every output it has into this zone:
- A device already placed in another zone is moved: its existing outputs and placement are retained in the target zone.
- A device the scene has not placed at all is minted fresh, one output per channel, or a single output for a device with no channels. Known device shapes keep their prepared arrangement; other outputs receive an initial grid placement.
In a single-zone scene, devices that sit in no zone fold under the sole LED zone as one-tap Available rows. Each Available card carries a green add (+) action that drops the device straight into the zone, no picker needed.
Can’t find a device in the picker? It may already be entirely in this zone, or it may not be connected yet. Check Finding devices to confirm the daemon sees it.
#Hide, identify, move, remove
A placed device card carries exactly two trailing icons: the eye hide-all toggle, and a ⋯ kebab titled “Device options”. The kebab expands an inline menu below the card body:
| Where | Action | What it does |
|---|---|---|
| Card | Hide all (eye) | Hides every output of this device in this zone, or shows them again if all are hidden |
| Kebab | Identify | Flashes the hardware so you can spot it physically |
| Kebab | Move to <zone> | One row per other LED zone in the scene; moves every output the device has here into that zone |
| Kebab | Remove from zone | Unassigns every output this device has in this zone |
Cards that are not placed look different. An Available card (a device with no zone, in a single-zone scene) shows a lightning Identify button and a green + that drops it straight into the zone. An Unassigned card (a device with no zone, in a multi-zone scene) shows Identify plus a green + that opens a picker of every LED zone, because “add” has to say where.
Hide is a Studio view convenience, not a render change. Hidden state is client-side UI state keyed per scene and per zone, persisted in your browser. It hides the output’s box on the canvas so you can declutter a busy layout. It is not the daemon’s discovery-reconciliation memory, and hiding an output does not stop it rendering. Use the per-channel eye toggle to hide a single output, or the card’s hide-all toggle to move every output of the device in unison.
Identify flashes the device’s LEDs through the daemon so you can match the on-screen card to a physical light. On a placed card it lives in the kebab menu; on an Available or Unassigned card it is a lightning button in the cluster itself. A brief toast confirms the flash.
Remove from zone pulls every one of the device’s outputs out of this zone. All outputs are removed in one atomic operation, so a failed request leaves the whole device in its original zone. The device then becomes Unassigned (or Available, in a single-zone scene) and can be added to a different zone.
#Saving and undoing assignments
Adding, moving, and removing devices save automatically. The Stage status shows Saving… during the write and Saved after it succeeds. If you also have unsaved placement edits, the status remains Unsaved layout until you save those edits.
Assignments and canvas edits share one chronological Undo / Redo history. Undoing or redoing an assignment also saves that assignment change. Moving or resizing an output on the canvas still requires Save. History belongs to the current Studio session and resets when you switch scenes or leave Studio.
#Offline devices
A device that is placed in the layout but not currently connected renders as a muted, dashed row tagged Offline. It shows a friendly vendor word (Razer, Corsair, Philips Hue) rather than its raw backend id, which is never shown to you. The offline row carries a single red trash button that removes it from the zone: no eye, no kebab, and no Identify, since there is no hardware to flash.
#Moving devices between zones
When a scene has more than one zone, the device card’s kebab grows one Move to <zone> row per other LED zone. One click reassigns every output the device has in this zone to the target, so a move is never a nested picker. The Stage canvas has no assignment panel docked under it; every move starts from a card in the zone tree.
The rail moves a device as a unit. Splitting one multi-channel controller across zones (one fan ring in Desk, another in Shelf) is expressible on the wire but not in the UI: POST /api/v1/scene/zones/{zone}/members takes a per-member segment, so an API client can place individual segments. The per-channel rows under a card show topology, bound components, LED count, and a hide toggle, but no move control.
Every assignment carries the active scene’s revision as a precondition. If another client or the CLI changed the scene while you were working, the move is rejected cleanly, the scene reloads, and a toast asks you to try again. Your edit is never silently clobbered. See Zone API and concurrency for the mechanics.
#Where devices go from here
Once a device is grouped into a zone, position it on the zone’s canvas in the layout builder, then stack effects and other inputs on the zone in the layer stack. For the full end-to-end path of splitting a rig across multiple zones, see the multi-zone walkthrough.
#Related pages
- Zones: create, color, and manage the partitions devices live in
- Scenes: the whole-rig configs that own your zones
- Layouts: arrange a zone’s device outputs spatially
- Finding devices: get hardware discovered before grouping it