Your first 10 minutes
Open the app, see your devices, apply an effect, dial in brightness, and capture a scene: from zero to lit in under ten minutes.
This page is the opinionated golden path. It skips the deep-dive and gets your lights on fast. If something doesn’t behave as expected, Finding devices and Common issues have the details.
No hardware yet? Jump to the simulator path and come back to the device steps when you’re ready.
#Before you start
Hypercolor needs its daemon running before any client (app, TUI, CLI, web UI) can talk to it. The desktop app starts the daemon automatically. If you installed via the CLI only, start it manually:
hypercolor service startVerify it’s up:
hypercolor statusYou should see daemon version, uptime, and a device count. If you get a connection error, check that port 9420 is not in use by another process.
If Aura Sync, iCUE, openrazer, or another RGB manager is running, it may be holding your USB devices. Stop those tools first; two apps cannot share the same HID device. OpenRGB is different: Hypercolor can run it as a bridge for hardware it has no native driver for, with a configuration that keeps it away from devices Hypercolor drives itself. Do not start OpenRGB by hand; if you want it, follow the OpenRGB fallback flow once your native devices are up.
#Step 1: See your devices
#In the web UI or desktop app
Open a browser to http://localhost:9420, or use the desktop app. The Devices panel lists every device Hypercolor has discovered. Each entry shows the device name, driver, LED count, and connection status.
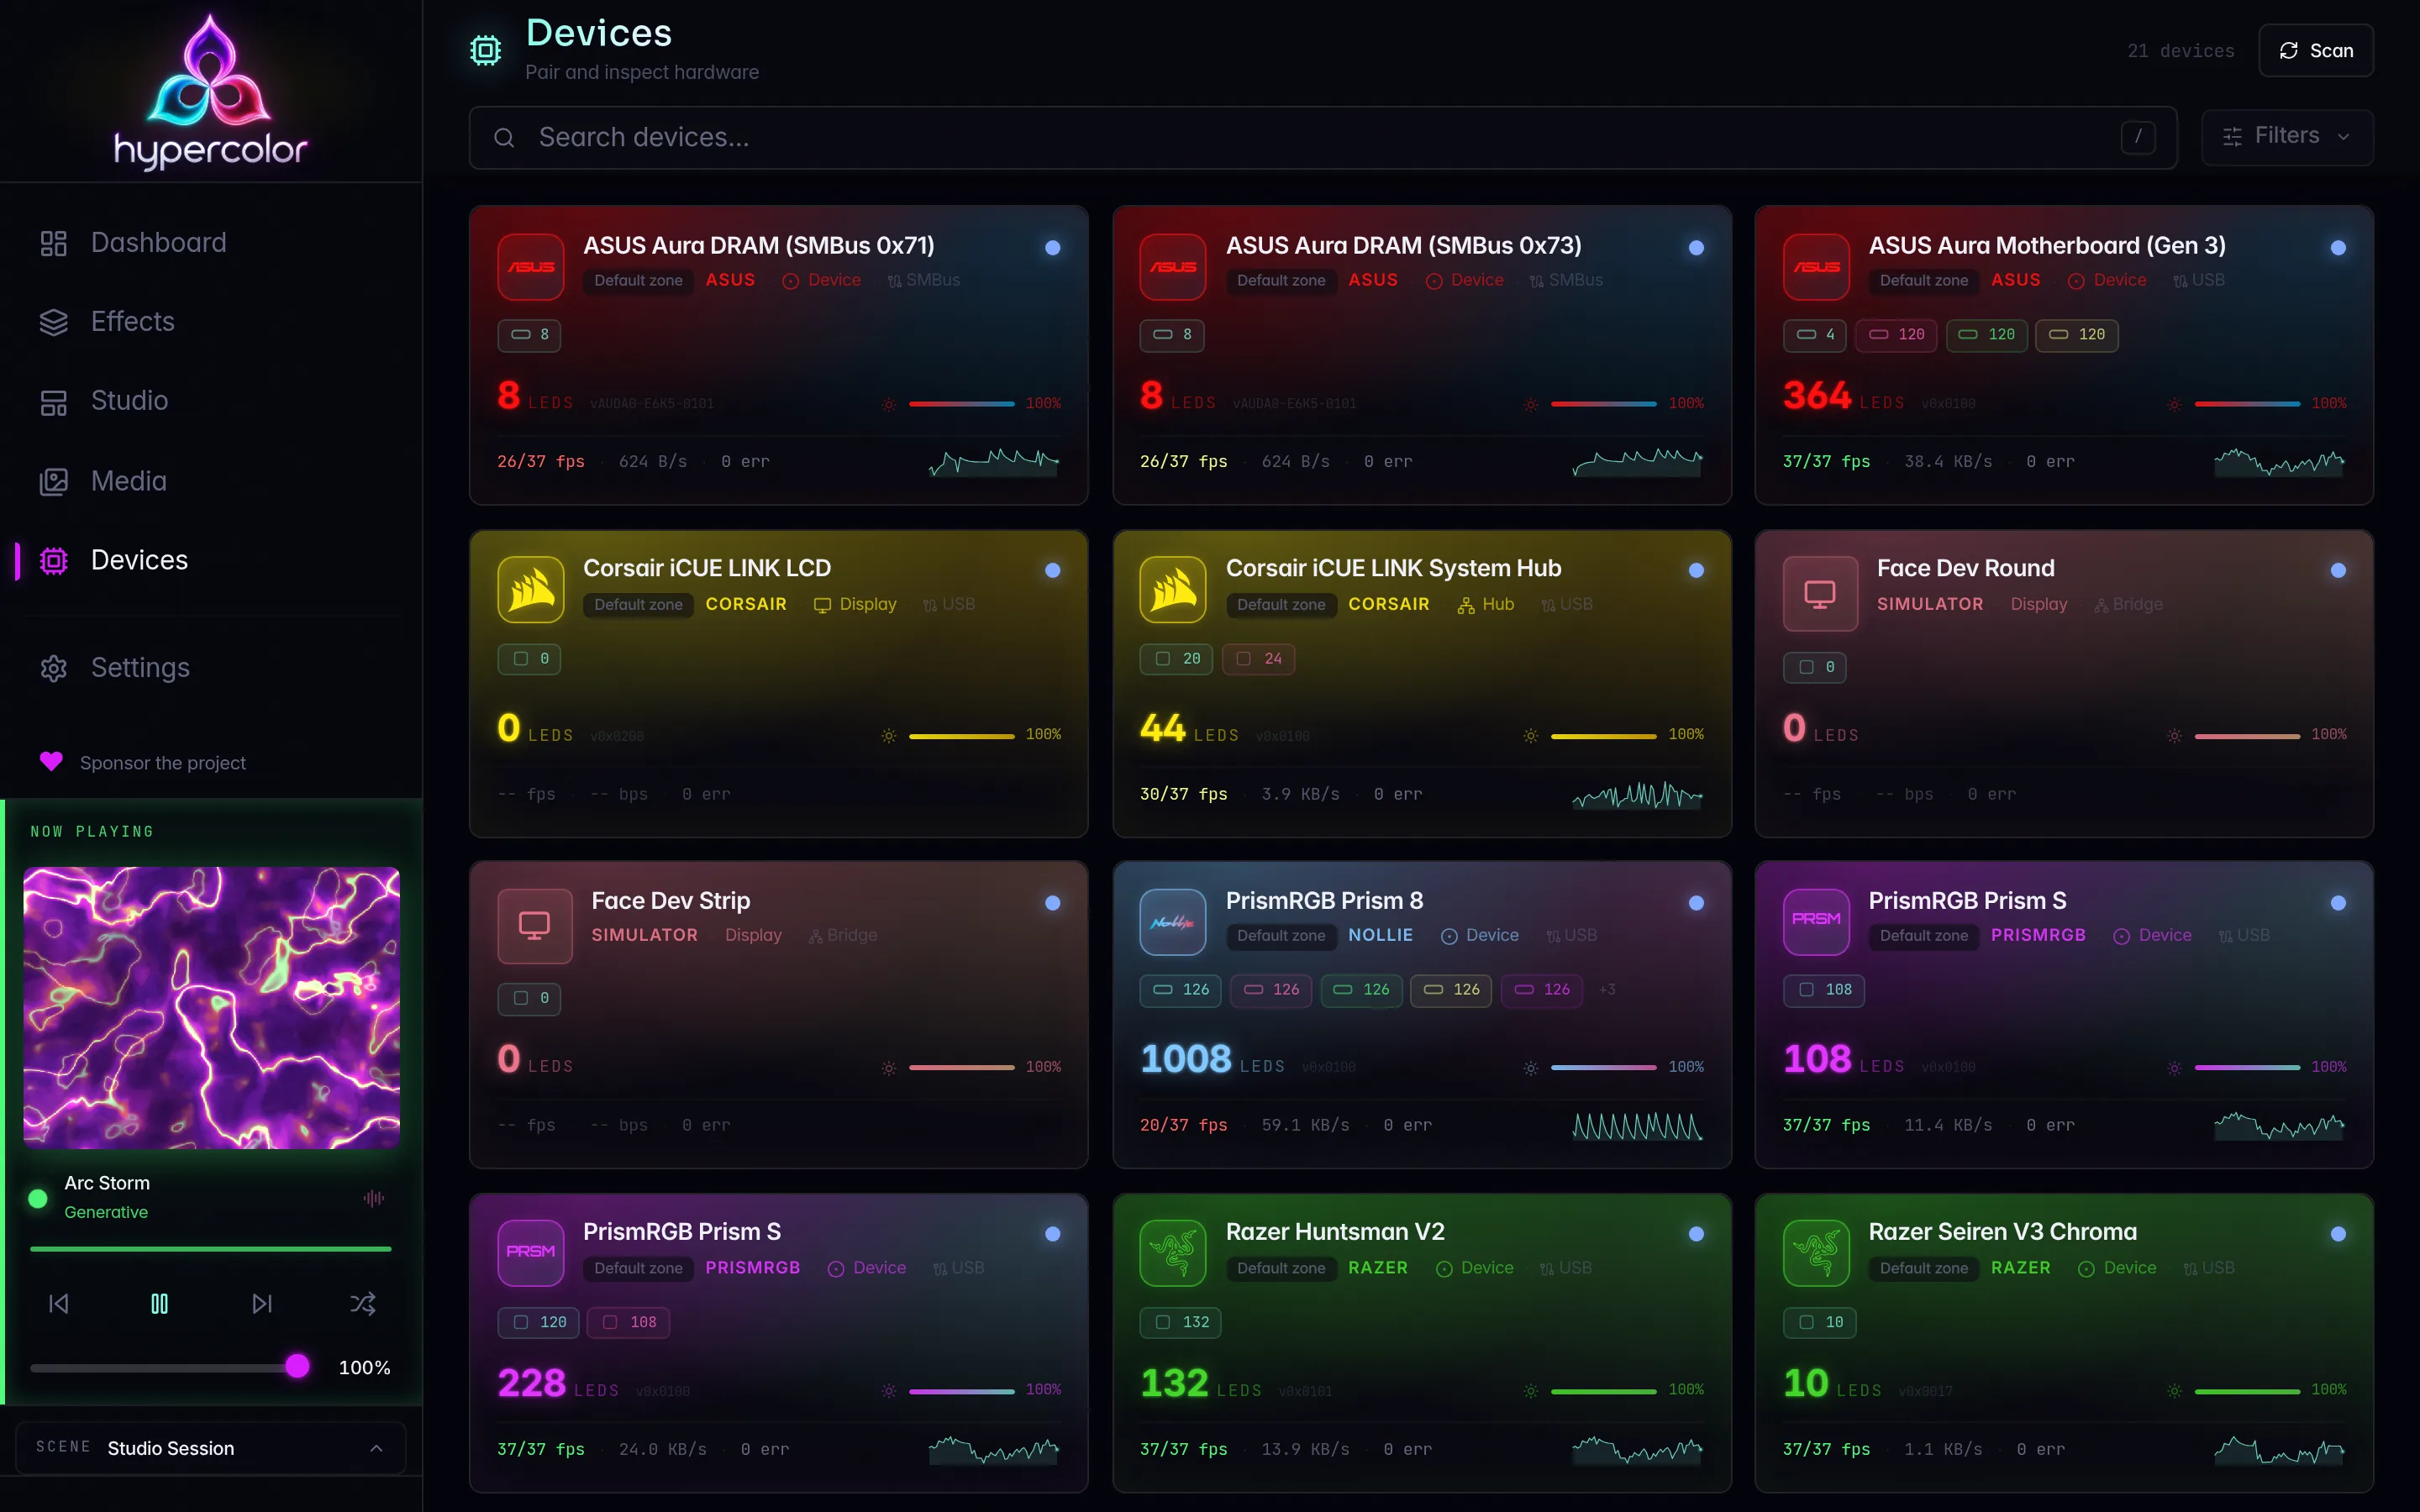
If the list is empty, run a scan:
hypercolor devices discoverFor network devices (WLED, Hue, Nanoleaf, Govee) add a timeout:
hypercolor devices discover --target wled --timeout 15To flash a test pattern on a specific device so you can physically identify it:
hypercolor devices identify "Razer Huntsman"The device name is fuzzy-matched, so close is usually close enough.
#In the CLI
hypercolor devices listThis prints a table with columns for Device, Driver, Route, LEDs, Status, and Firmware. If a device you expect is missing, see Devices not found.
#Step 2: Apply an effect
#Browse available effects
hypercolor effects listTo filter by category or search by name:
hypercolor effects list --category ambient
hypercolor effects list --search borealis
To see only audio-reactive effects:
hypercolor effects list --audioThe Effects section covers every authoring path and the built-in library.
#Activate one
hypercolor effects activate borealisEffect names are fuzzy-matched. The daemon applies the effect across all connected devices immediately.
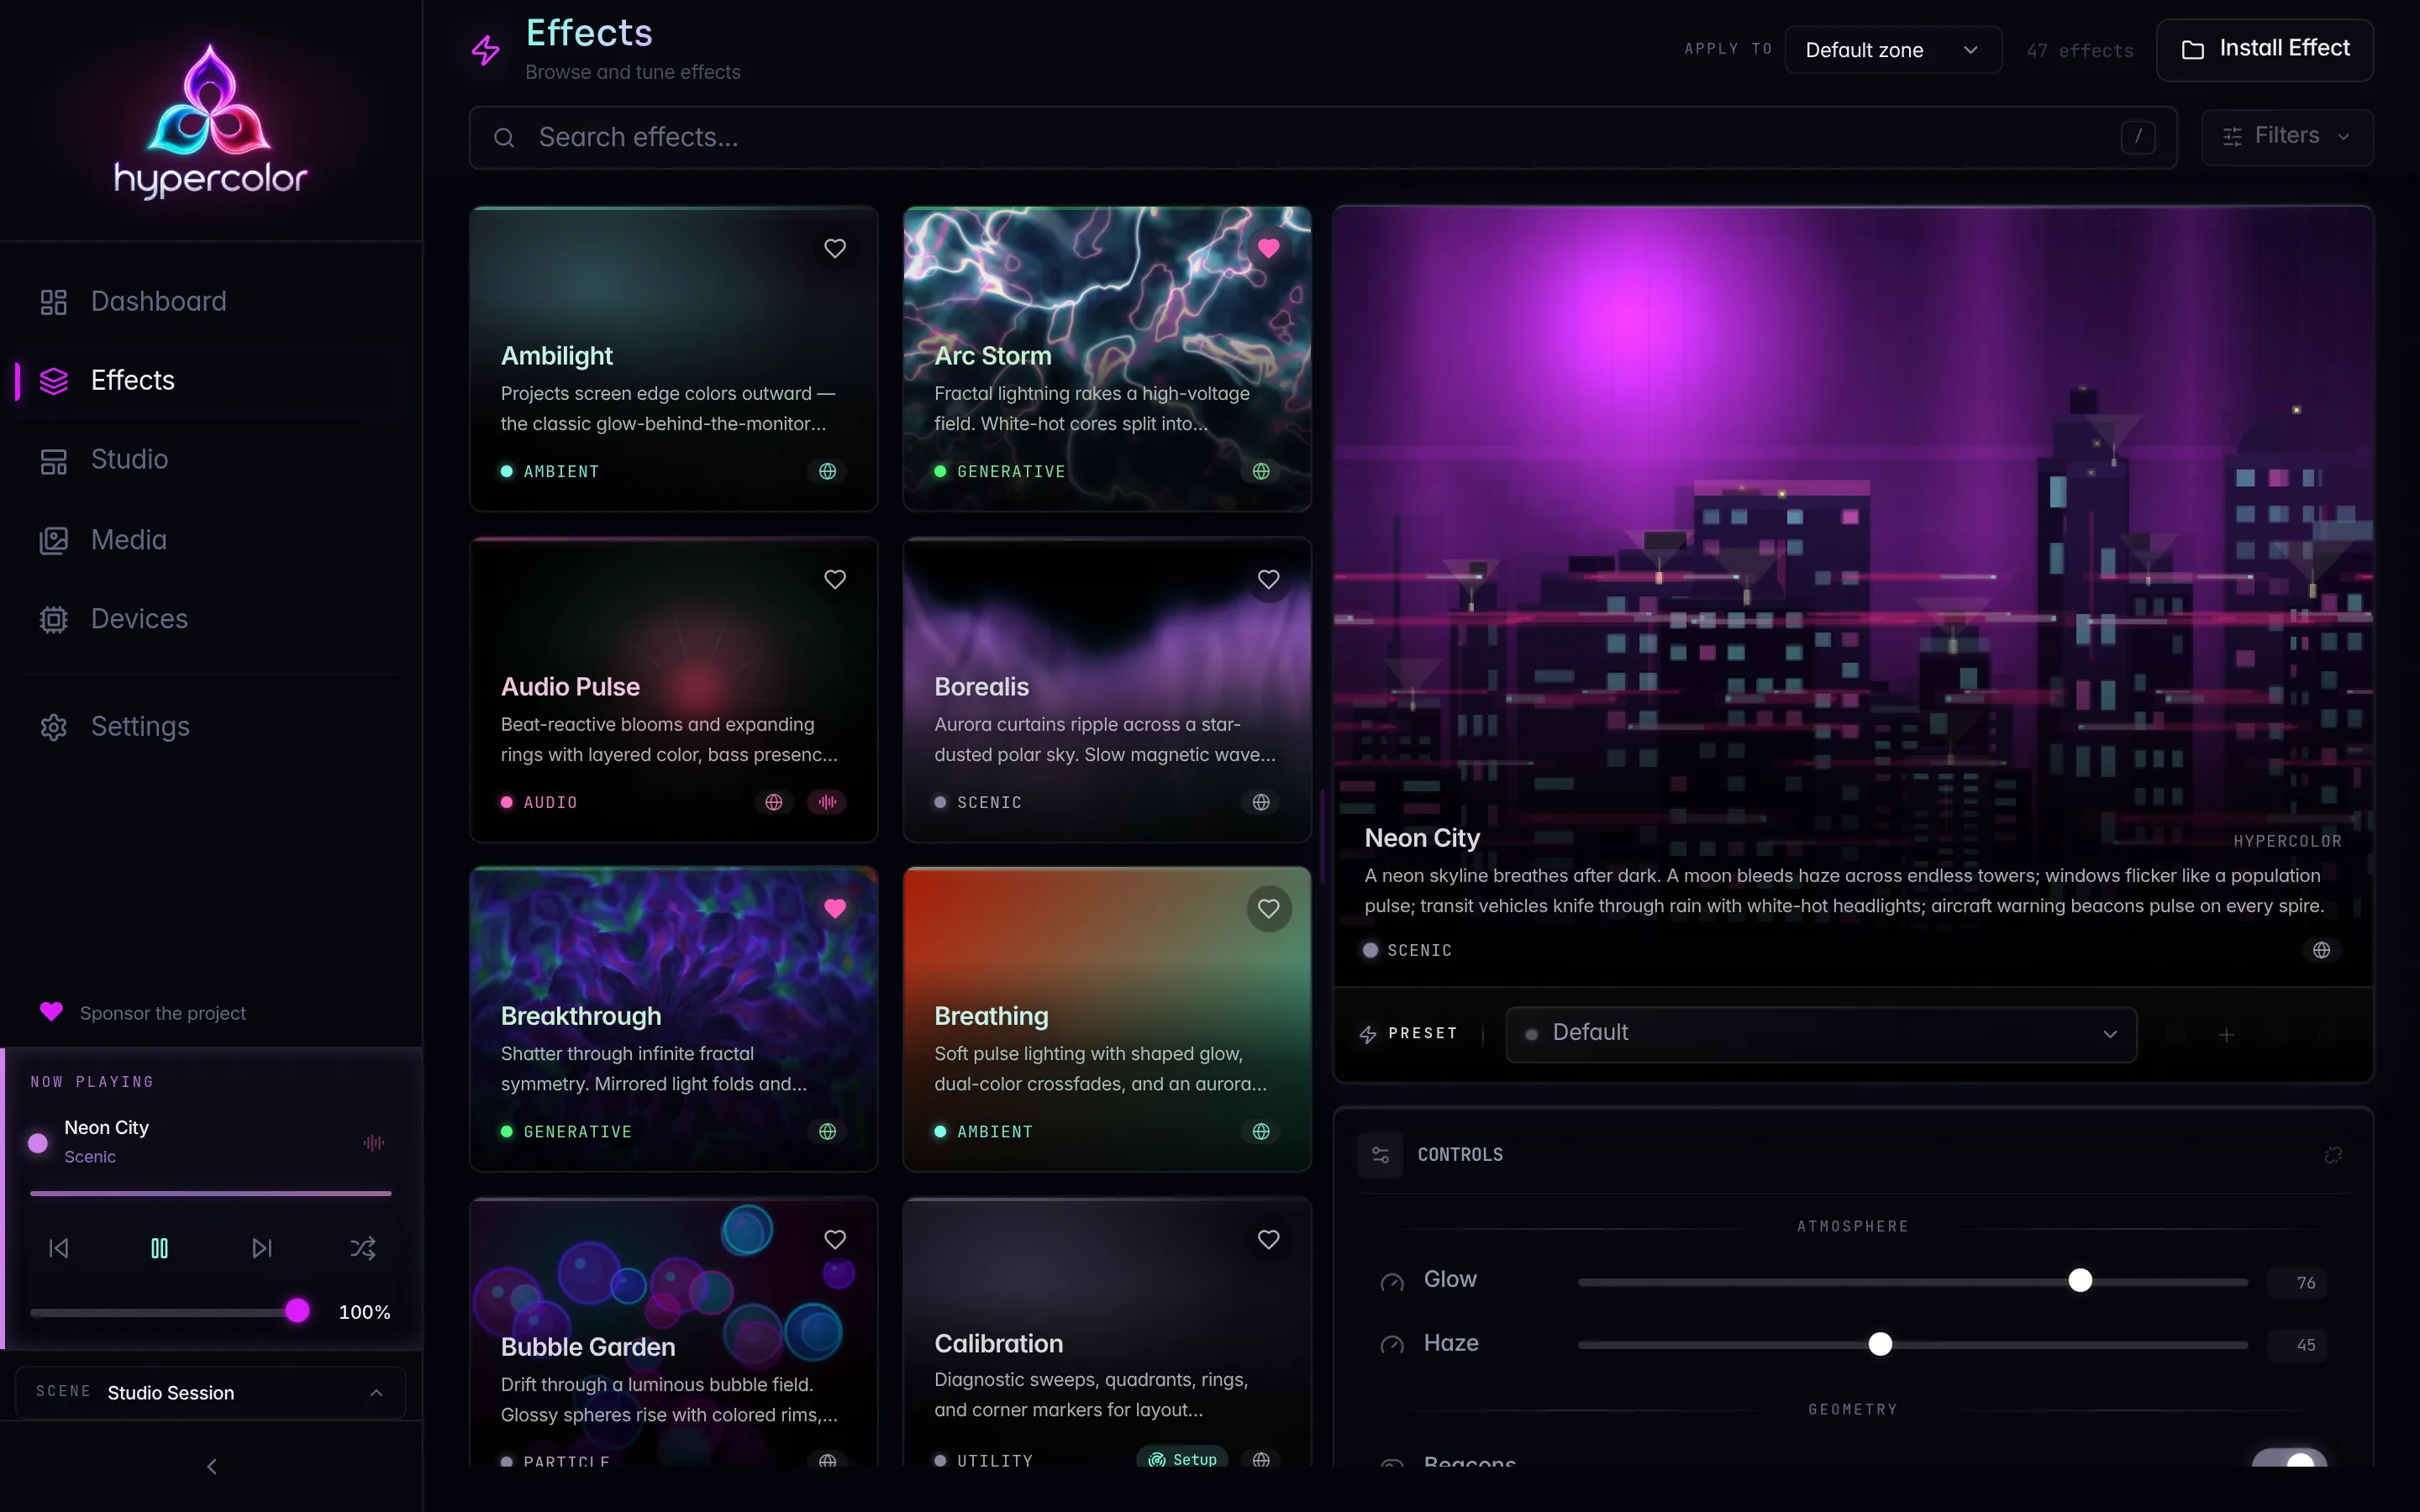
You can pass initial controls at activation time:
hypercolor effects activate borealis --speed 60 --intensity 80To tweak controls on a running effect without re-applying it:
hypercolor effects patch --param speed=40 --param intensity=90To reset controls to their defaults:
hypercolor effects resetTo stop the effect entirely:
hypercolor effects stopEffect switches are immediate. The apply request’s only transition type is cut, and crossfades are not implemented, so effects activate has no transition flag at all. (hypercolor scenes activate does take --transition <ms>, which overrides that scene’s stored transition duration.)
#Step 3: Set brightness
Global brightness scales all device output uniformly, independent of the effect’s own color values.
# Check current level
hypercolor brightness get

# Set to 70%
hypercolor brightness set 70
The value is clamped to 0-100. Setting 0 turns all LEDs off while keeping the effect running.
In the desktop app, the tray menu’s Brightness submenu lets you adjust this without opening the full window.
#Step 4: Capture a scene
A scene snapshot captures the current zones, layers, controls, device assignments, display faces, and named layout so you can restore the rig later. Global output brightness remains separate.
hypercolor scenes snapshot "Gaming"To list your saved scenes:
hypercolor scenes listTo restore a scene:
hypercolor scenes activate "Gaming"Scenes are fuzzy matched by name. Add a description to keep them organized:
hypercolor scenes snapshot "Work" --description "Cool whites for focus"By default the daemon restores your last scene on startup (start_scene = "last" in your config), so the scene you left active comes back after a reboot.
See Scenes and snapshots for live and snapshot mutation modes, boot restore, and external automation.
#No hardware? Use the simulator
The simulator is the documented no-hardware path. It creates a virtual display device that the render engine treats exactly like a real one: effects, controls, and the canvas preview all work.
Create a simulated display via the REST API:
curl -X POST http://localhost:9420/api/v1/simulators/displays \
  -H "Content-Type: application/json" \
  -d '{"name": "My Simulator", "width": 160, "height": 32}'
The simulator appears in hypercolor devices list alongside physical hardware. Apply effects to it, adjust brightness, and capture scene snapshots exactly as you would with real devices.
To preview the output as a live JPEG frame:
curl http://localhost:9420/api/v1/simulators/displays/<id>/frame --output frame.jpgReplace <id> with the id field returned when you created the simulator.
To remove the simulator:
curl -X DELETE http://localhost:9420/api/v1/simulators/displays/<id>Simulated display configs persist across daemon restarts. Width and height must each be non-zero; there is no upper bound beyond the point where the resulting RGBA buffer length overflows.
#Success checkpoint
At the end of this walkthrough you should have:
- At least one device (real or simulated) visible in
hypercolor devices list - An effect running, confirmed by seeing the name in
hypercolor statusor the web UI - Brightness at a level you set deliberately
- A saved scene you can restore with
hypercolor scenes activate
If you hit a wall, Common issues covers port conflicts, missing devices, and audio setup. The TUI gives you a live dashboard view of everything in the terminal.
#Where to go next
- Finding devices: USB permissions, network discovery, pairing network devices
- Audio setup: configuring an audio loopback source for audio-reactive effects
- Scenes and snapshots: reusable rig state and external automation
- Studio: the full zone editor for per-LED spatial control
- Effects: the built-in library and every effect authoring path