The terminal UI (TUI)
Launch the Ratatui TUI, navigate its panels, browse effects, and read the live spectrum view.
Hypercolor ships a full-featured terminal UI built on Ratatui. It gives you a live dashboard, a searchable effect browser with per-effect controls and canvas preview, a connected-devices table, and a real-time audio spectrum strip, all without leaving the terminal.
#Launching the TUI
just tui          # preferred: auto-starts a local daemon if one is not running
hypercolor tui    # via the CLI binary; expects a daemon already running
The tui subcommand accepts one flag:
--log-level <LEVEL>    Tracing level for the TUI session (default: warn)
                       Values: error, warn, info, debug, trace
Tracing output goes to $TMPDIR/hypercolor-tui.log, not to the terminal, which keeps the alternate screen clean. Quitting the TUI never stops a daemon that was already running. The one exception is just tui: when it has to spin up a local daemon for you, that daemon is its child and gets shut down when the TUI exits.
If the daemon is running on a non-default host or port, set HYPERCOLOR_HOST and HYPERCOLOR_PORT before launching, or add a connection profile with hypercolor config profile add. See configuration for details.
#Frame layout
Every screen shares the same persistent chrome shell:
┌─────────────────────────────────────────────────────────────────┐
│ H Y P E R C O L O R │ Dashboard          60fps │ Audio │ 3 dev  │  ← title bar (1 row)
├─────────────────────────────────────────────────────────────────┤
│                                                                 │
│                     main content area                           │
│                                                                 │
├─────────────────────────────────────────────────────────────────┤
│ ▇▇▆▅▄▃▂▁ · · · · · · · · · · · · · · · · · · ▁▂▃▄▅▅           │  ← spectrum bars (row 1)
│  Level: ▇▇▇▇▇░░░  62%  │ Beat: ● ● ○ ○  │ 128 BPM            │  ← stats row (row 2)
├─────────────────────────────────────────────────────────────────┤
│ Borealis  ─  Vapor Scene  ─  3 devices · 312 LEDs   dash│effx│…│  ← status bar (1 row)
└─────────────────────────────────────────────────────────────────┘
Title bar: brand shimmer animation on the left, active screen name in the center, live FPS / audio status / device count on the right.
Audio strip: two rows of live audio data. The top row is a full-width spectrum bar chart colored by frequency band (coral for bass, yellow for mids, cyan for treble). The bottom row shows an 8-block level meter, four beat-detection dots, and BPM when detected. The whole strip collapses to a single “No audio” line when no audio source is configured; see audio setup.
Status bar: gradient-colored active effect name on the left, clickable screen shortcuts and ?help on the right. In a multi-zone scene it also shows the targeted zone name.
#Screens
Press the corresponding letter to switch screens. The active screen is highlighted in the status bar.
| Key | Screen | What it shows |
|---|---|---|
d | Dashboard | Now Playing panel, canvas preview, device table, quick actions |
e | Effects | Three-pane effect browser with search, preview, and controls |
v | Devices | Connected device list and per-device details |
s | Settings | TUI settings and preferences |
b | Debug | Runtime diagnostics and telemetry |
These five screens are the entries in the status-bar navigation. Press c to open the scene picker without leaving the active screen.
#Dashboard screen
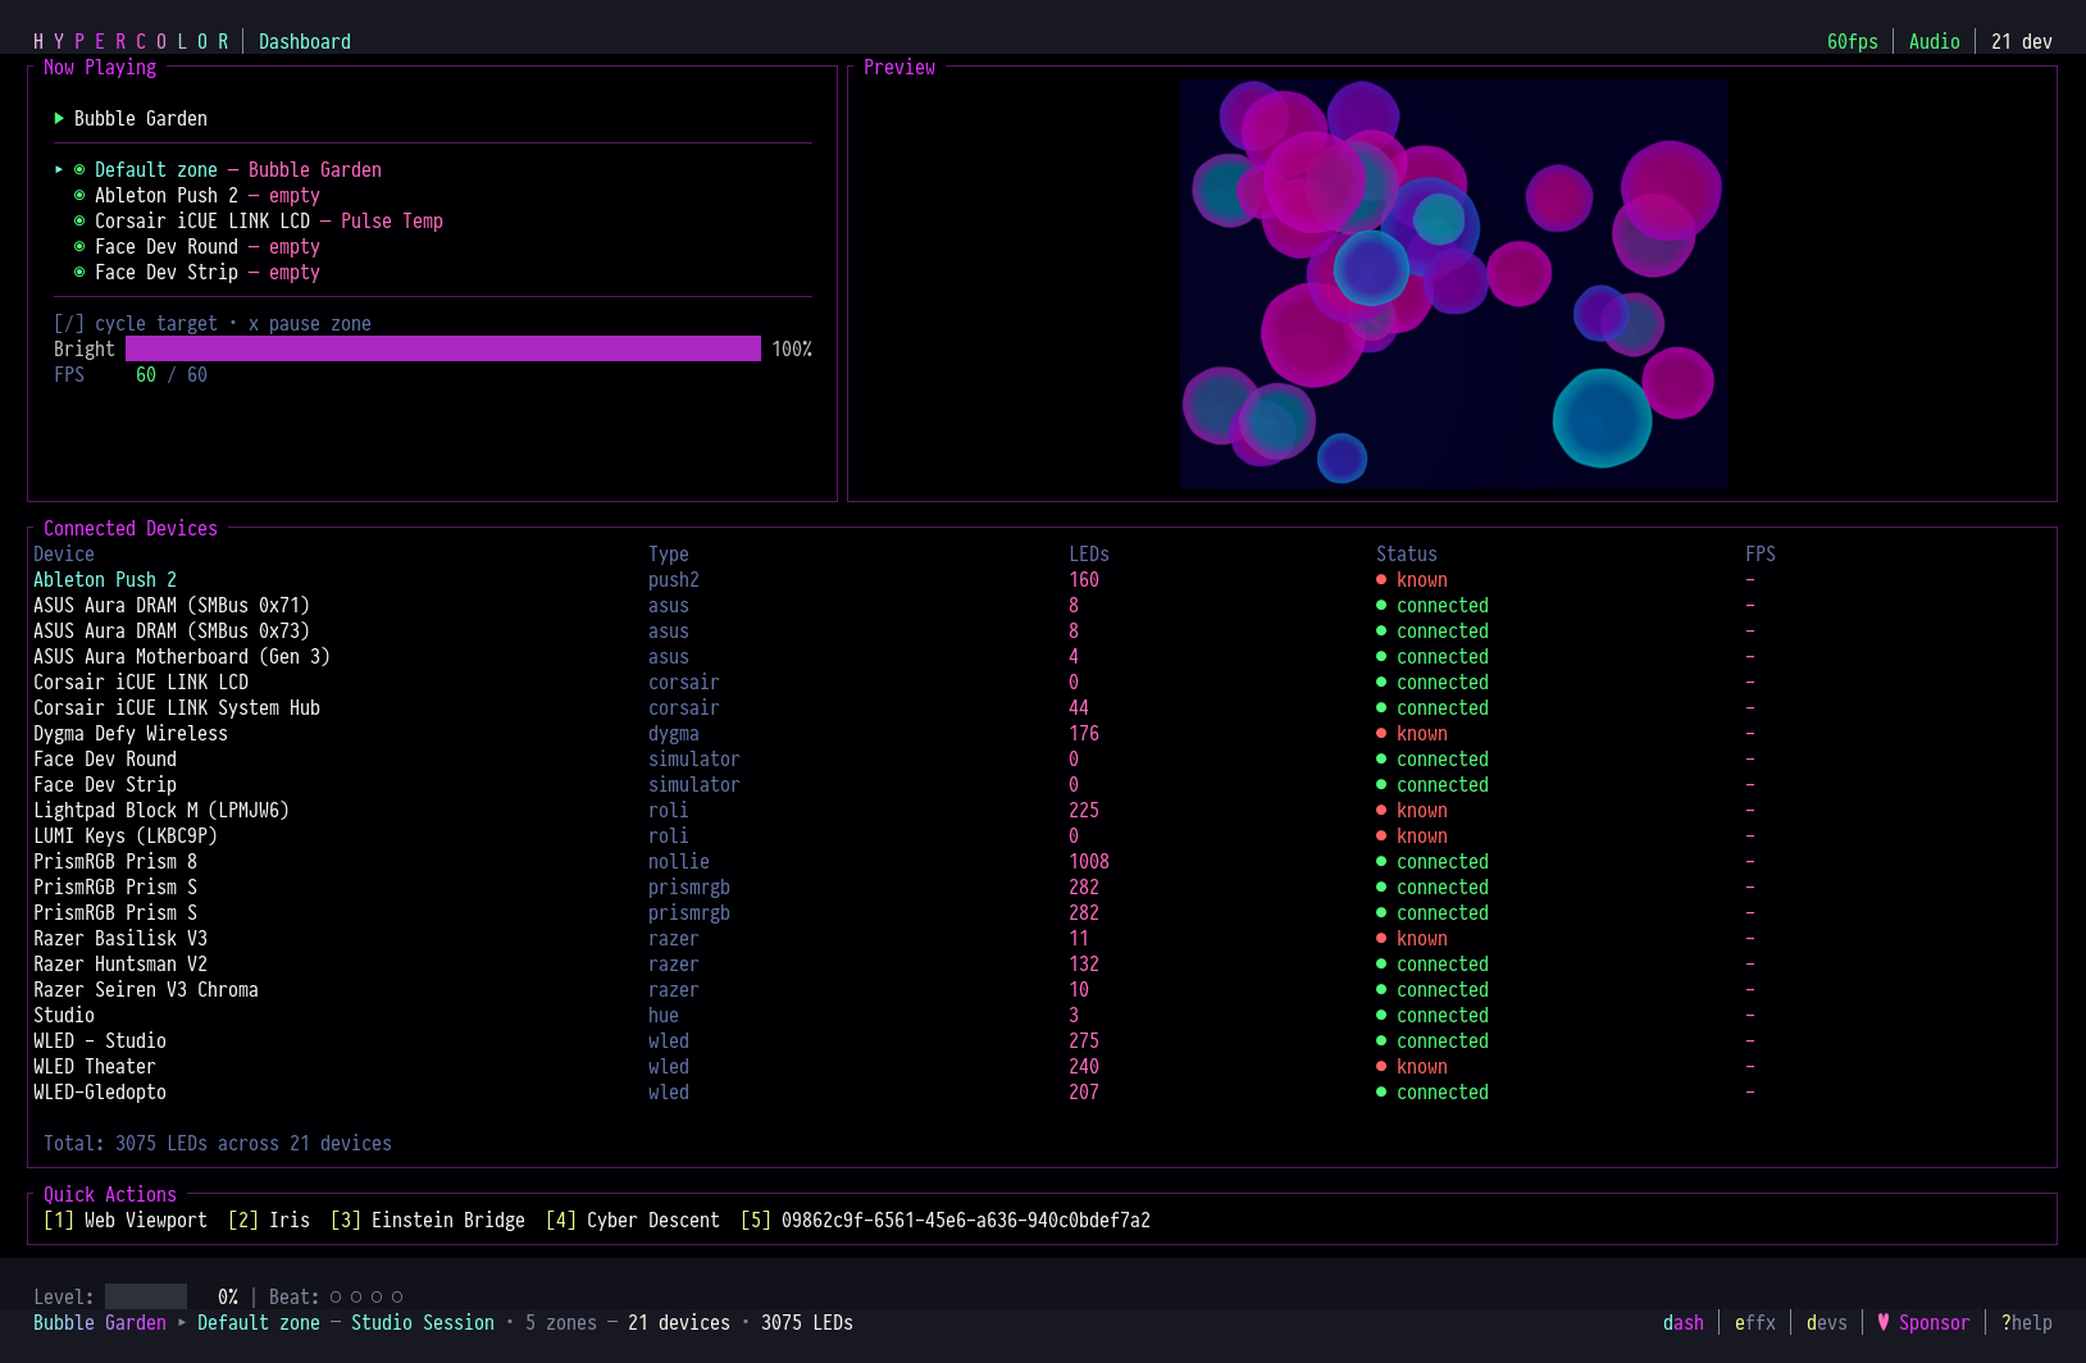
The dashboard is the landing screen and the fastest way to see current system state at a glance.
It is divided into four panels, all resizable by dragging the divider lines with the mouse:
Now Playing (top-left): the active effect name, description, author, category, feature badges (audio reactive, control count, preset count), and tags. Below those, a brightness gauge and live FPS readout. In a multi-zone scene, this panel lists each zone with its effect and enabled state; [/] cycles the apply target between zones, x toggles the targeted zone on or off.
Preview (top-right): the live render canvas streamed from the daemon over WebSocket. The canvas adapts automatically to the terminal’s image protocol (Kitty, sixel, or Unicode half-blocks). If no canvas data has arrived yet, the panel shows a placeholder.
Connected Devices (middle): a table of every discovered device with columns for Device, Type, LEDs, Status, and FPS, plus a footer totaling LEDs across all devices. Navigate rows with j/k or the arrow keys; Enter jumps to the Devices screen.
Quick Actions (bottom): your first five favorited effects, bound to 1 through 5. If you have no favorites yet, the bar suggests pressing f in the effect browser to add some.
#Effects screen
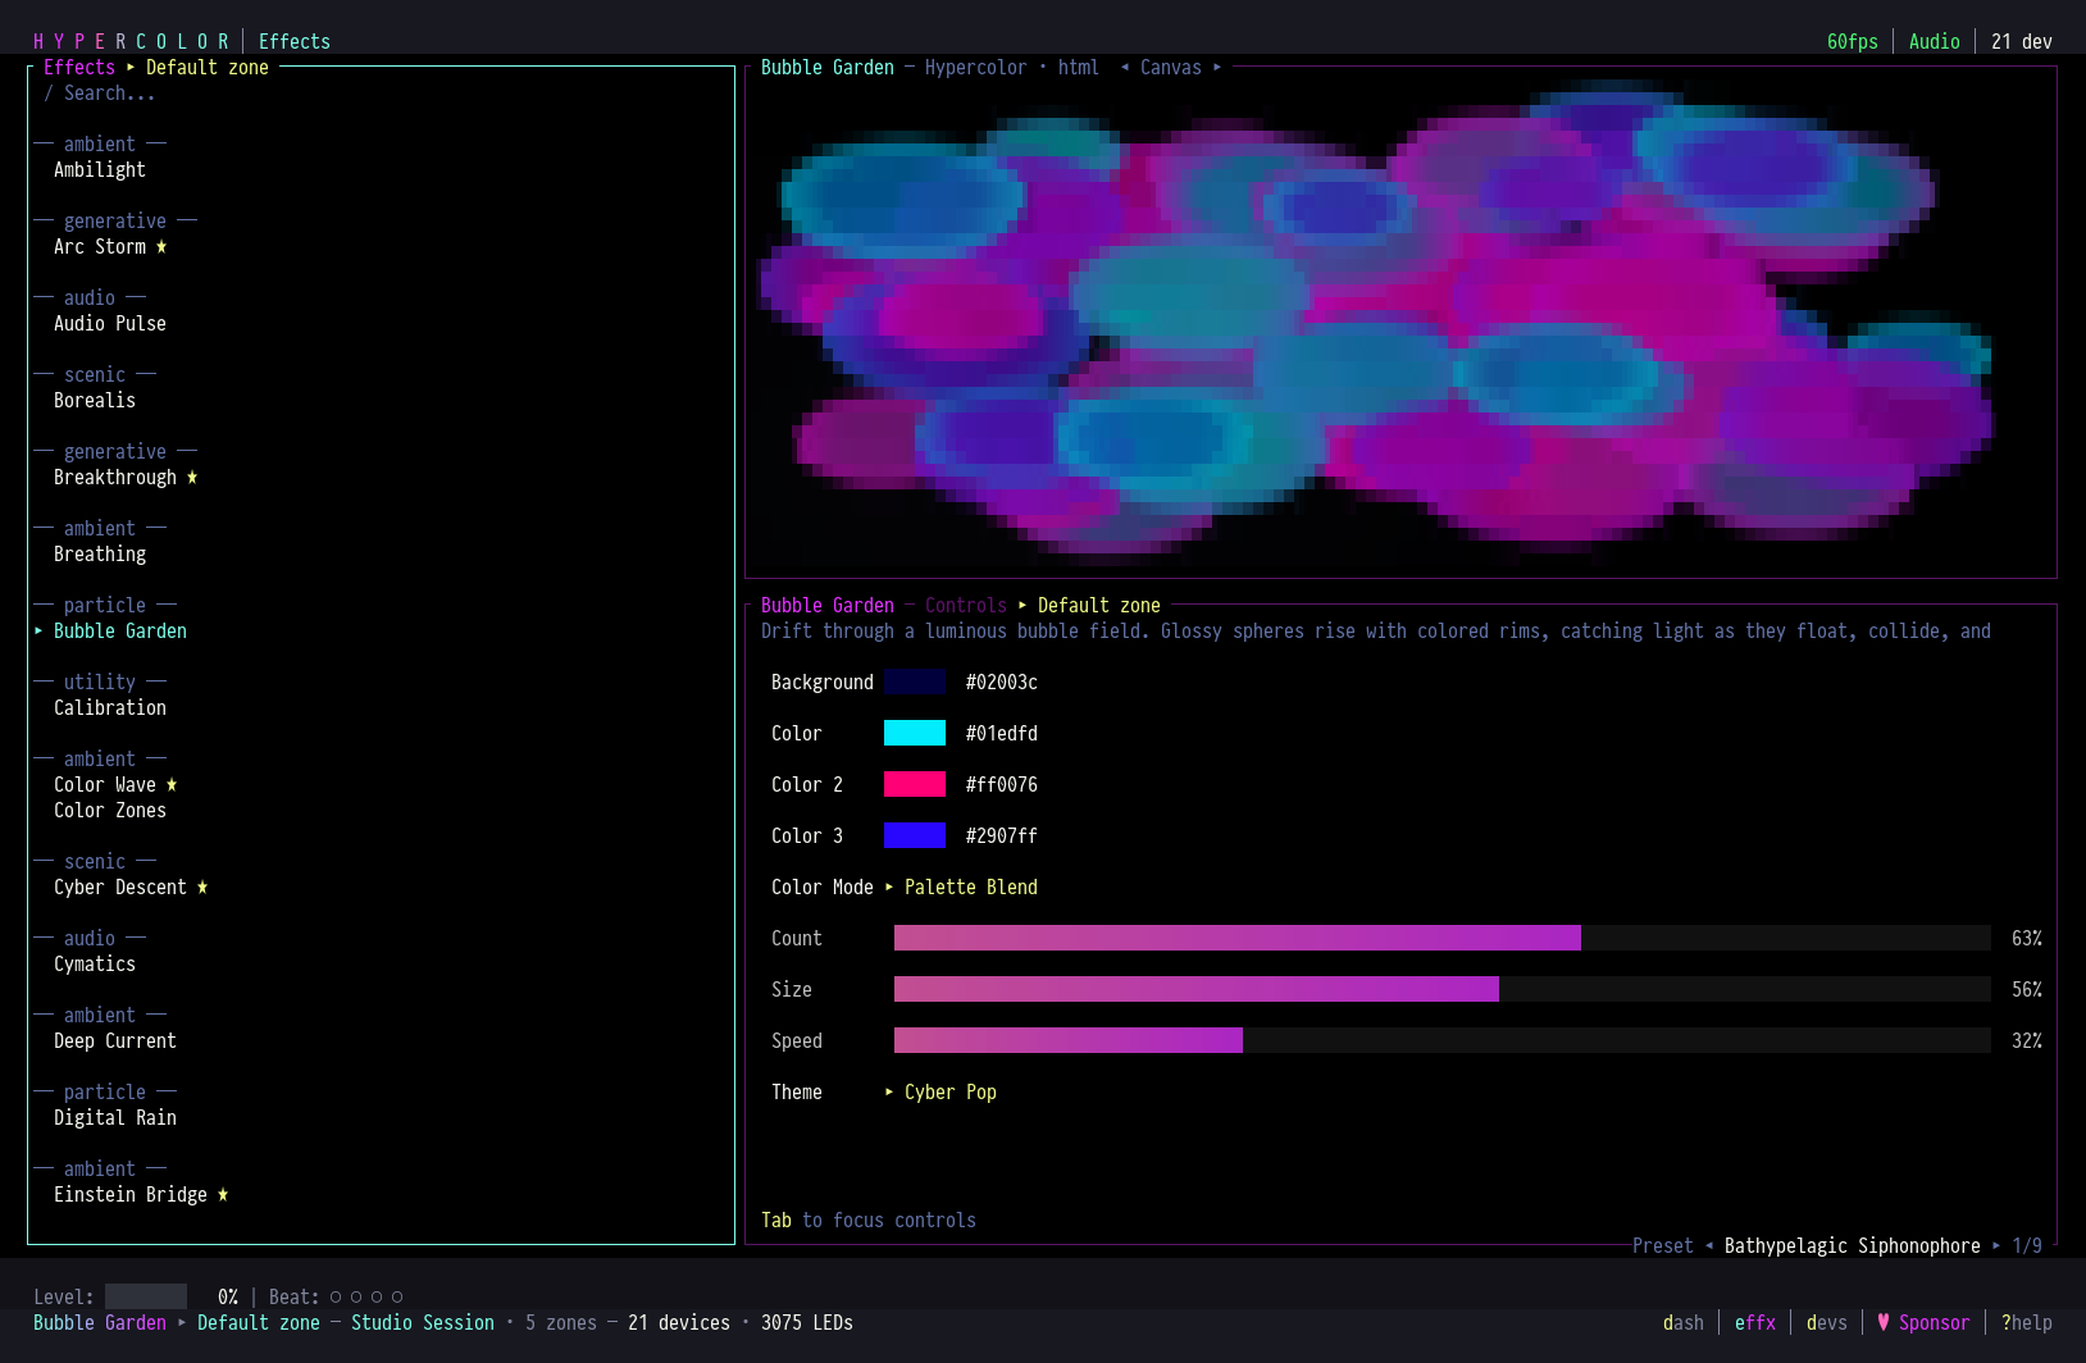
The effect browser uses a three-pane layout: effect list on the left, canvas preview top-right, and controls bottom-right. All three panes are resizable.
#Effect list pane
Effects are grouped by category. The selected effect is highlighted with a pointer; favorited effects show a star marker; each entry also carries a source badge (native or web) indicating whether the effect runs as compiled Rust or as an HTML canvas effect rendered by Servo.
| Key | Action |
|---|---|
j / ↓ | Move selection down |
k / ↑ | Move selection up |
g / Home | Jump to top |
G / End | Jump to bottom |
PgDn / PgUp | Jump ten effects |
Enter | Apply selected effect |
f | Toggle favorite |
/ | Enter search mode |
Esc | Clear search / return to list |
Search filters by name, category, and tags simultaneously. The filter is live: results update as you type.
#Preview pane
Shows the live canvas for the selected effect. If multiple virtual display simulators are enabled, cycle between them with h/l or horizontal scroll in the preview pane. The source label in the pane title shows which feed is active.
When the effect has named presets, a preset indicator appears at the bottom of the controls pane. Navigate presets with j/k in the preview pane; Enter applies the highlighted preset.
#Controls pane
Lists every adjustable parameter for the selected effect. Tab into this pane and navigate with j/k. Adjust the focused control with ←/→:
| Control type | Keys |
|---|---|
| Slider | ← / →: adjust by step, accelerates when held |
| Toggle | Space or Enter: flip on/off |
| Dropdown | ← / → or Enter: cycle options |
| Color | Enter: open HSL color picker popup |
Inside the color picker, ↑/↓ selects the channel (hue, saturation, lightness), ←/→ adjusts it, Enter confirms, Esc cancels.
Press r in the controls pane to reset all controls to their defaults.
#Pane focus
Tab cycles focus forward through List → Preview → Controls. Shift+Tab cycles backward. The focused pane’s border is highlighted. Esc returns focus to the list.
#Fullscreen preview
Press z (or Z) from any screen to expand the canvas preview to fill the entire terminal. The audio strip and a minimal status line remain visible.
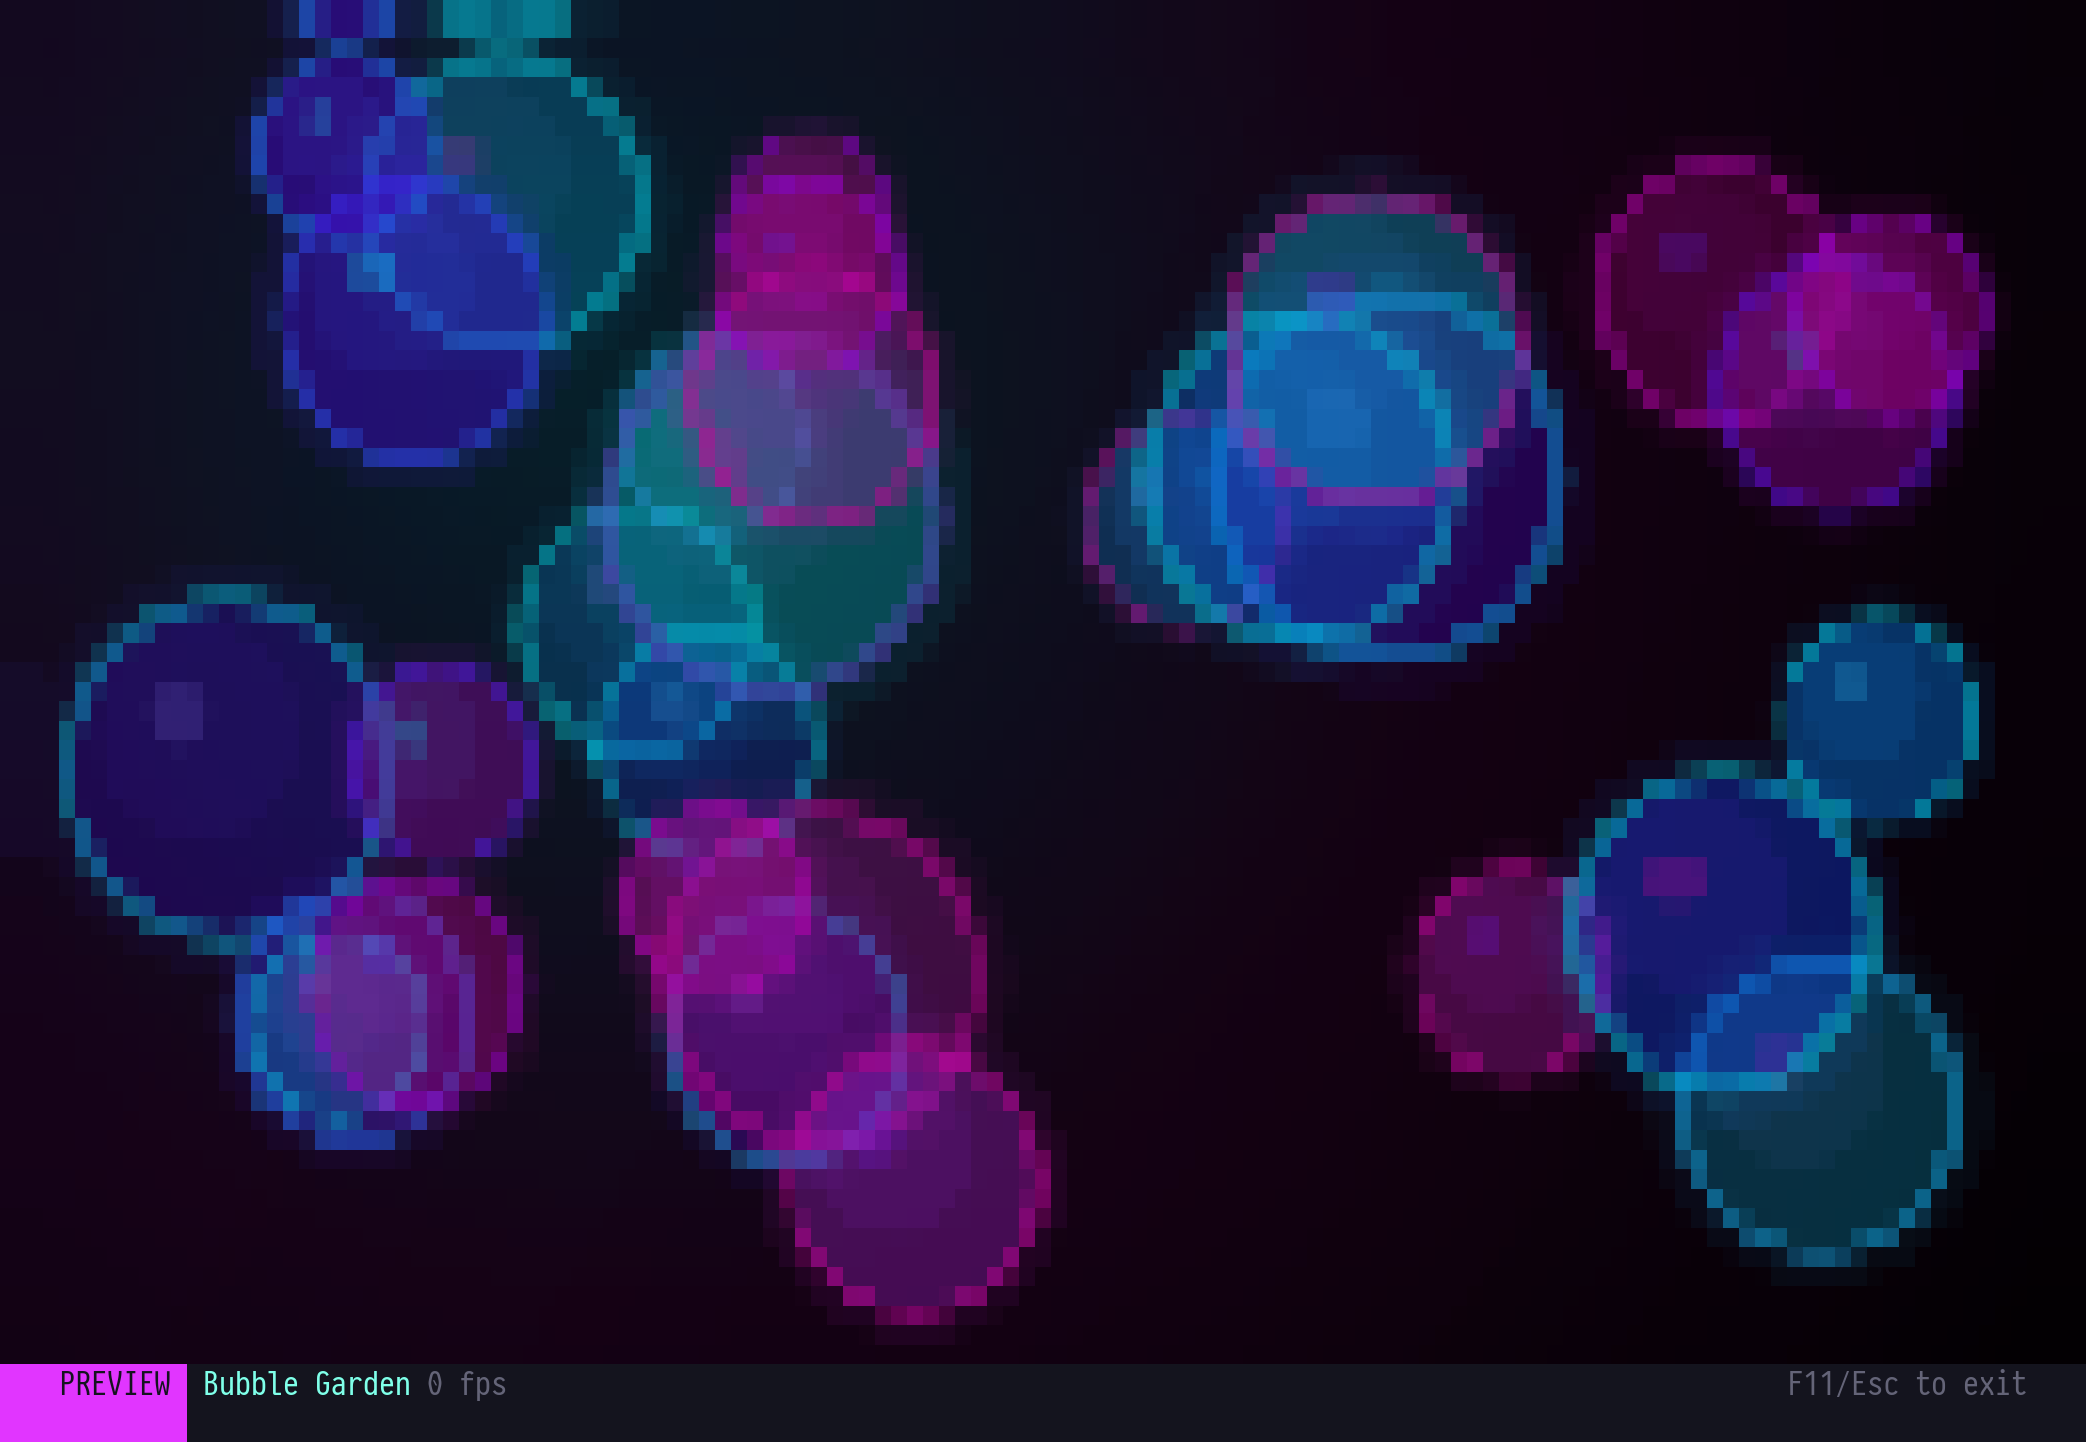
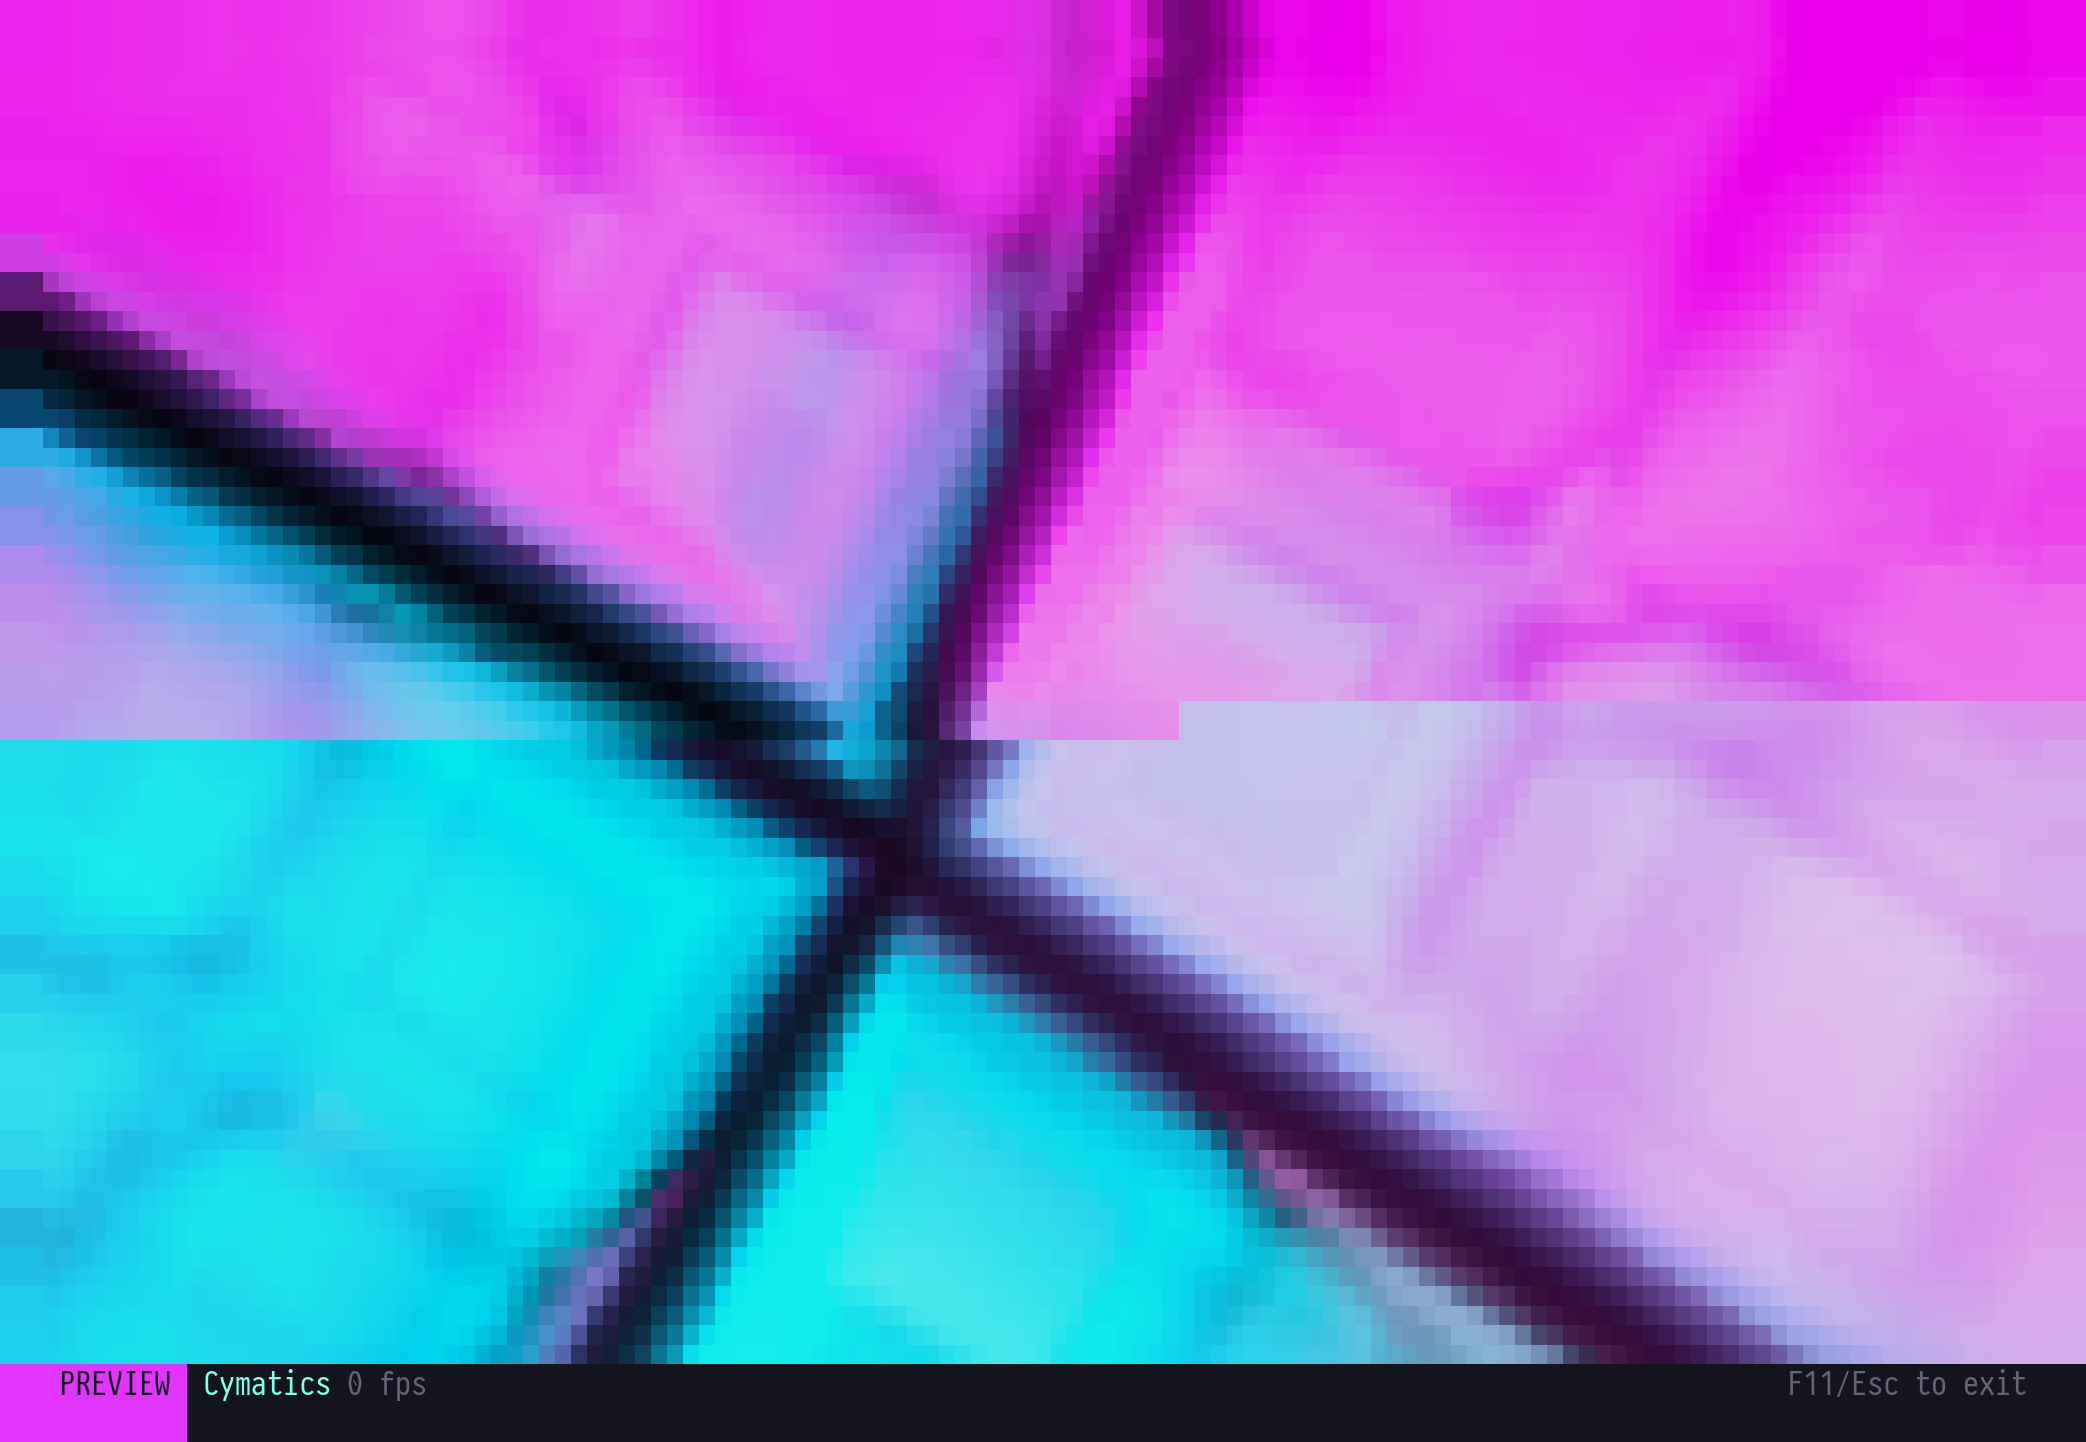
In fullscreen mode, the preview transport is chosen automatically based on your terminal’s capabilities and the render cost. In Kitty the TUI uses a fast direct-protocol path; in other terminals it falls back to the best graphics protocol the terminal advertises, and to Unicode block-character rendering where none is available.
Press z or Esc to return to the normal layout.
#Global keybindings
These work from any screen and any pane:
| Key | Action |
|---|---|
q | Quit the TUI (daemon keeps running) |
? | Toggle keybinding help overlay |
T | Open the live theme picker |
M | Cycle motion sensitivity (Off → Subtle → Full) |
Z | Toggle fullscreen canvas preview |
C | Open the scene picker modal |
[ | Cycle zone target backward (multi-zone scenes) |
] | Cycle zone target forward (multi-zone scenes) |
Esc | Go back / close overlay |
d/e/v | Switch directly to Dashboard / Effects / Devices |
The letter shortcuts are case-insensitive, so T, M, Z, and C work whether or not Shift is held. When the sponsor link is enabled, $ opens the project’s GitHub Sponsors page.
Mouse is fully supported. Click panels to shift focus, drag divider lines to resize, scroll in lists and controls, and click status-bar shortcuts to jump screens.
#Live motion effects
The TUI runs a tachyonfx-based motion layer that animates state changes without blocking input or the render loop:
- Title shimmer: continuous color wash on the
H Y P E R C O L O Rbrand text. - Screen transitions: dissolve when switching screens.
- Effect changes: quick visual feedback when the active effect changes.
- Device arrival / departure: sweep-in and dissolve-out animations.
- Connection lost / restored: persistent glitch effect on loss, green flash on reconnect.
- Spectrum pulse: border brightness driven by audio bass energy.
- Canvas bleed: background tint that tracks the canvas dominant color.
- Idle breathing: gentle border breathing after a period of no input.
Press M to cycle through Off, Subtle, and Full sensitivity levels if the motion is distracting.
#Theme picker
Press T to open the live theme picker modal. Themes apply immediately without a restart and are persisted to ~/.config/hypercolor/tui.toml.
#Connecting to a non-default daemon
By default the TUI connects to localhost:9420. To point it elsewhere, set environment variables before launch:
HYPERCOLOR_HOST=192.168.1.10 HYPERCOLOR_PORT=9420 hypercolor tuiFor a connection you reuse, save it as a profile instead of exporting variables every time:
hypercolor config profile add studio --host 192.168.1.10 --port 9420
hypercolor --profile studio tui
See configuration for the full precedence rules.
#Troubleshooting
“No canvas data” in the preview panel: the daemon is running but the render loop has not produced a frame yet. Apply an effect from the effect browser and the preview will populate within one render cycle.
Audio strip shows “No audio”: no audio source is configured or the daemon cannot open the system audio device. See audio setup.
Preview looks pixelated or uses block characters: your terminal does not support the Kitty or sixel graphics protocol. The TUI automatically falls back to Unicode block-character rendering, which is correct behavior. Switch to a Kitty-compatible terminal for full-resolution preview.
TUI does not start or crashes immediately: check $TMPDIR/hypercolor-tui.log. The most common cause is the daemon not running on the expected address. Start the daemon first with just daemon (or the desktop app, which supervises it), then re-launch the TUI. just tui handles this for you by auto-starting a local daemon when one is not already reachable.
For device-specific issues, see troubleshooting.