Quick start
Zero to RGB in five minutes, including a no-hardware simulator path and a conflicting-software callout.
This guide assumes you have completed installation and understand the pieces (daemon, CLI, web UI). If you just ran the installer, the daemon is probably already running. If not, start it now:
just daemon
# or, for a packaged install:
hypercolor service start
Then verify it is up:
curl -s http://localhost:9420/healthA 200 OK response means the daemon is running and the REST API is reachable.
Close other RGB software first. OpenRGB, Aura Sync, openrazer daemon, iCUE wine layers, and similar tools all grab USB HID devices exclusively. If one of them is running, Hypercolor cannot claim the same device. Stop those tools before continuing. If a USB device appears in lsusb but not in hypercolor devices list, a conflicting tool is the most likely cause. See conflicting software for diagnosis steps.
#1. Check device discovery
The daemon discovers USB HID devices automatically on startup and rescans when you plug in hardware. Network devices (WLED via mDNS, Hue, Nanoleaf, Govee) are discovered on the same background loop.
hypercolor devices listYou should see a table of connected devices with their name, driver, output route, LED count, status, and firmware. If the list is empty and you have hardware plugged in, check the udev rules and confirm no conflicting software is running.
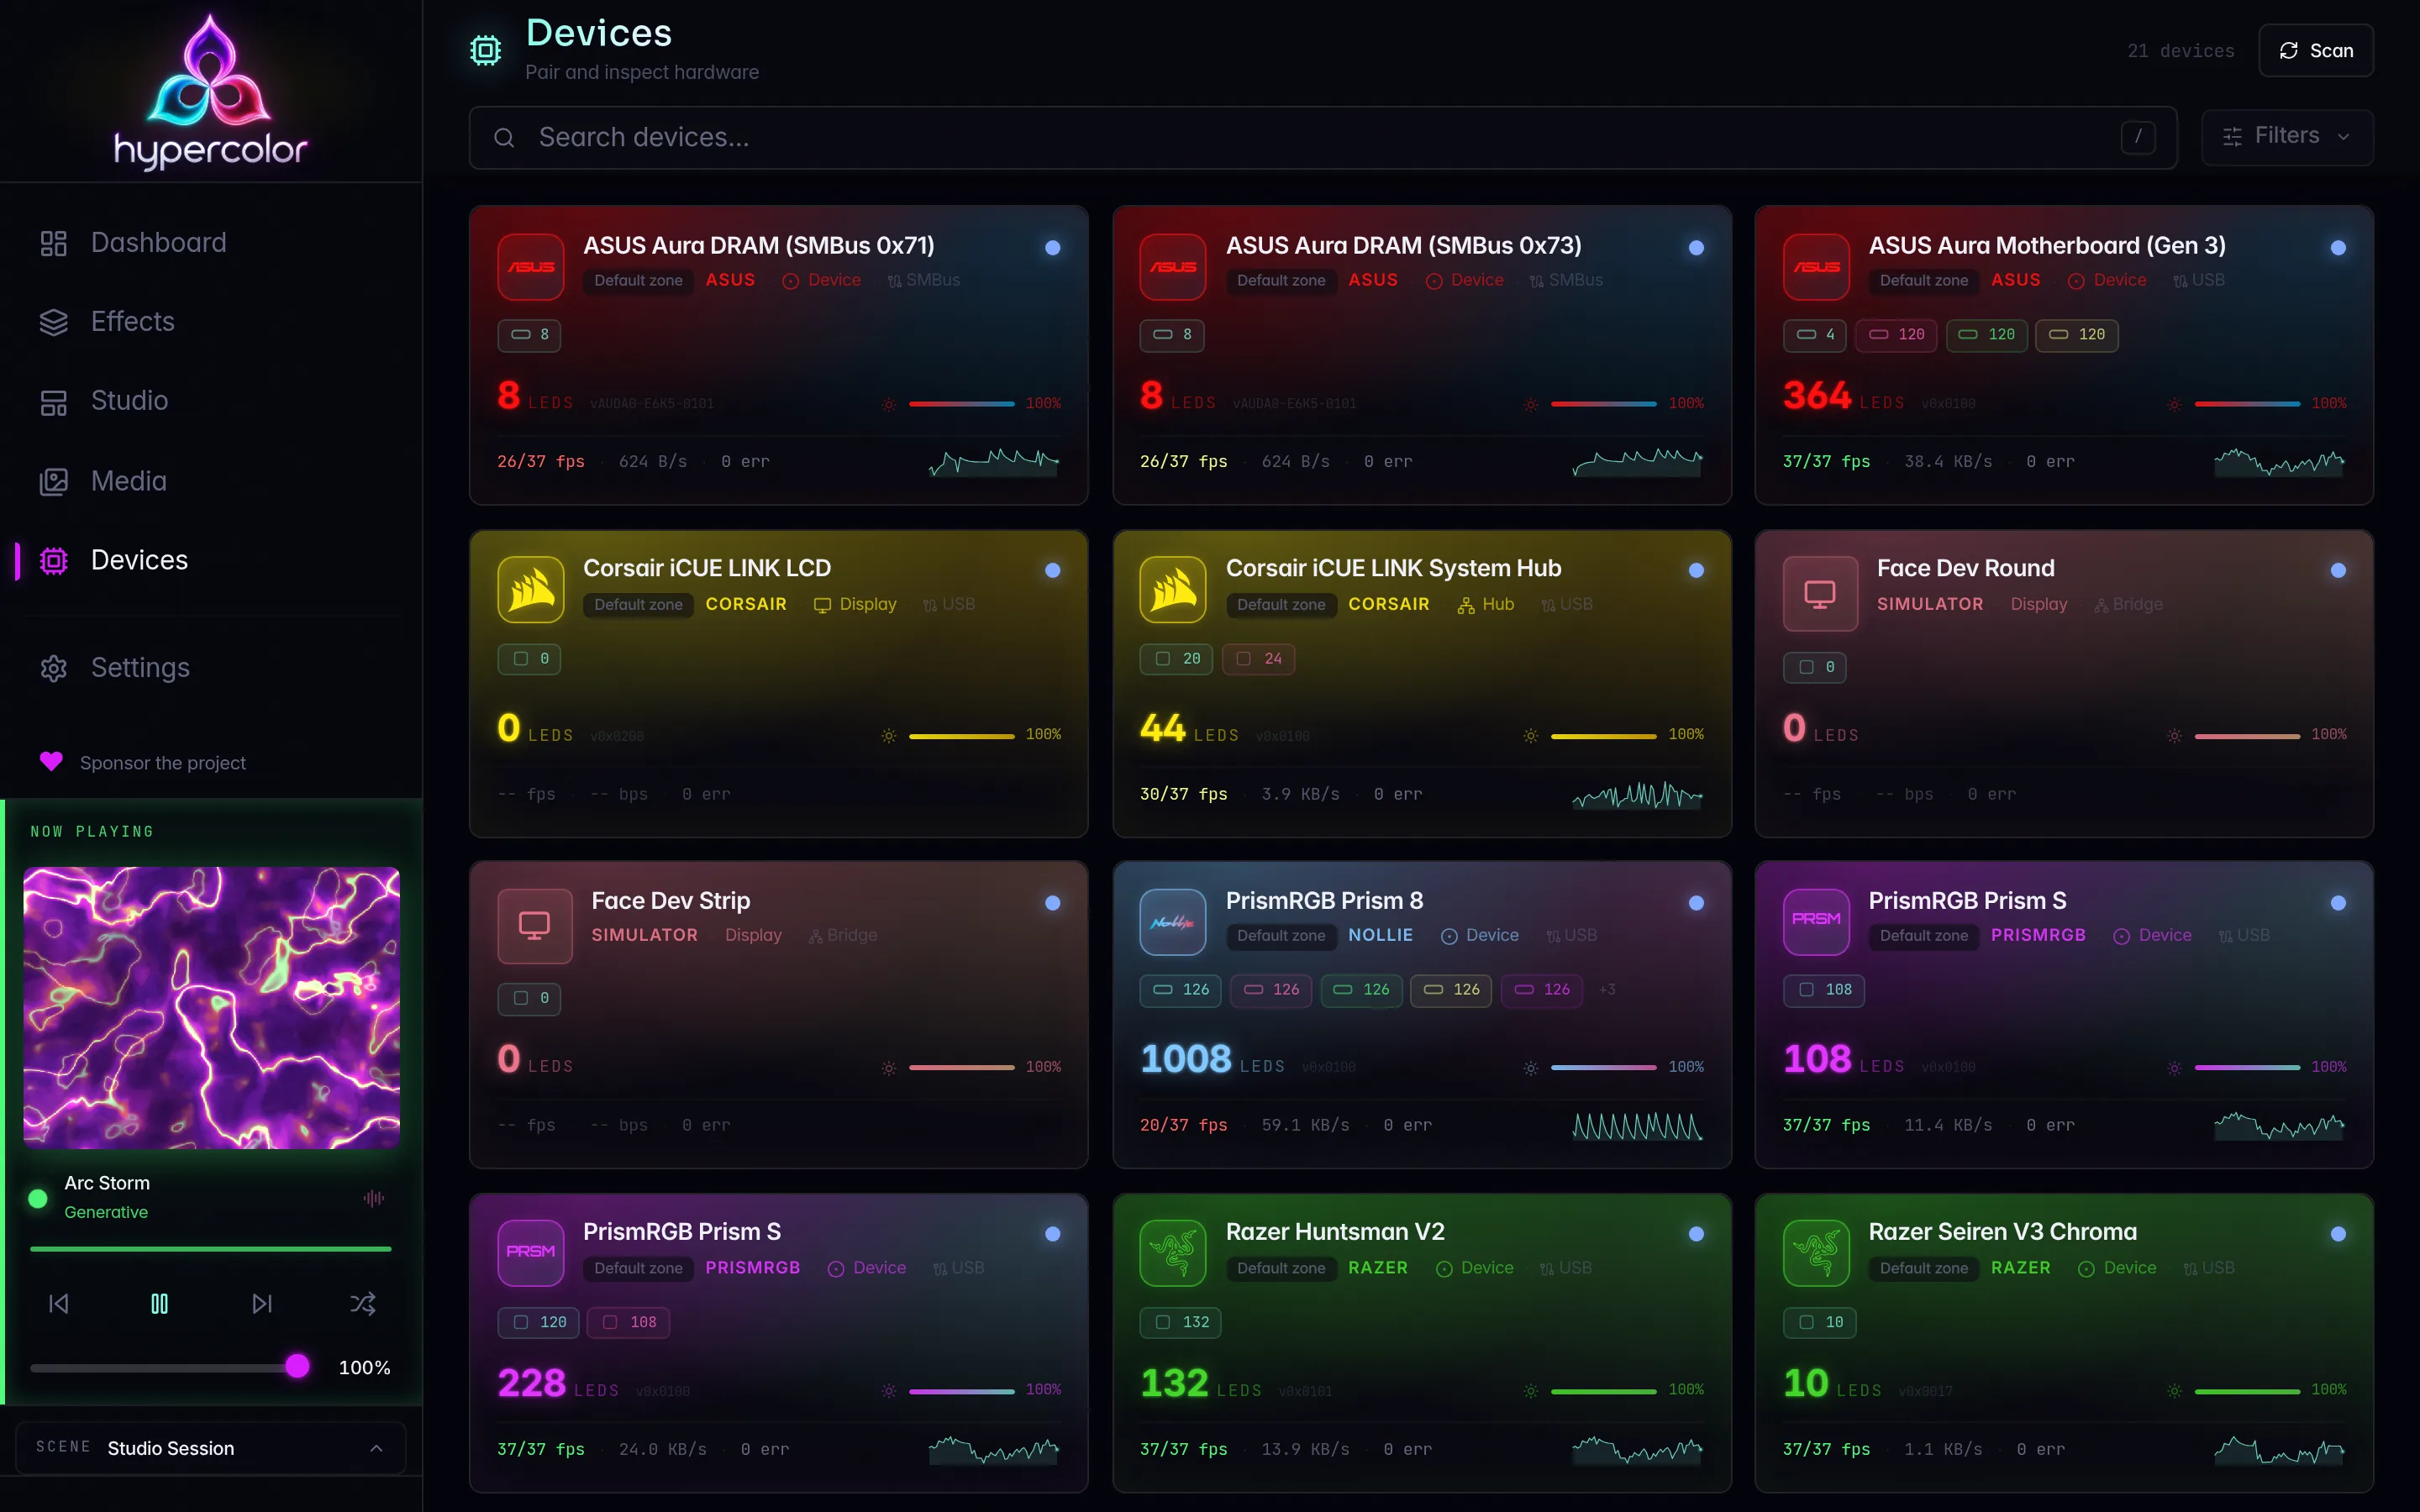
No hardware? Use a simulated display. The daemon has a built-in virtual display simulator; no physical LEDs required. Create one via the REST API and it will appear in devices list like real hardware:
curl -s -X POST http://localhost:9420/api/v1/simulators/displays \
  -H "Content-Type: application/json" \
  -d '{"name": "My Simulator", "width": 32, "height": 8}'
You can then apply effects to it and preview frames at GET /api/v1/simulators/displays/{id}/frame (returns JPEG). Delete it when you are done with DELETE /api/v1/simulators/displays/{id}. The web UI canvas preview at http://localhost:9420 works without any physical devices at all.
#2. Browse effects
The library ships with a large collection of built-in effects spanning audio-reactive visualizers, ambient gradients, particle systems, and more. Browse the full gallery in the effect catalog.
# List all effects
hypercolor effects list

# Filter to audio-reactive effects only
hypercolor effects list --audio

# Search by name or description
hypercolor effects list --search borealis

# Filter by category
hypercolor effects list --category ambient
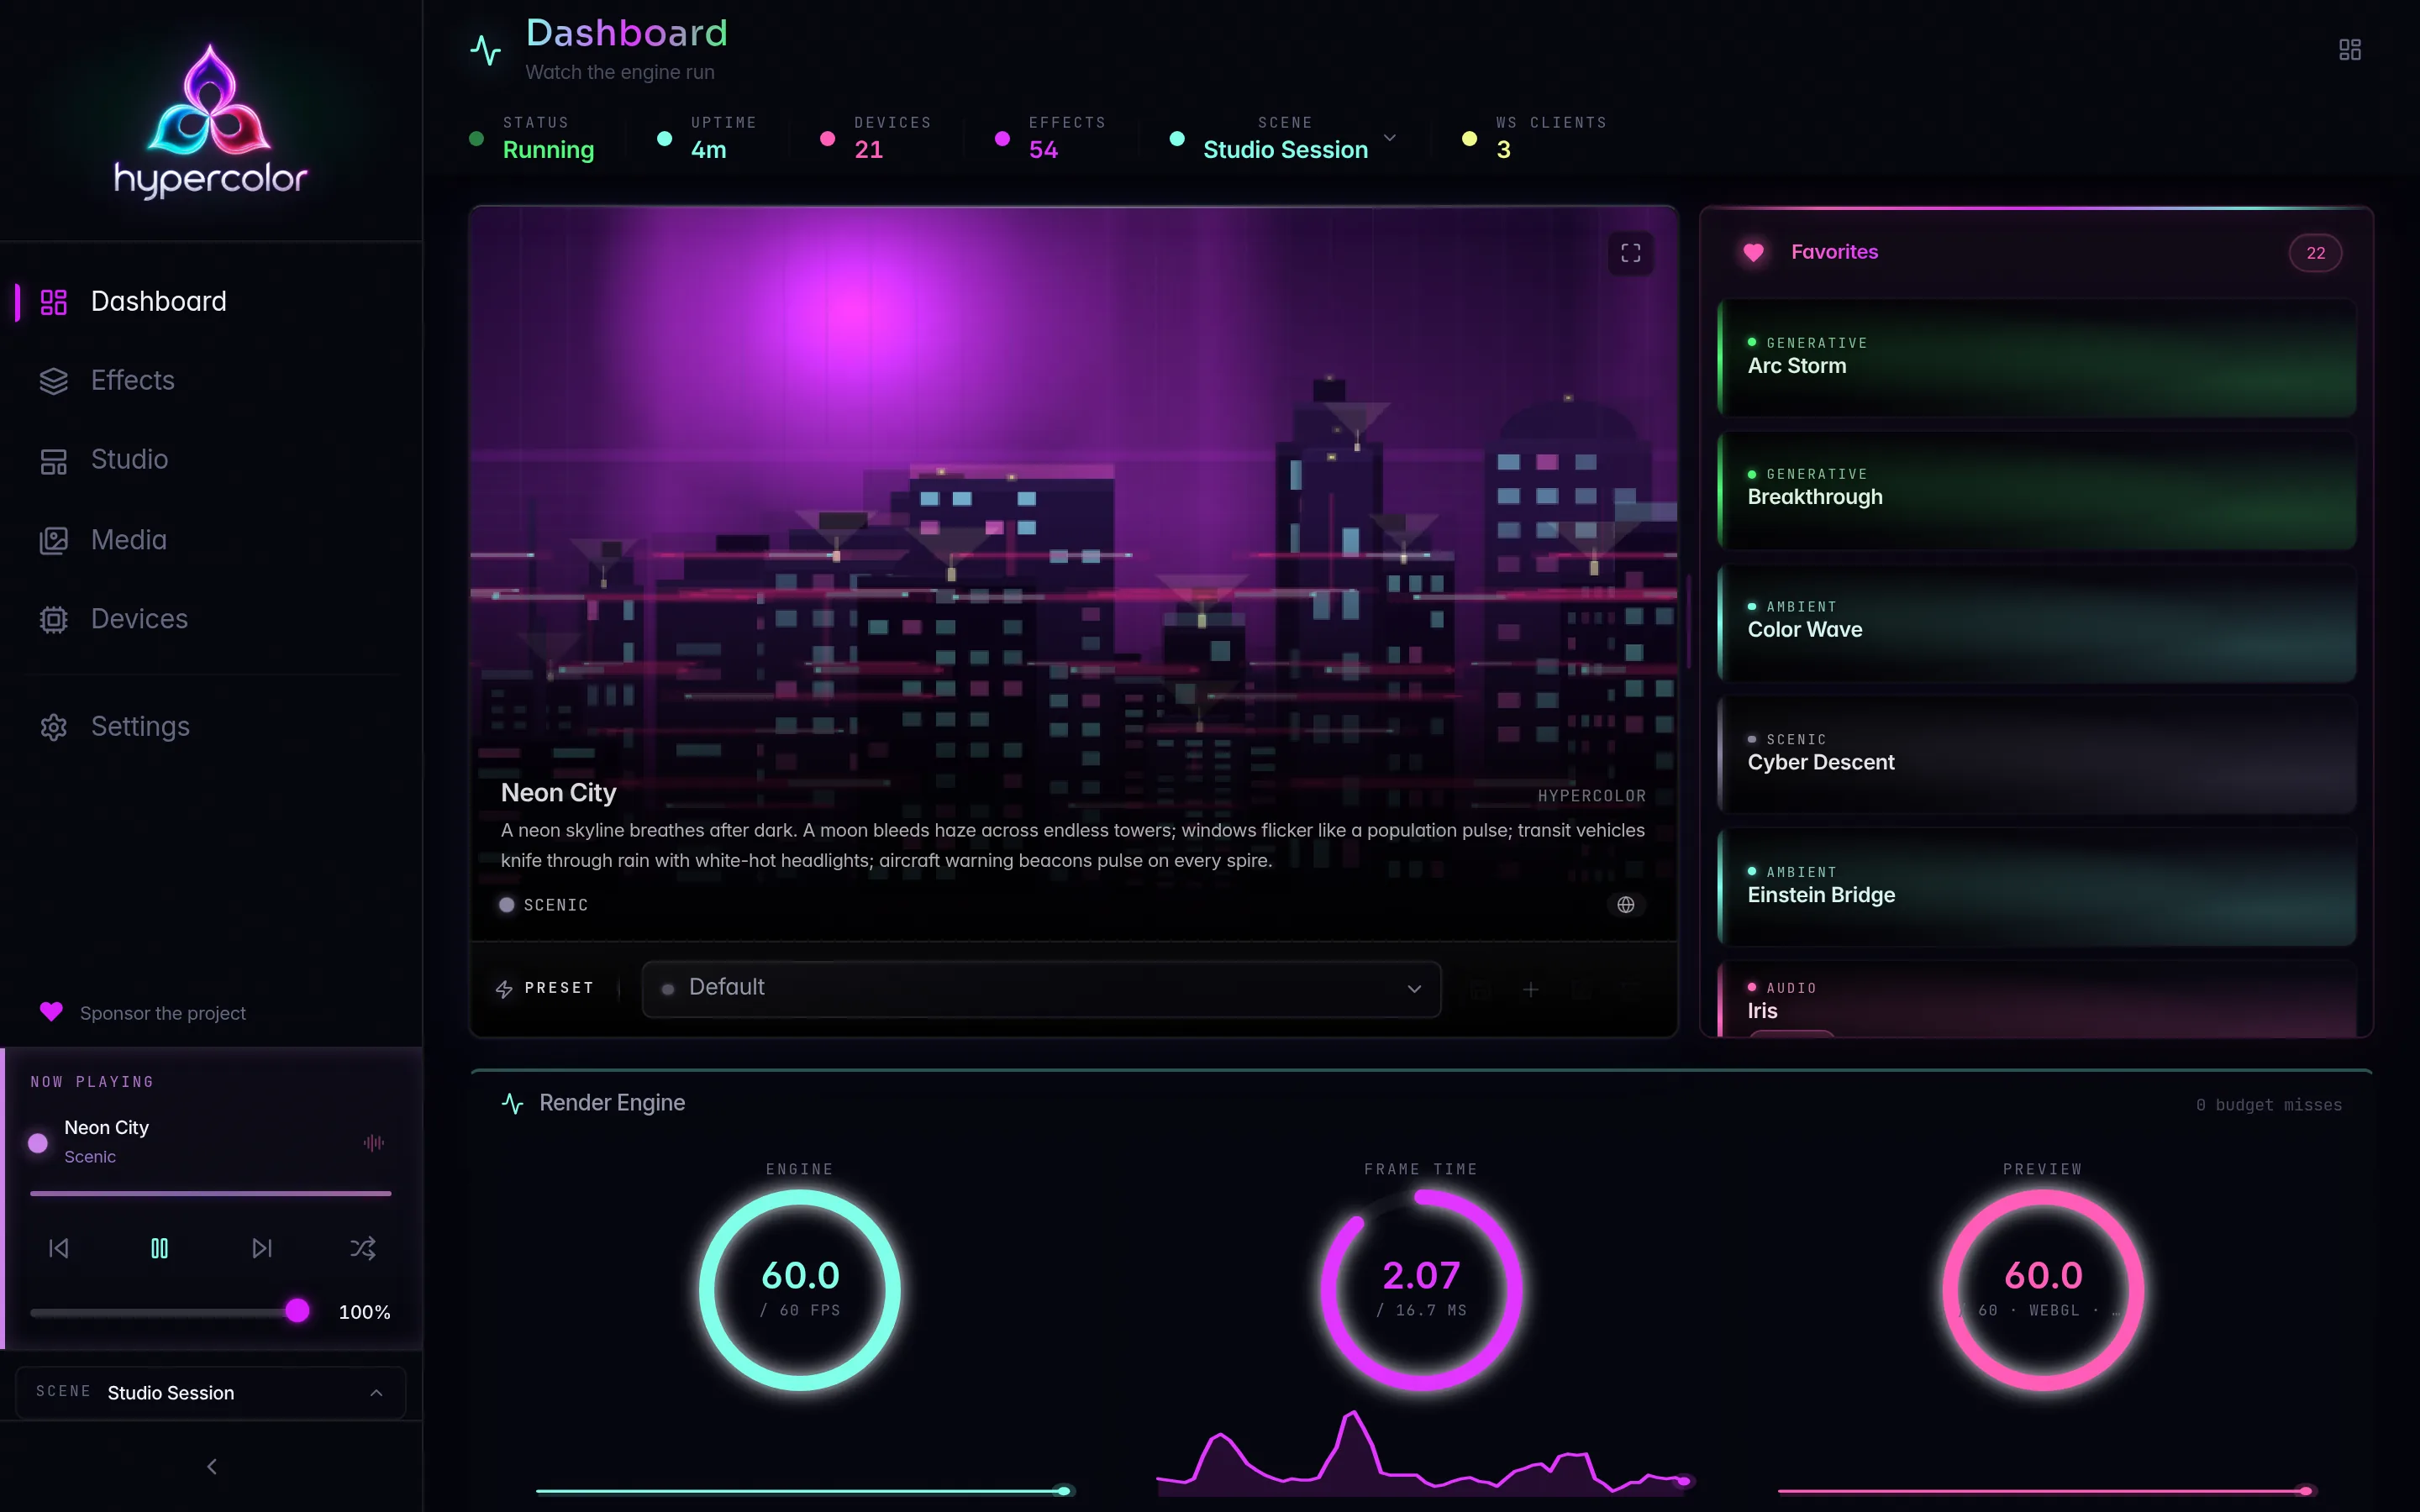
The web UI at http://localhost:9420 has a visual effect browser with search, category filters, and canvas preview before you apply anything.
#3. Apply an effect
Effect names are fuzzy-matched, so you do not need an exact ID.
# Activate by name (fuzzy match)
hypercolor effects activate borealis

# With shorthand controls
hypercolor effects activate audio-pulse --speed 60 --intensity 80

# With arbitrary control parameters
hypercolor effects activate color-wave --param palette=SilkCircuit --param speed=40

# Effect switches are immediate today
hypercolor effects activate nebula-drift
Via REST:
curl -X POST http://localhost:9420/api/v1/effects/borealis/apply \
  -H "Content-Type: application/json" \
-d '{"controls": {"speed": {"kind": "float", "value": 50.0}, "intensity": {"kind": "float", "value": 75.0}}}'#4. Tweak controls in real time
Most effects expose configurable parameters (speed, color palette, intensity, audio sensitivity). Changes apply immediately without re-applying the effect:
# Patch one or more controls on the running effect
hypercolor effects patch --param speed=30 --param palette=Midnight

# Reset all controls to their defaults
hypercolor effects reset
Via REST:
scene=$(curl -s http://localhost:9420/api/v1/scene)
zone_id=$(printf '%s' "$scene" | jq -r '.data.zones[0].id')
layer_id=$(printf '%s' "$scene" | jq -r '.data.zones[0].layers[-1].id')

curl -X PATCH \
  "http://localhost:9420/api/v1/scene/zones/$zone_id/layers/$layer_id/controls" \
  -H "Content-Type: application/json" \
  -d '{"values": {"speed": {"kind": "float", "value": 30.0}, "palette": {"kind": "enum", "value": "Midnight"}}}'
The control route uses the real layer id from the live scene document and never takes If-Match. The render loop picks up new values on the next frame. It targets up to 60 fps and adapts down across five tiers under load, so a change lands in roughly 17 to 100 ms depending on the active tier.
#5. Try the TUI
The terminal UI gives you a full interactive control surface in one pane (device list, effect browser, live canvas preview, and spectrum meter), all over the same WebSocket connection the web UI uses.
hypercolor tui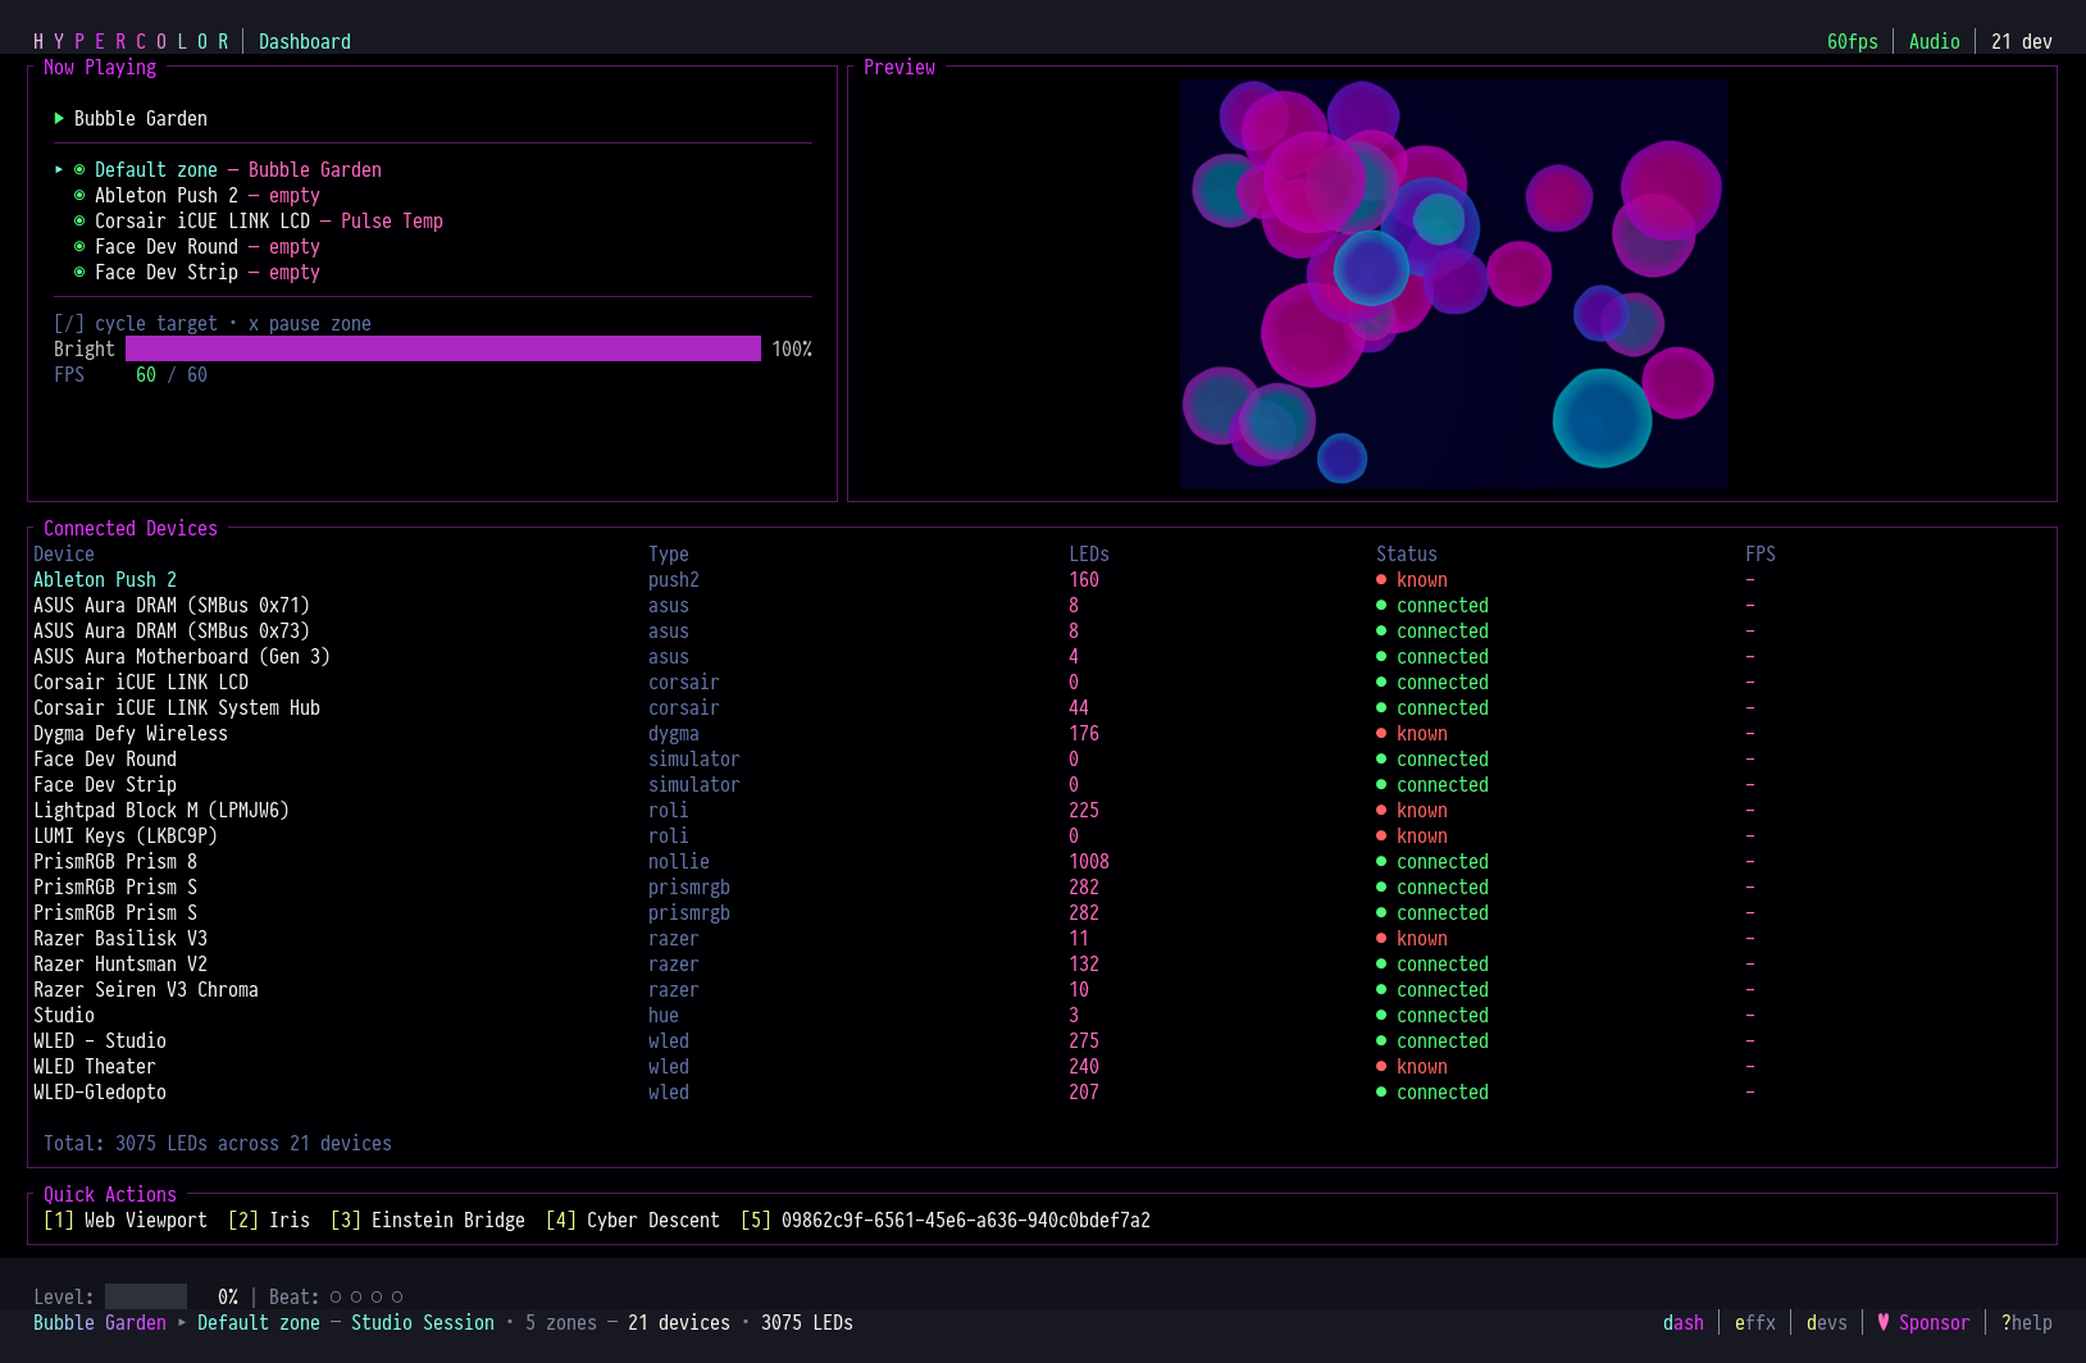
See the TUI guide for keyboard shortcuts and layout details.
#6. Stop the effect
hypercolor effects stopOr via REST:
curl -X POST http://localhost:9420/api/v1/scene/clear \
  -H "Content-Type: application/json" \
-d '{}'#What’s next
- Your first 10 minutes: an opinionated golden path through the web UI
- First session: a longer hands-on walkthrough of devices, layouts, and scenes
- Audio setup: configure an audio loopback source so reactive effects respond to your music
- Scenes and snapshots: save your lighting state and switch between setups
- Effect catalog: browse every built-in effect with parameters and previews
- Configuration: tune FPS, canvas size, network access, and more