Audio setup
Make your lights react to music: pick the right monitor or loopback source on Linux, Windows, and macOS, and verify with the TUI spectrum strip.
Hypercolor can make every LED in your rig react to music in real time: spectrum bars, beat flashes, harmonic color shifts. Getting there takes one configuration decision that trips almost everyone: you need a monitor source (a loopback of what your system is playing), not a microphone.
This page covers:
- Why monitor vs. capture matters and how to find the right source on each platform
- The
[audio]config keys that control it - How to verify the pipeline is alive using
hypercolor audio devicesand the TUI
#Monitor vs. capture: the critical distinction
A monitor (or loopback) source is a tap on what the system is playing, not what a microphone is hearing. That is the source Hypercolor wants.
If you point Hypercolor at your microphone, you get room noise and your own voice. Audio-reactive effects will fire on ambient sound and stay dark whenever music is playing on headphones. Using the monitor source captures whatever is routed to your speakers or headphones, regardless of the application producing it.
Each platform exposes that tap differently:
- Linux: PipeWire and PulseAudio automatically expose a
.monitorsource for every output sink. No extra software needed. - Windows: WASAPI does not expose a loopback input by default. Enable the “Stereo Mix” recording device if your audio driver offers one, or install a virtual audio cable. See Windows below.
- macOS: CoreAudio has no built-in loopback. Install a loopback driver such as BlackHole or Loopback and route your output through it. See macOS below.
By default Hypercolor auto-detects the monitor source (see below). On Linux this almost always works out of the box; on Windows and macOS it works once a loopback device exists.
#Auto-detection
When [audio].device is set to "default" (the out-of-the-box value), the daemon resolves the system monitor source for your platform.
On Linux, it queries the PulseAudio compatibility layer (which PipeWire exposes) for the default sink name, constructs the monitor source name as {sink_name}.monitor, and verifies it exists before opening the stream.
On Windows and macOS, capture goes through the platform audio API (WASAPI and CoreAudio, via cpal). The daemon scans the available input devices for one whose name looks like a loopback; it matches “monitor”, “loopback”, “what u hear”, and “stereo mix”, and opens the first hit. If no loopback-named input device exists, system-audio capture is unavailable, while microphone capture (device = "microphone") still works.
You can confirm detection worked by applying any audio-reactive effect (the built-in audio-pulse effect is designed for exactly this) and watching the TUI spectrum strip described at the end of this page.
#Linux: finding the right source name
If auto-detection picks the wrong device (for example, you have multiple sound cards and the default sink is not the one your music plays through), you need to supply an explicit source name.
List all sources your system exposes:
pactl list short sourcesThe output looks roughly like this:
0  alsa_output.pci-0000_00_1f.3.analog-stereo.monitor  PipeWire  s16le 2ch 48000Hz  IDLE
1  alsa_input.pci-0000_00_1f.3.analog-stereo           PipeWire  s16le 2ch 48000Hz  SUSPENDED
2  alsa_output.usb-Focusrite_Scarlett_2i2.monitor       PipeWire  s16le 2ch 48000Hz  IDLE
Sources whose names end in .monitor are the loopback taps you want. Sources without .monitor are physical inputs (microphones, line-in). Use the full name of the monitor source that corresponds to your active output.
You can also ask the daemon what it already knows about:
hypercolor audio devicesThis returns the sources the daemon has enumerated along with which one is currently active (marked with a star). The command works on every platform.
#Windows: enable a loopback device
Hypercolor captures through WASAPI but does not use a hidden loopback API; it needs a real input device that carries your system audio. Two common ways to get one:
- Stereo Mix. Many Realtek-based systems ship a disabled “Stereo Mix” recording device. Open the classic Recording devices panel (
mmsys.cpl, Recording tab), right-click the empty area, check “Show Disabled Devices”, then enable Stereo Mix. - A virtual audio cable. If your driver has no Stereo Mix, install a virtual cable (VB-Audio Virtual Cable and similar tools) and route your output through it.
With device = "default", the daemon finds the loopback by its name automatically. To pin a specific device, set device to its exact name as Windows reports it, then confirm with hypercolor audio devices.
#macOS: install a loopback driver
macOS exposes no system-audio input at all, so an audio-reactive setup needs a loopback driver:
- Install BlackHole (free) or a commercial tool like Rogue Amoeba’s Loopback.
- Route your output through it. The usual pattern is a Multi-Output Device in Audio MIDI Setup containing both your speakers and BlackHole, so you hear the audio while Hypercolor captures it.
- Leave
device = "default"(the daemon spots the loopback by name), or setdeviceto the loopback device’s exact name.
#Configuration
Audio settings live in the [audio] section of hypercolor.toml. On Linux that file is at ~/.config/hypercolor/hypercolor.toml; see Configuration for the Windows and macOS locations. A minimal explicit configuration looks like this:
[audio]
enabled = true
device  = "alsa_output.pci-0000_00_1f.3.analog-stereo.monitor"
Replace the device value with the exact source name you found above. If you want to restore auto-detection, set it back to "default".
#All audio config keys
| Key | Default | What it does |
|---|---|---|
enabled | true | Enable or disable the audio capture pipeline entirely. |
device | "default" | Source name, "default" for the auto-detected monitor, or "microphone" for the default input. |
fft_size | 1024 | Primary FFT window size. Larger = more bass resolution, more CPU. Valid: 256, 512, 1024, 2048, 4096. |
smoothing | 0.8 | Temporal smoothing on the falling edge (0.0 = instant, 1.0 = frozen). |
noise_gate | 0.02 | RMS level below which the pipeline emits silence. Raises to avoid flicker in quiet rooms. |
beat_sensitivity | 0.6 | Onset threshold multiplier. Lower = more sensitive to subtle transients. |
Internally the device key maps onto an audio source type: "default" selects the system monitor, "microphone" selects the default input device, and any other string becomes AudioSourceType::Named(...), resolved against the platform’s device list at startup and on every live reconfiguration.
#Applying an audio-reactive effect
Once the config is saved, restart the daemon (or let it hot-reload the config; watch_config = true is the default) and apply the built-in audio-pulse effect:
hypercolor effects activate audio-pulseMusic playing anywhere on your system should now drive your lights. To browse more audio-reactive effects, open the effects browser in the UI or TUI. If you want to author your own, the @/effects/audio.md reference documents the full AudioData surface effects receive each frame.
#Verifying with the TUI spectrum strip
The quickest way to confirm the audio pipeline is healthy is to open the TUI:
hypercolor tuiThe bottom chrome of the TUI dashboard shows a real-time audio strip: a mini spectrum bar chart on the top row and a stats line below it with a level percentage, beat-confidence dots, and estimated BPM. If the bars are moving while music plays, the pipeline is alive.
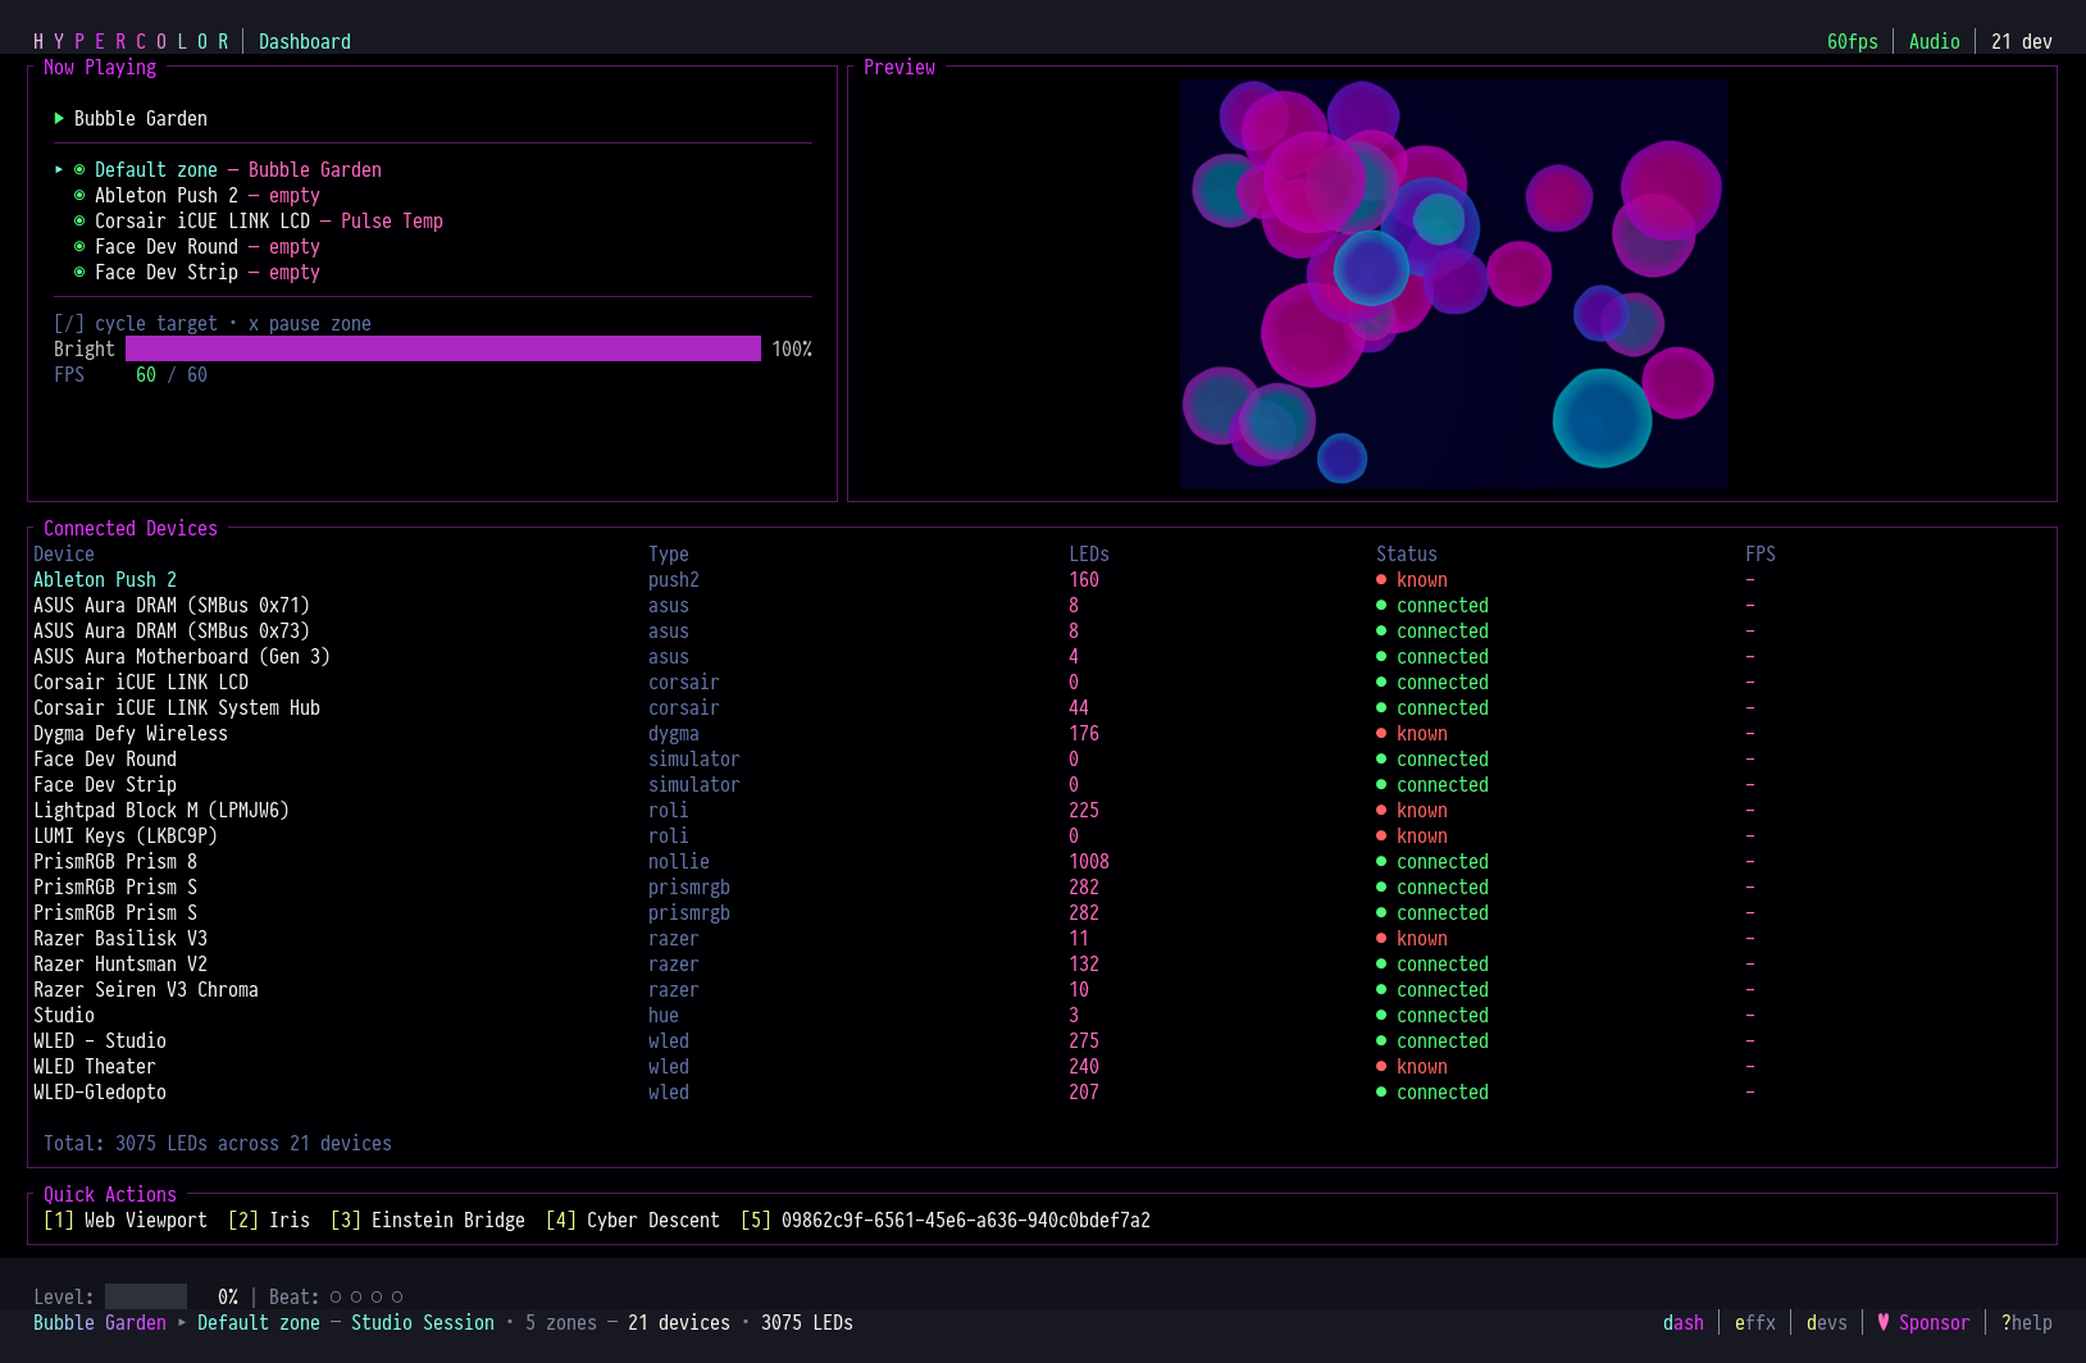
If the strip shows “No audio”, the daemon is not receiving samples. Work through the checklist below.
#Troubleshooting
Spectrum strip shows “No audio” / lights do not react
- Run
hypercolor audio devicesand confirm the active device is a monitor or loopback source. - On Linux, run
pactl list short sourcesand check that the monitor source you configured actually exists. If you recently changed your audio hardware or switched PipeWire profiles, the source name may have changed. - On Windows and macOS, confirm a loopback-named input device exists at all (Stereo Mix, a virtual cable, or BlackHole) and that your output is routed through it.
- Check that
enabled = truein[audio]. After editing the file, restart the daemon (or rely onwatch_config = true, the default, to hot-reload) so the change takes effect. - On Linux, make sure nothing is preventing the daemon from connecting to the PulseAudio compatibility socket. On some minimal installs,
pipewire-pulseis not running; start it withsystemctl --user start pipewire-pulse.
Lights react to room noise or voice instead of music
Your device is pointing at a microphone input rather than a monitor source. Set it explicitly to the monitor or loopback source name for your platform.
Auto-detection picks the wrong card
Explicitly set device to the monitor source for your preferred output. On Linux, run pactl list short sources to confirm the name; elsewhere use hypercolor audio devices.
Lights react but feel sluggish or over-smoothed
Lower smoothing (try 0.5) or increase beat_sensitivity (try 0.8) in [audio].
Lights are flickering on silence / in a quiet room
Raise noise_gate (try 0.05 or 0.08). This tells the pipeline to treat very low RMS levels as silence rather than feeding noisy near-zero data to effects.
For deeper troubleshooting (daemon logs, audio pipeline diagnostics, PipeWire routing), see @/troubleshooting/audio-not-reacting.md.