Setup & workspace
Bun, the scaffold, and the SDK dependency. One bun create command gives you a ready-to-author workspace.
Every Hypercolor effect lives in a Bun workspace that depends on hypercolor. This page gets that workspace running: install Bun, scaffold a project, and let bun install pull the SDK from npm. Once it finishes, you’re ready to author.
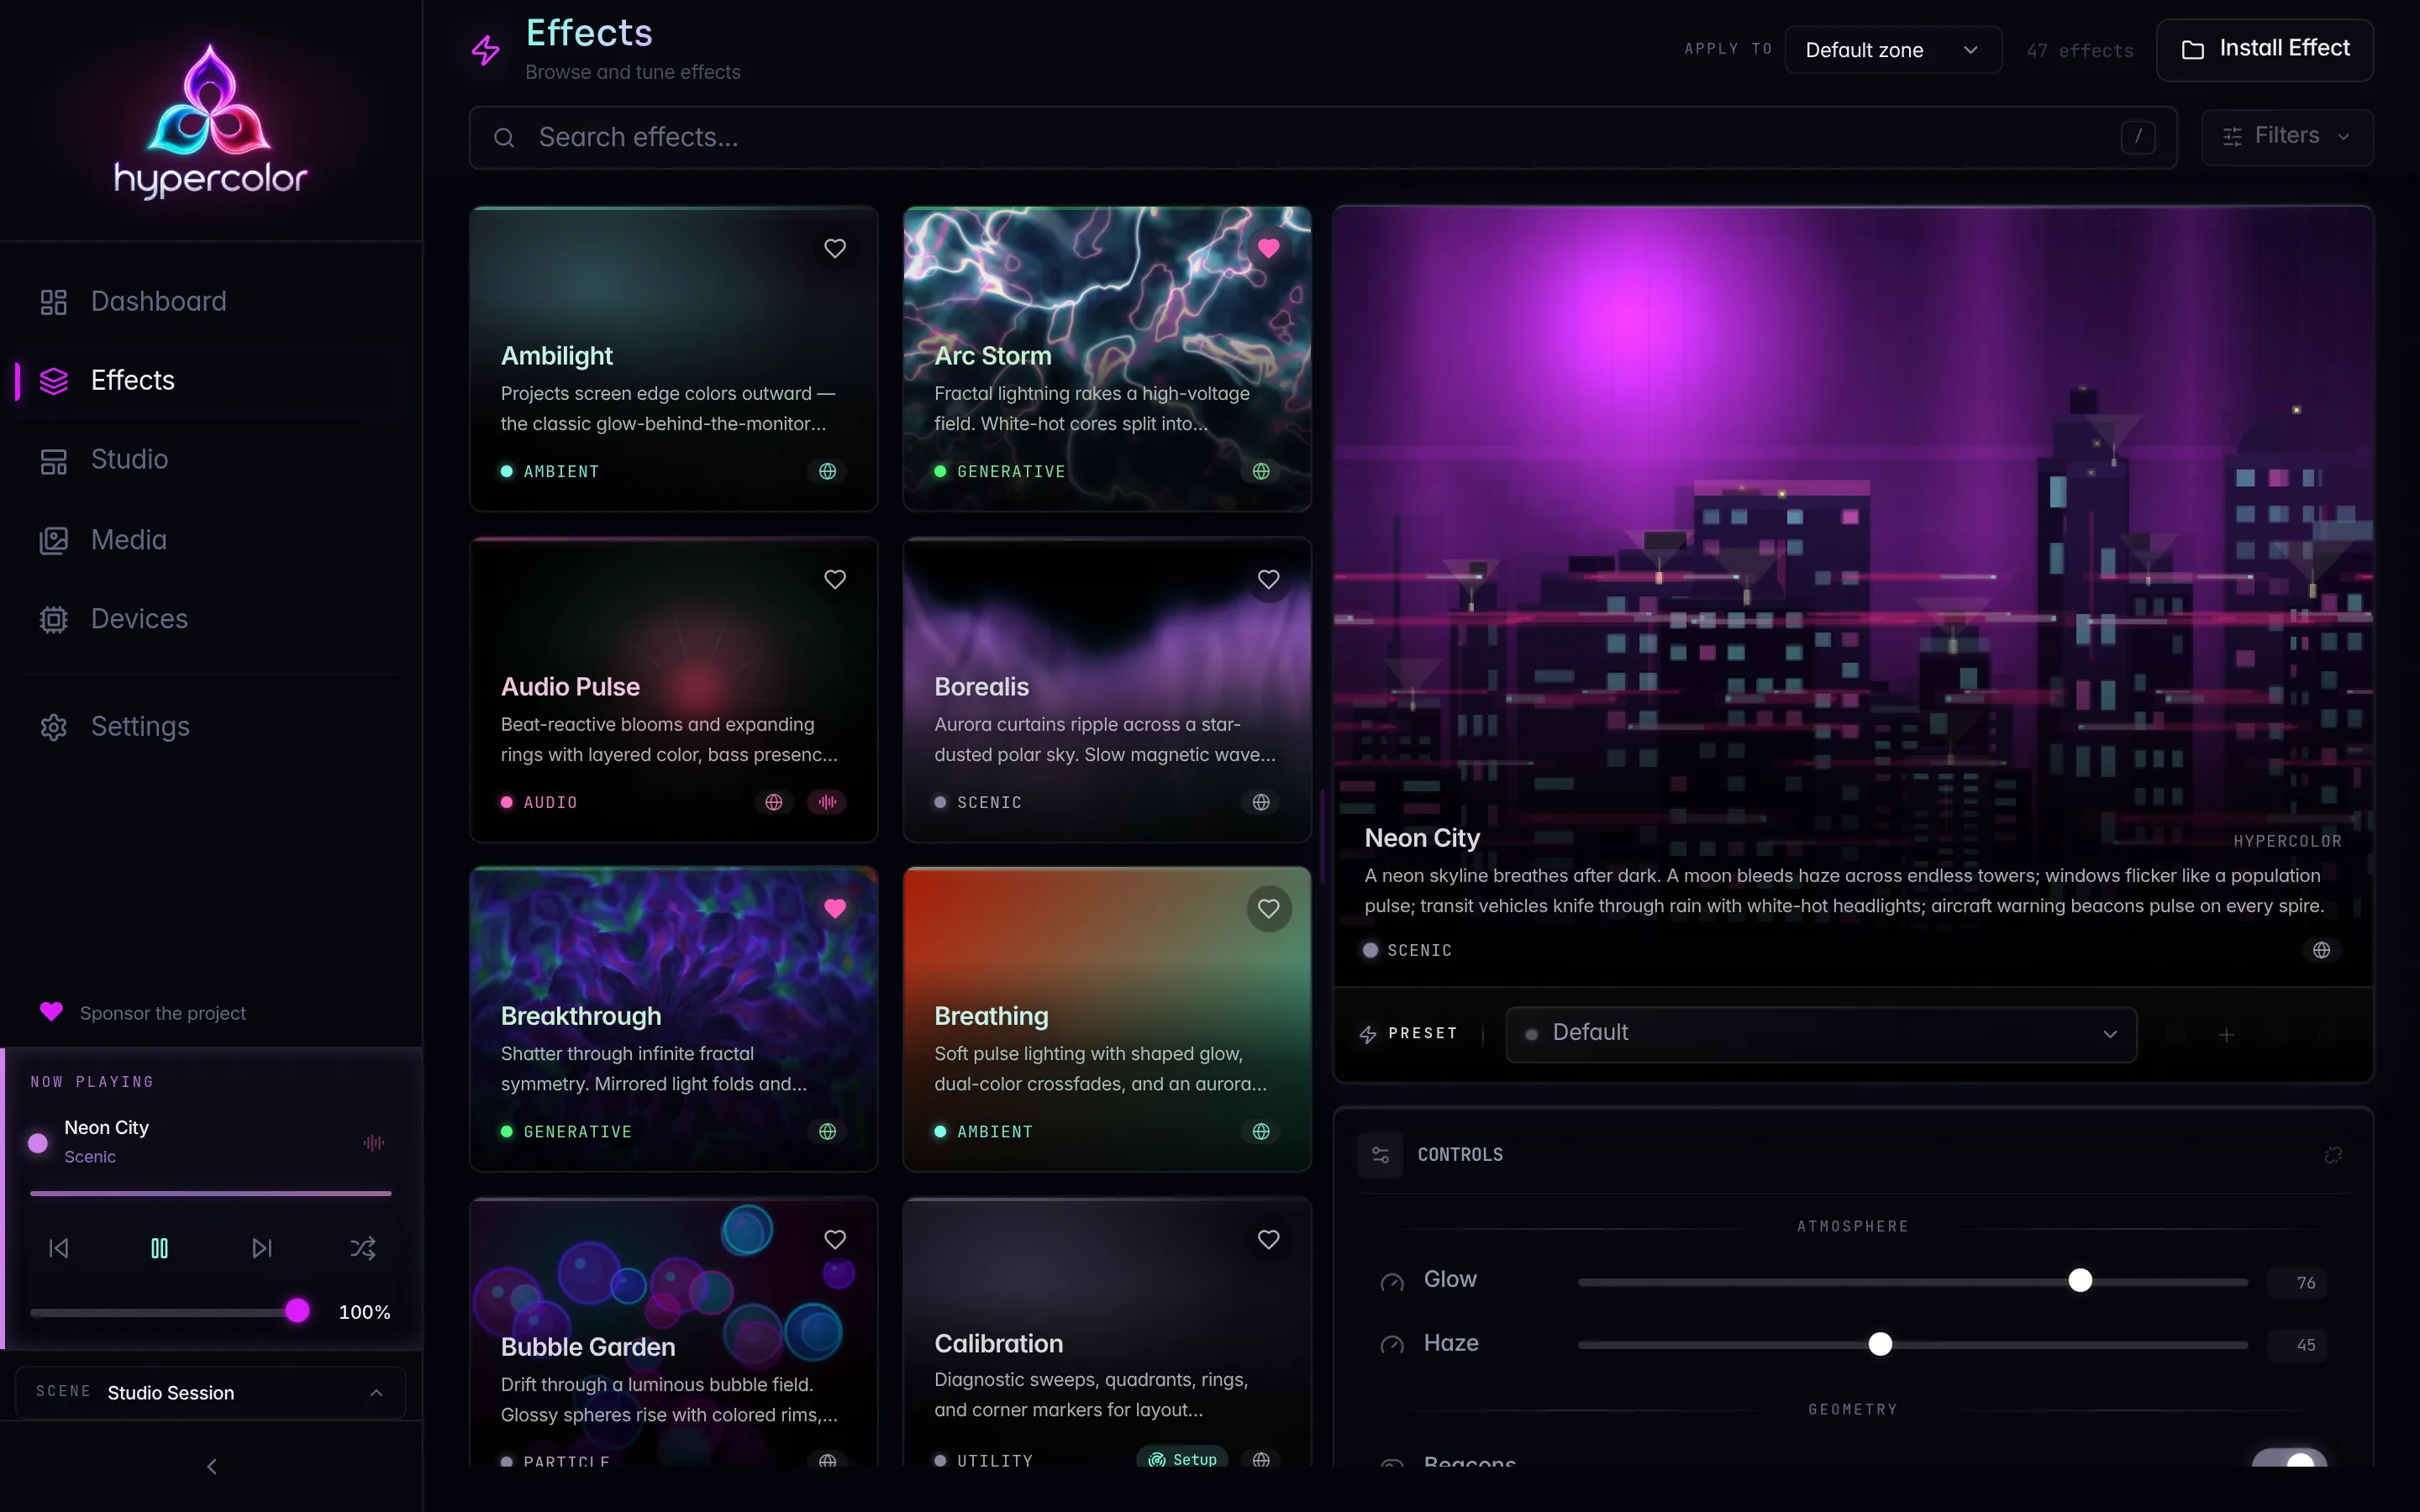
The endpoint of this page is a workspace where bun install has succeeded and hypercolor resolves. If that is true, you can author. The next page, Creating effects, writes the first one.
The SDK API tracks the engine and may change between minor versions (currently the 0.3 line). If you are hacking on the engine itself, you can point a workspace at a local checkout instead of npm; see Developing against a local engine checkout.
#Install Bun
The SDK, the authoring CLI, and the build tooling all run on Bun. Install it once:
curl -fsSL https://bun.sh/install | bashConfirm you have Bun 1.4 or newer (the workspace engines field requires it):
bun --versionNode is not required to author effects. The scaffolder, the build, and the CLI all run on Bun directly. The workspace declares node >=24.0.0 only so the same package.json stays valid if you ever run the published bin through a Node shim.
#Scaffold a workspace
One command, anywhere you like:
bun create hypercolor my-effects --template canvas --first auroraThat creates my-effects/, wires hypercolor from npm, drops in one starter effect named aurora, runs git init, and runs bun install. The CLI prints the next command to run when it finishes.
Omit the workspace name or --template and the scaffolder switches to interactive prompts for the workspace name, the template, the first effect name, and an “Audio reactive?” toggle.
#Flags
| Flag | Effect |
|---|---|
--template <type> | Starter template: canvas, shader, face, or html. |
--first <name> | Name of the first effect. Defaults to my-effect. |
--audio | Include audio-reactive starter boilerplate. |
--sdk-spec <spec> | Override the hypercolor dependency spec. Defaults to the published caret range; use a file: path to develop against a local engine checkout. |
--no-git | Skip git init. |
--no-install | Skip bun install. |
--sdk-spec falls back to the HYPERCOLOR_SDK_PACKAGE_SPEC environment variable, so you can export an override once instead of repeating the flag:
export HYPERCOLOR_SDK_PACKAGE_SPEC="file:../hypercolor/sdk/packages/core"
bun create hypercolor my-effects --template canvas#The four templates
The scaffolder ships four starter shapes. The first three are TypeScript projects bundled to HTML at build time; html is raw markup with no TypeScript step.
| Template | What you get | Authoring guide |
|---|---|---|
canvas | A TypeScript effect with a Canvas2D draw function. The default starting point for most effects. | TypeScript effects |
shader | A TypeScript effect backed by a GLSL fragment shader, rendered as WebGL2 in the runtime. | GLSL effects |
face | A device-face layout for sensor and status dashboards. | Display faces |
html | A raw LightScript HTML effect with no TypeScript or bundle step. | Raw HTML |
Add --audio to any of them to seed the audio-reactive boilerplate from the start. You can always grow into audio later; see Audio.
#Workspace layout
A freshly scaffolded TypeScript workspace (canvas, shader, or face) looks like this:
my-effects/
  effects/
    aurora/
      main.ts          # one folder per effect, main.ts is the entry
  package.json         # hypercolor from npm (or your --sdk-spec override)
  bunfig.toml          # loads .glsl as text, hardlinks installs
  biome.jsonc          # formatter + linter config
  tsconfig.json
  README.md
  .gitignore           # node_modules, dist, .DS_Store
The dist/ directory appears the first time you build. It holds the self-contained HTML artifacts the daemon loads. It is gitignored, it is build output, and you should never hand-edit or commit it. Regenerate it from source with bun run build.
The html template is flatter because there’s nothing to bundle. Effects are authored directly as the shipped artifact:
my-effects/
  effects/
    aurora.html
  package.json
README.md#The package scripts
The scaffolded package.json wraps the authoring CLI in named scripts so you rarely call the binary directly. For a TypeScript workspace:
{
  "scripts": {
    "build": "hypercolor build --all",
    "build:one": "hypercolor build",
    "validate": "hypercolor validate dist/*.html",
    "ship": "hypercolor install dist/*.html",
    "ship:daemon": "hypercolor install dist/*.html --daemon",
    "add": "hypercolor add",
    "check": "biome check .",
    "check:fix": "biome check --write ."
  }
}
The html workspace skips build and points validate and ship straight at effects/*.html. The full meaning of each command, both install paths, and the difference between this authoring CLI and the system hypercolor CLI all live in Dev workflow.
#Developing against a local engine checkout
By default the scaffolder writes the published caret range into the workspace package.json and npm serves the SDK. If you are working on the SDK or engine itself, point the workspace at your checkout instead. Clone Hypercolor next to where your workspace will live and install its dependencies once:
mkdir -p ~/dev
cd ~/dev
git clone https://github.com/hyperb1iss/hypercolor.git
cd hypercolor/sdk
bun install
cd ../..
bun create hypercolor my-effects --template canvas \
    --sdk-spec "file:../hypercolor/sdk/packages/core"
The scaffolder substitutes whatever you pass to --sdk-spec into the workspace package.json:
{
  "devDependencies": {
    "hypercolor": "file:../hypercolor/sdk/packages/core"
  }
}
That relative path is resolved from the workspace root, so it assumes your workspace is a sibling of the hypercolor/ clone (for example ~/dev/my-effects next to ~/dev/hypercolor). If your layout differs, adjust the relative path or use an absolute one.
Bun’s link: spec is not a drop-in relative path the way yarn’s is. It requires a prior bun link registration of the package and resolves through Bun’s global link store, so a copied link: spec breaks bun install with no obvious cause. Stick with file: for local checkouts.
#Inside the Hypercolor monorepo
Effects that ship with Hypercolor live under sdk/src/effects/ in the main repo. Those resolve the SDK through Bun’s workspace protocol automatically, so there’s nothing to configure. Drive them with the top-level just recipes instead of the standalone scaffolder:
just sdk-dev          # watch-rebuild the SDK packages on change
just effects-build    # build every bundled effect
just effect-build NAME
All of these run the same Bun authoring core a standalone workspace uses.
#Migrating a pre-publish workspace
Workspaces scaffolded before the SDK shipped to npm point at a local checkout. Move them to the registry with a one-line edit, then re-run bun install:
- "hypercolor": "file:../hypercolor/sdk/packages/core"
+ "hypercolor": "^0.3.0"#What next
Your workspace is ready. Head to Creating effects to write your first effect, or jump straight to Dev workflow to build an artifact and ship it to the daemon. The SDK already ships roughly four dozen HTML effects under sdk/src/effects/, alongside the engine’s native built-in renderers, so there is plenty of reference material to mine for idioms once you start authoring.