Creating effects
Scaffold a Hypercolor effect workspace, write your first effect, build, validate, and ship it to the daemon, no hardware required.
Go from an empty directory to a running effect in five commands. You scaffold a Bun workspace with create-hypercolor-effect, write a single TypeScript module, build it into one self-contained HTML file, validate it, and install it into the daemon. No hardware is required to see it render.
This page is the fast path. For the deep authoring reference, read TypeScript canvas effects, controls, and audio reactivity. For the other lanes, see GLSL shader effects and display faces. The native Rust lane is authored as a compiled-in EffectRenderer and registered in crates/hypercolor-core/src/effect/builtin/mod.rs.
#Pick a path 🎯
Effects are web pages, and your desk is the canvas. The daemon renders your effect into a single RGBA canvas (640×480 by default, configurable), samples it onto every LED, and streams a live preview. There are four authoring lanes, and this page walks the most accessible one end to end.
| Path | You write | Runs as | Start here |
|---|---|---|---|
| TypeScript canvas | A canvas() module, Canvas2D draw fn | JS bundle in the daemon | this page |
| GLSL shader | A fragment shader + control declaration | WebGL2 inside Servo | GLSL effects |
| Native Rust | A compiled-in EffectRenderer | CPU renderer in the engine | core/src/effect/builtin/ |
| Display face | A face() module for LCD modules | full-screen HTML via Servo | display faces |
The TypeScript and GLSL lanes both ship through the SDK, so a Rust compiler is never required to author them. That is the path below.
The SDK is published to npm as hypercolor. Workspaces pull it from the registry by default; to author against a local engine checkout instead, pass --sdk-spec file:../hypercolor/sdk/packages/core or set the HYPERCOLOR_SDK_PACKAGE_SPEC environment variable. Full prerequisites live in setup.
#Scaffold a workspace
One command, no checkout required:
bun create hypercolor aurora-lab --template canvas --first aurora
cd aurora-lab
The scaffolder accepts four templates and a few flags. Run bunx create-hypercolor-effect --help for the canonical list:
| Flag | Purpose |
|---|---|
--template <type> | Starter template: canvas, shader, face, or html |
--first <name> | Name of the first effect (default my-effect) |
--audio | Include audio-reactive starter boilerplate |
--sdk-spec <spec> | Override the hypercolor dependency spec, e.g. a file: path to a local engine checkout; HYPERCOLOR_SDK_PACKAGE_SPEC sets the same override |
--no-git / --no-install | Skip git init / bun install |
Omit the name or template and the scaffolder drops into interactive prompts instead. The result is a complete workspace:
aurora-lab/
  effects/
    aurora/
      main.ts          # your effect
  dist/                # build output (HTML artifacts)
  package.json         # build / validate / ship scripts
  bunfig.toml          # .glsl = "text", hardlinked deps
  tsconfig.json
The generated package.json wires the SDK CLI to npm scripts. These are the commands you will live in:
{
  "scripts": {
    "build": "hypercolor build --all",
    "validate": "hypercolor validate dist/*.html",
    "ship": "hypercolor install dist/*.html",
    "ship:daemon": "hypercolor install dist/*.html --daemon",
    "add": "hypercolor add"
  }
}#Write your first effect
Each effect is one module at effects/<id>/main.ts that calls canvas() as its export default. The call itself registers the effect as a side effect; you declare controls inline and write a draw function that runs every frame.
The canvas template scaffolds this:
import { canvas, combo, num } from "hypercolor";

export default canvas(
  "Aurora",
  {
    brightness: num("Brightness", [0, 100], 80, { group: "Color" }),
    palette: combo("Palette", ["Aurora", "Fire", "Ocean"], { group: "Color" }),
    speed: num("Speed", [1, 10], 5, { group: "Motion" }),
  },
  (ctx, time, controls) => {
    const width = ctx.canvas.width;
    const height = ctx.canvas.height;
    const speed = (controls.speed as number) ?? 5;
    const brightness = ((controls.brightness as number) ?? 80) / 100;
    const palette = (controls.palette as string) ?? "Aurora";
    const baseHue = palette === "Fire" ? 20 : palette === "Ocean" ? 205 : 145;
    const drift = Math.sin(time * speed * 0.9) * 0.5 + 0.5;
    const hue = (baseHue + drift * 55 + time * speed * 24) % 360;

    ctx.fillStyle = "#04050a";
    ctx.fillRect(0, 0, width, height);

    const gradient = ctx.createLinearGradient(0, 0, width, height);
    gradient.addColorStop(
      0,
      `hsla(${hue}, 100%, ${36 + brightness * 10}%, 0.88)`,
    );
    gradient.addColorStop(
      1,
      `hsla(${(hue + 42) % 360}, 90%, ${22 + brightness * 12}%, 0.92)`,
    );
    ctx.fillStyle = gradient;
    ctx.fillRect(0, 0, width, height);
  },
  {
    author: "You",
    description: "A starter canvas effect",
    presets: [
      {
        controls: { brightness: 80, palette: "Aurora", speed: 5 },
        description: "Balanced motion and brightness.",
        name: "Default",
      },
    ],
  },
);
A few rules keep effects correct on real LEDs:
- Read
ctx.canvas.width/ctx.canvas.heightevery frame. The daemon canvas is 640×480 by default but user-tunable, so never hardcode dimensions. Spatial sampling is normalized, so reading the live size keeps your effect resolution-independent. - Animate off
time(seconds), never a frame counter. The render loop runs at an adaptive FPS (up to 60), so frame-rate-independent motion is the only motion that looks right. - The canvas never auto-clears. Your draw function owns clearing. An opaque
fillRectgives clean frames; a semi-transparent one leaves trails;globalCompositeOperation = 'lighter'builds additive glow.
The third argument’s arity decides stateless vs stateful. A draw function with parameters runs every frame; a zero-argument factory () => { ...; return draw } runs its setup once and returns the per-frame draw. Force the factory path with canvas.stateful(...). See TypeScript canvas effects for the full lifecycle.
#The face template
The face template scaffolds a full-screen HTML display face for LCD modules instead of an LED canvas. Its shape is different: face() takes (name, controls, options, setup), and the setup function builds the DOM once and returns the per-frame update function.
import { face, num } from "hypercolor";

export default face(
  "Aurora Face",
  {
    glow: num("Glow", [0, 100], 68, { group: "Style" }),
  },
  {
    author: "You",
    description: "A starter display face",
    presets: [
      {
        controls: { glow: 68 },
        description: "Balanced face glow.",
        name: "Default",
      },
    ],
  },
  (ctx) => {
    const shell = document.createElement("div");
    shell.className = "hc-face-shell";
    ctx.container.appendChild(shell);

    return (time, controls) => {
      const glow = ((controls.glow as number) ?? 68) / 100;
      const hue = (time * 42) % 360;
      shell.style.boxShadow = `inset 0 0 ${32 + glow * 48}px hsla(${hue}, 100%, 70%, ${0.16 + glow * 0.18})`;
    };
  },
);
Faces render through Servo and target specific display hardware, so they have their own contract: device-shape truth via ctx.display, a flexbox-only CSS subset, and opt-in data sources for media, sensors, and audio. The dedicated guide is display faces.
The shader template authors a GLSL fragment shader that runs as WebGL2 inside Servo, not as a native GPU pipeline. There is no compiled wgpu shader lane today; that is future work. See GLSL effects. For compiled-in Rust renderers, write an EffectRenderer in crates/hypercolor-core/src/effect/builtin/ and register it in that crate’s builtin/mod.rs.
#Build
Build every effect in the workspace into self-contained HTML:
bun run buildEach effect compiles to a single file in dist/: the JavaScript bundle, any shader source, palette tables, and metadata are all inlined. Display-face font controls can load selected Google Fonts at runtime unless capture mode disables remote fonts. The build also extracts <meta> tags the daemon reads for controls, presets, and audio reactivity.
If your draw function reads audio (audio(), ctx.audio, getAudioData(), or engine.audio) you must set audio: true in the options object. The build fails hard otherwise with an audio-reactivity validation error; this flag is not cosmetic. The --audio scaffold flag wires it up for you. Reading input (getInputData(), engine.keyboard, engine.mouse, engine.touch, or engine.deviceButtons) carries the identical rule with input: true. See audio reactivity.
#Validate
Validation checks each HTML artifact for the three hard requirements (a render surface, a <title>, and a <script>) plus control sanity:
bun run validateSample output for a clean build:
dist/aurora.html

PASS  Render surface + title + script

Result: PASS
Warnings are non-fatal; errors fail validation. To treat warnings as fatal in CI, run hypercolor validate dist/*.html --strict. Pass --json for machine-readable results.
A failing run names every problem and the file it came from:
dist/aurora.html

FAIL  Validation errors present
FAIL  Control "speed" has min >= max

Result: FAIL#Ship it
There are two install paths, and both validate the artifact first.
Local install copies the HTML into your user effects directory ($XDG_DATA_HOME/hypercolor/effects/user/, falling back to ~/.local/share/hypercolor/effects/user/). The daemon picks it up on the next startup or when you run hypercolor effects rescan:
bun run shipDaemon install uploads the artifact to a running daemon over POST /api/v1/effects/install and registers it immediately, no restart needed:
bun run ship:daemon✓ dist/aurora.html → ~/.local/share/hypercolor/effects/user/aurora.html (Aurora, 3 controls)The daemon defaults to http://127.0.0.1:9420. Override with --daemon-url or the HYPERCOLOR_DAEMON_URL environment variable. The full build → validate → ship loop, including watch mode, is covered in dev workflow.
The whole loop in one picture:
graph LR
A["main.ts
canvas()"] --> B["bun run build
dist/aurora.html"]
B --> C["bun run validate
Result: PASS"]
C --> D["bun run ship:daemon
POST /api/v1/effects/install"]
D --> E["Live on :9420
canvas preview + LEDs"]
#See it without hardware
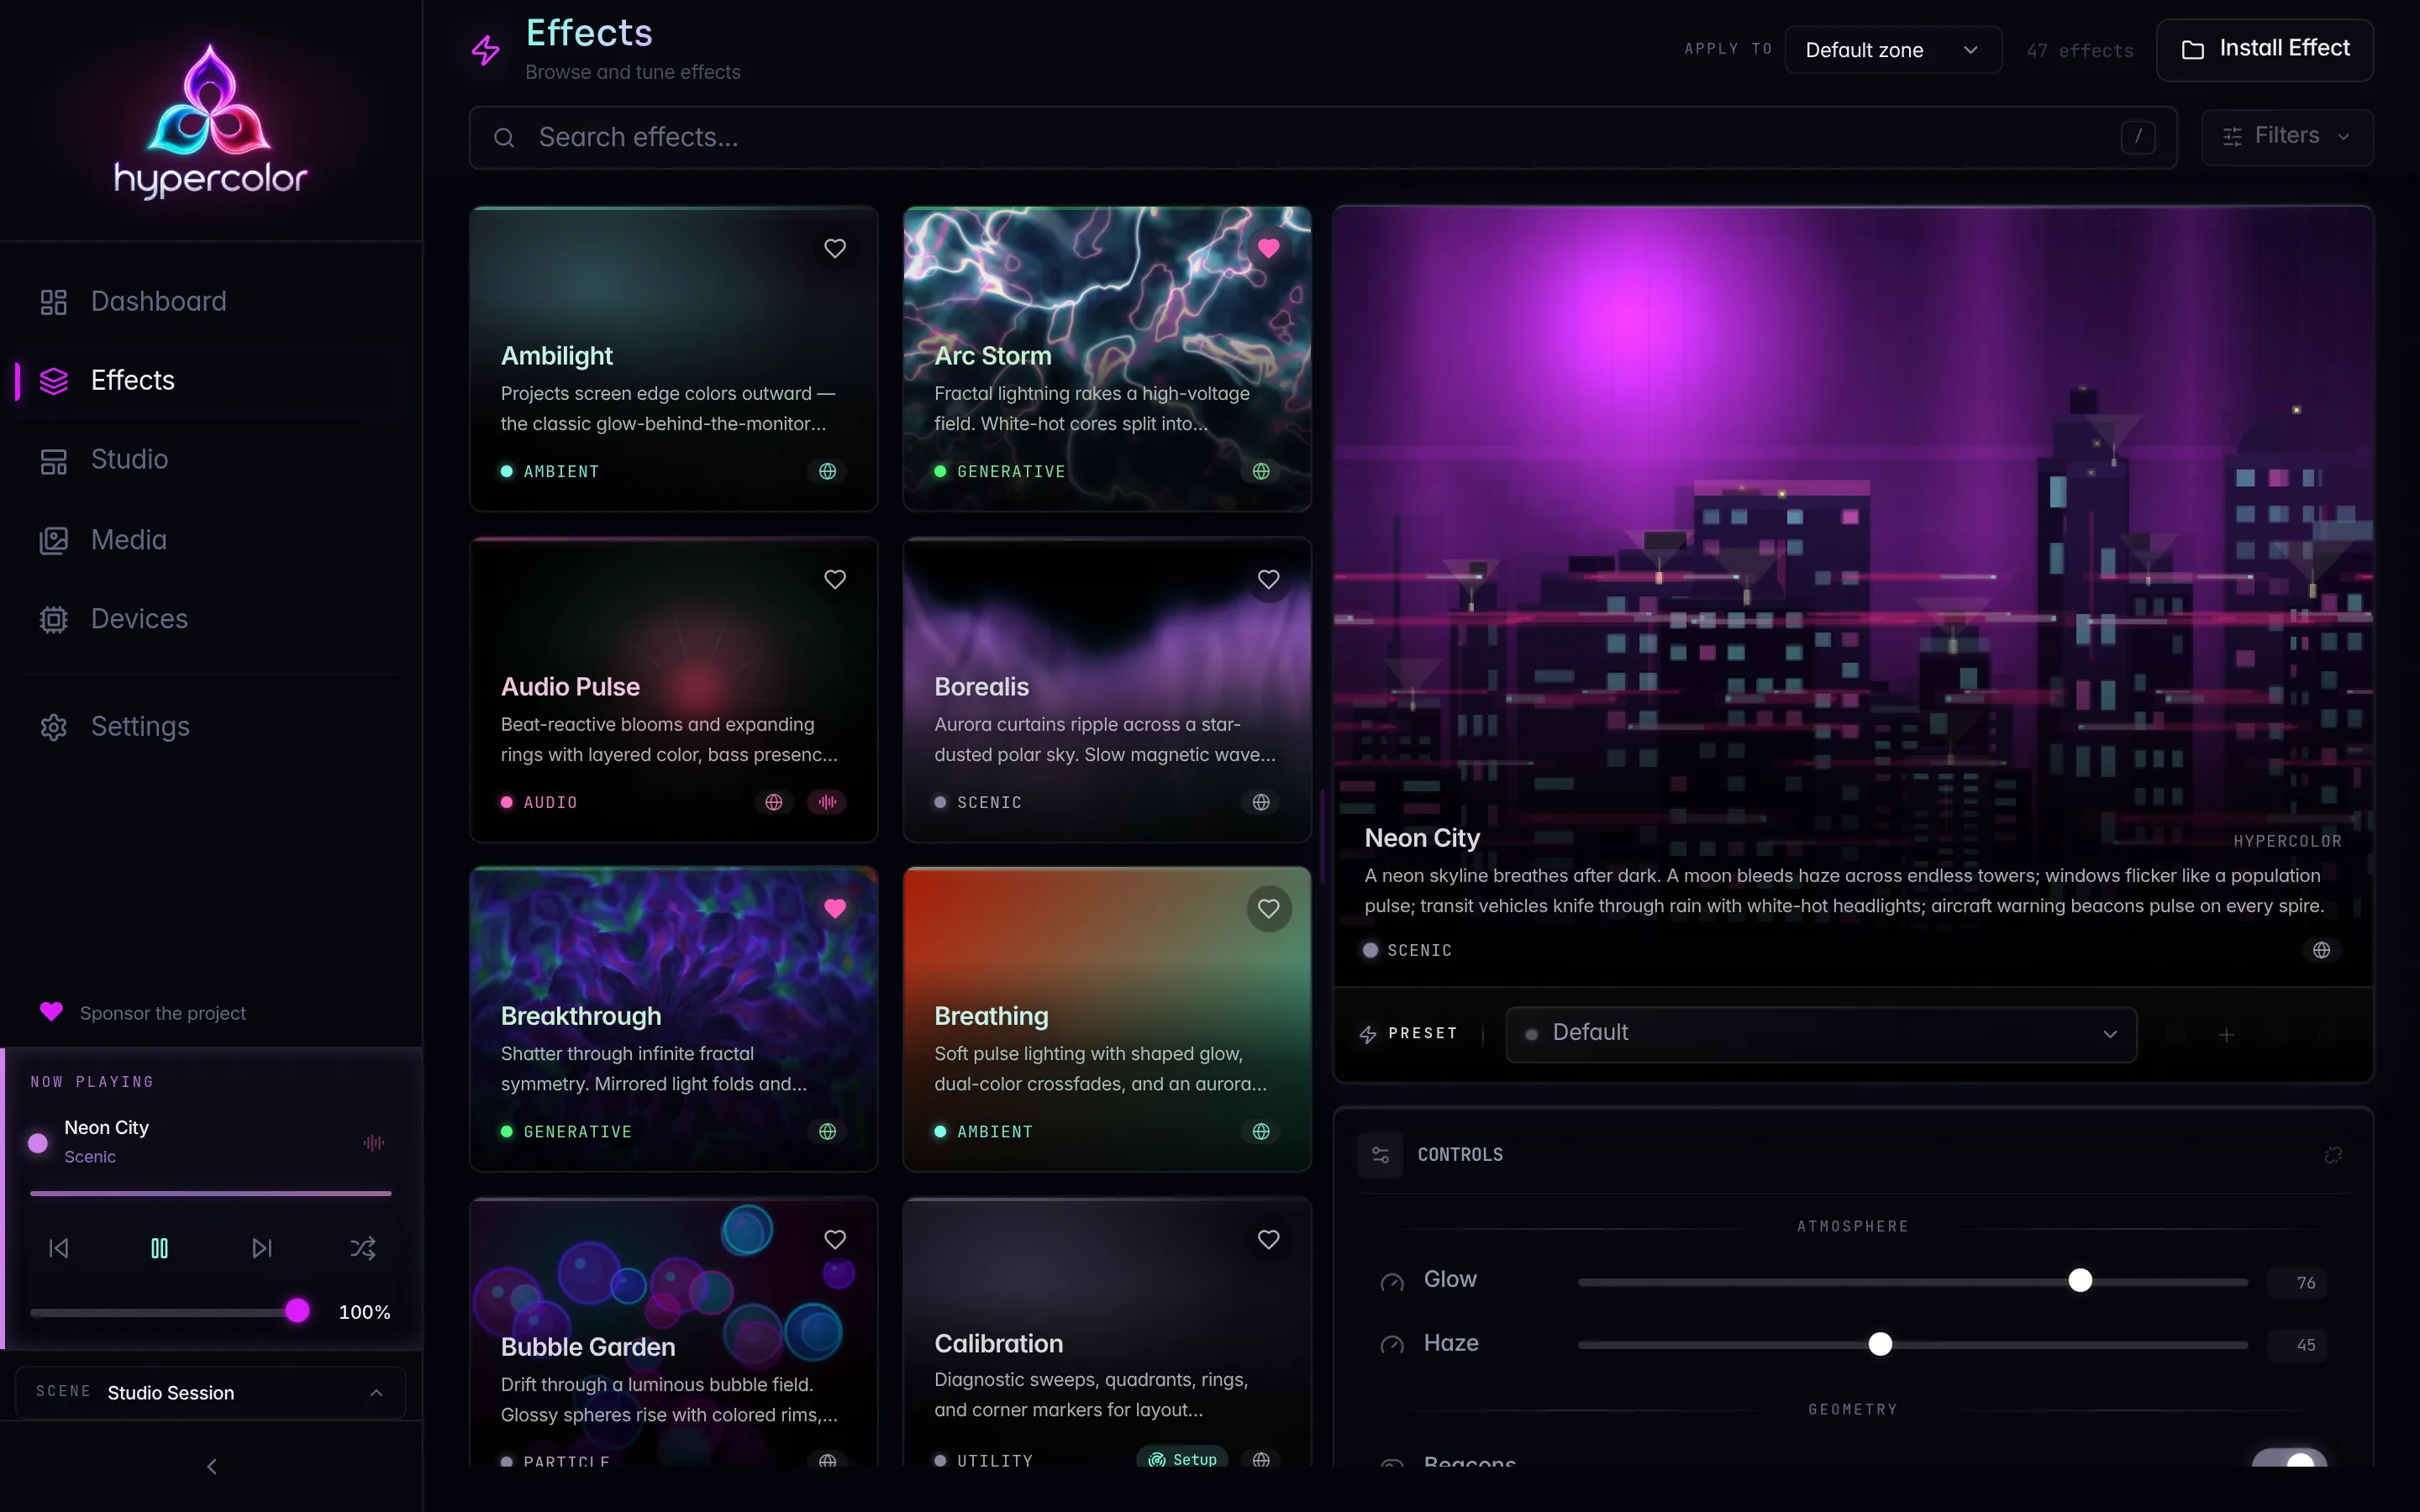
You do not need a single LED connected to develop effects. The daemon renders your effect into its canvas and streams a live preview over WebSocket regardless of what hardware is attached.
- Start the daemon:
just daemon(orjust daemon-servowhen working on faces and other Servo-rendered effects). bun run ship:daemonto upload your effect.- Open the web UI, find your effect in the browser, and apply it. The canvas preview shows exactly what gets sampled onto LEDs.
Display faces get a dedicated path: the face dev loop spins up virtual display simulators automatically so you can iterate on round LCD and strip layouts without the physical panels. That workflow lives in display faces.
When real devices are connected, your effect lights them the moment you apply it. Plug in hardware, discover your devices, and the same preview you were watching drives the LEDs.
#Apply it from an agent
Once your effect is installed, an AI agent can drive it over MCP. The shipped list_effects and set_effect tools discover and apply effects by name, and get_status reads current state first. MCP is off by default; enable it before configuring a client. The Agents section covers MCP setup, the 18 tools, 5 resources, and 4 prompts in full.
#Success checkpoint
You have shipped your first effect when all of these are true:
bun run buildwritesdist/<id>.htmlwith no errors.bun run validateends inResult: PASS.bun run ship:daemonprints✓ dist/<id>.html → <installed-path> (<Name>, N controls)against a running daemon.- Your effect appears in the web UI effects browser (or in
hypercolor effects list), and applying it animates the canvas preview.
#Add more effects
Inside an existing workspace, scaffold another effect without touching the others:
bunx hypercolor add ember --template canvas
bunx hypercolor add skyline --template shader --audio
Each call creates a new effects/<id>/ directory. Rebuild with bun run build and the new artifacts join dist/.
#Where to go next
- TypeScript canvas effects: the canonical
canvas()authoring reference covering lifecycle, stateful effects, palettes, and composite modes. - Controls: every control factory, shorthand inference, groups, presets, and the
speedmagic name. - Audio reactivity: the full per-frame audio surface.
- GLSL shader effects: WebGL2-via-Servo fragment shaders and the control-to-uniform mapping.
- Native Rust effects: the compiled-in
EffectRendererpath lives incrates/hypercolor-core/src/effect/builtin/, registered via that crate’smod.rs. - Color science: make colors that survive the trip to real LEDs.
- Dev workflow: the tight iterate-and-ship loop, watch mode, and both install paths in depth.