Agent workflows
Three worked agent playbooks for Hypercolor: set a calm scene, build and apply an effect, and diagnose a sick device.
This page turns the tools, resources, and CLI commands from the rest of the Agents section into three end-to-end playbooks an agent can follow verbatim. Each one is a real sequence of calls with the responses an agent should expect, drawn straight from the daemon’s MCP and CLI contracts. Every workflow opens the same way: read state before you touch it.
The MCP server ships this exact instruction to every client: start with get_status or the hypercolor://state resource, browse with list_effects before applying visuals, and prefer structured arguments and resource reads over guessing. The playbooks below are that discipline made concrete.
#Before you start
Two surfaces drive Hypercolor, and a complete workflow often uses both. The MCP server gives a model 18 structured tools, 5 browsable resources, and 4 prompts over Streamable HTTP at http://127.0.0.1:9420/mcp. The hypercolor CLI gives any agent that can run a shell command a machine-readable contract through --json output and exit codes. Local agents need no credentials, since loopback requests bypass auth entirely.
One thing trips agents up constantly, so fix it in your head now. There are two different hypercolor command-line tools:
- Bare
hypercoloris the Rust daemon CLI. It talks REST to the daemon on:9420and controls live lighting. bunx hypercolor, run inside an SDK effect workspace, is the Bun authoring CLI. It builds, validates, and installs HTML effects.
Workflow B below uses both, and crossing that line in the right order is the whole point of the playbook.
#Workflow A: set a calm scene
The most common request: “make the lights calm.” This is a read-then-act loop entirely over MCP. It mirrors the shipped mood_lighting prompt, which front-loads the same resource reads before recommending anything.
#1. Orient
Read the live state before changing anything. Either call the get_status tool or read the hypercolor://state resource.
// get_status → returns (abridged)
{
  "running": true,
  "paused": false,
  "brightness": 80,
  "fps": { "target": 60, "capacity": 60.0, "delivered": 59.8, "actual": 60.0 },
  "effect": { "id": "hyperspace", "name": "Hyperspace" },
  "effect_count": 59,
  "scene_count": 4,
  "devices": { "connected": 4, "total": 4, "total_leds": 432 }
}
Four devices, the engine is running, an effect is already live. Good baseline.
#2. Find a candidate
Browse the catalog instead of guessing an effect name. Filter list_effects to the ambient category, or pass a query.
// list_effects with { "category": "ambient", "limit": 10 }
{
  "effects": [
    {
      "id": "borealis",
      "name": "Borealis",
      "category": "ambient",
      "audio_reactive": false
    },
    {
      "id": "deep-current",
      "name": "Deep Current",
      "category": "ambient",
      "audio_reactive": false
    },
    {
      "id": "nebula-drift",
      "name": "Nebula Drift",
      "category": "ambient",
      "audio_reactive": false
    }
  ],
  "total": 3,
  "has_more": false,
  "limit": 10,
  "offset": 0
}
#3. Apply it
Call set_effect with one catalog identity. The query resolves by exact ID, exact case-insensitive name, or a unique case-insensitive name substring. The optional transition object accepts only { "type": "cut" }, and omission also means cut. Choose once, apply once, then tune the returned layer instead of reapplying candidates.
// set_effect with
{
  "query": "Borealis",
  "transition": { "type": "cut" }
}
// → returns (abridged)
{
  "zone": {
    "id": "0199...",
    "name": "Primary",
    "layers": [{ "id": "0199...", "source": { "type": "effect", "effect_id": "borealis", "controls": {} }]
  },
  "transition": { "type": "cut" },
  "output": { "applied": true }
}
Use the returned zone and layer IDs to tune the running layer atomically:
// adjust_controls with
{
  "zone": "0199...",
  "layer": "0199...",
  "values": { "speed": { "kind": "float", "value": 0.2 } }
}
An ambiguous substring returns structured candidates rather than selecting one silently. A display-face effect cannot be applied through set_effect; for LCD faces use set_display_face instead.
#4. Settle the brightness
set_brightness takes an integer percentage from 0 to 100, not a 0.0 to 1.0 float.
// set_brightness with { "brightness": 35 }#5. Prepare it for automation (optional)
The MCP create_scene tool creates an empty reusable scene with a seeded Primary zone. It takes a name plus optional description, enabled state, and mutation mode. Creating a scene does not capture the current output. Configure the new scene explicitly, then let an external automation system call activate_scene when its own conditions match.
// create_scene with
{
  "name": "Evening Calm",
  "description": "Calm lighting for an external sunset automation"
}
// activate_scene with { "name": "Evening Calm" }
// set_effect with { "query": "Borealis" }
// adjust_controls with the returned zone and layer identities
Scenes are whole-rig configurations, not per-room settings. Flexible canvas partitions inside a scene are zones, covered in the Studio docs. To capture the live runtime state exactly, use hypercolor scenes snapshot "Evening Calm" through the CLI.
The same loop in the CLI, for an agent that shells out rather than speaking MCP:
hypercolor status -j
hypercolor effects list --category ambient -j
hypercolor effects activate "calm blue borealis" --speed 2
hypercolor brightness set 35
Note the CLI surface differs from the MCP tool. The activate verb uses --speed, --intensity, and repeatable --param key=value shorthands. The CLI’s scenes create is lighter than the MCP tool, taking a name plus optional --description, --enabled, and --mutation-mode flags.
#Workflow B: build an effect, then apply it
This is the playbook that crosses both CLIs. You author an HTML effect with the SDK, install it into the daemon, then apply it. There is no MCP tool to install or rescan effects, so this path has to cross from the authoring CLI to the daemon CLI or an MCP set_effect call.
Inside a scaffolded effect workspace, bunx hypercolor resolves the workspace’s hypercolor dependency: the npm release by default, or a local build when the workspace was scaffolded with a file: SDK spec. These instructions assume you are in such a workspace.
#1. Build in the SDK workspace
Run the authoring CLI from your effect project. This is bunx hypercolor, the Bun tool, not the daemon CLI.
bunx hypercolor build --allThe build emits self-contained HTML into the workspace dist/ directory.
#2. Validate
Validate the built artifact before it goes near the daemon. Validation catches the common authoring errors, like a missing audio declaration or a shader uniform mismatch, at build time rather than at render time.
bunx hypercolor validate dist/aurora.html#3. Install into the daemon
Install uploads the validated effect to the running daemon through POST /api/v1/effects/install.
bunx hypercolor install dist/aurora.html --daemon#4. Rescan, then apply
After installing, the daemon picks up the new effect through a rescan. There is no MCP rescan tool, so an agent uses the daemon CLI.
hypercolor effects rescan
# → Rescanned: 3 added, 1 updated, 0 removed
hypercolor effects list --search aurora -j
Then apply it through whichever surface the agent already speaks. Over the daemon CLI:
hypercolor effects activate "Aurora" --param speed=7Or over MCP, with set_effect:
// set_effect with { "query": "Aurora", "controls": { "speed": 7 } }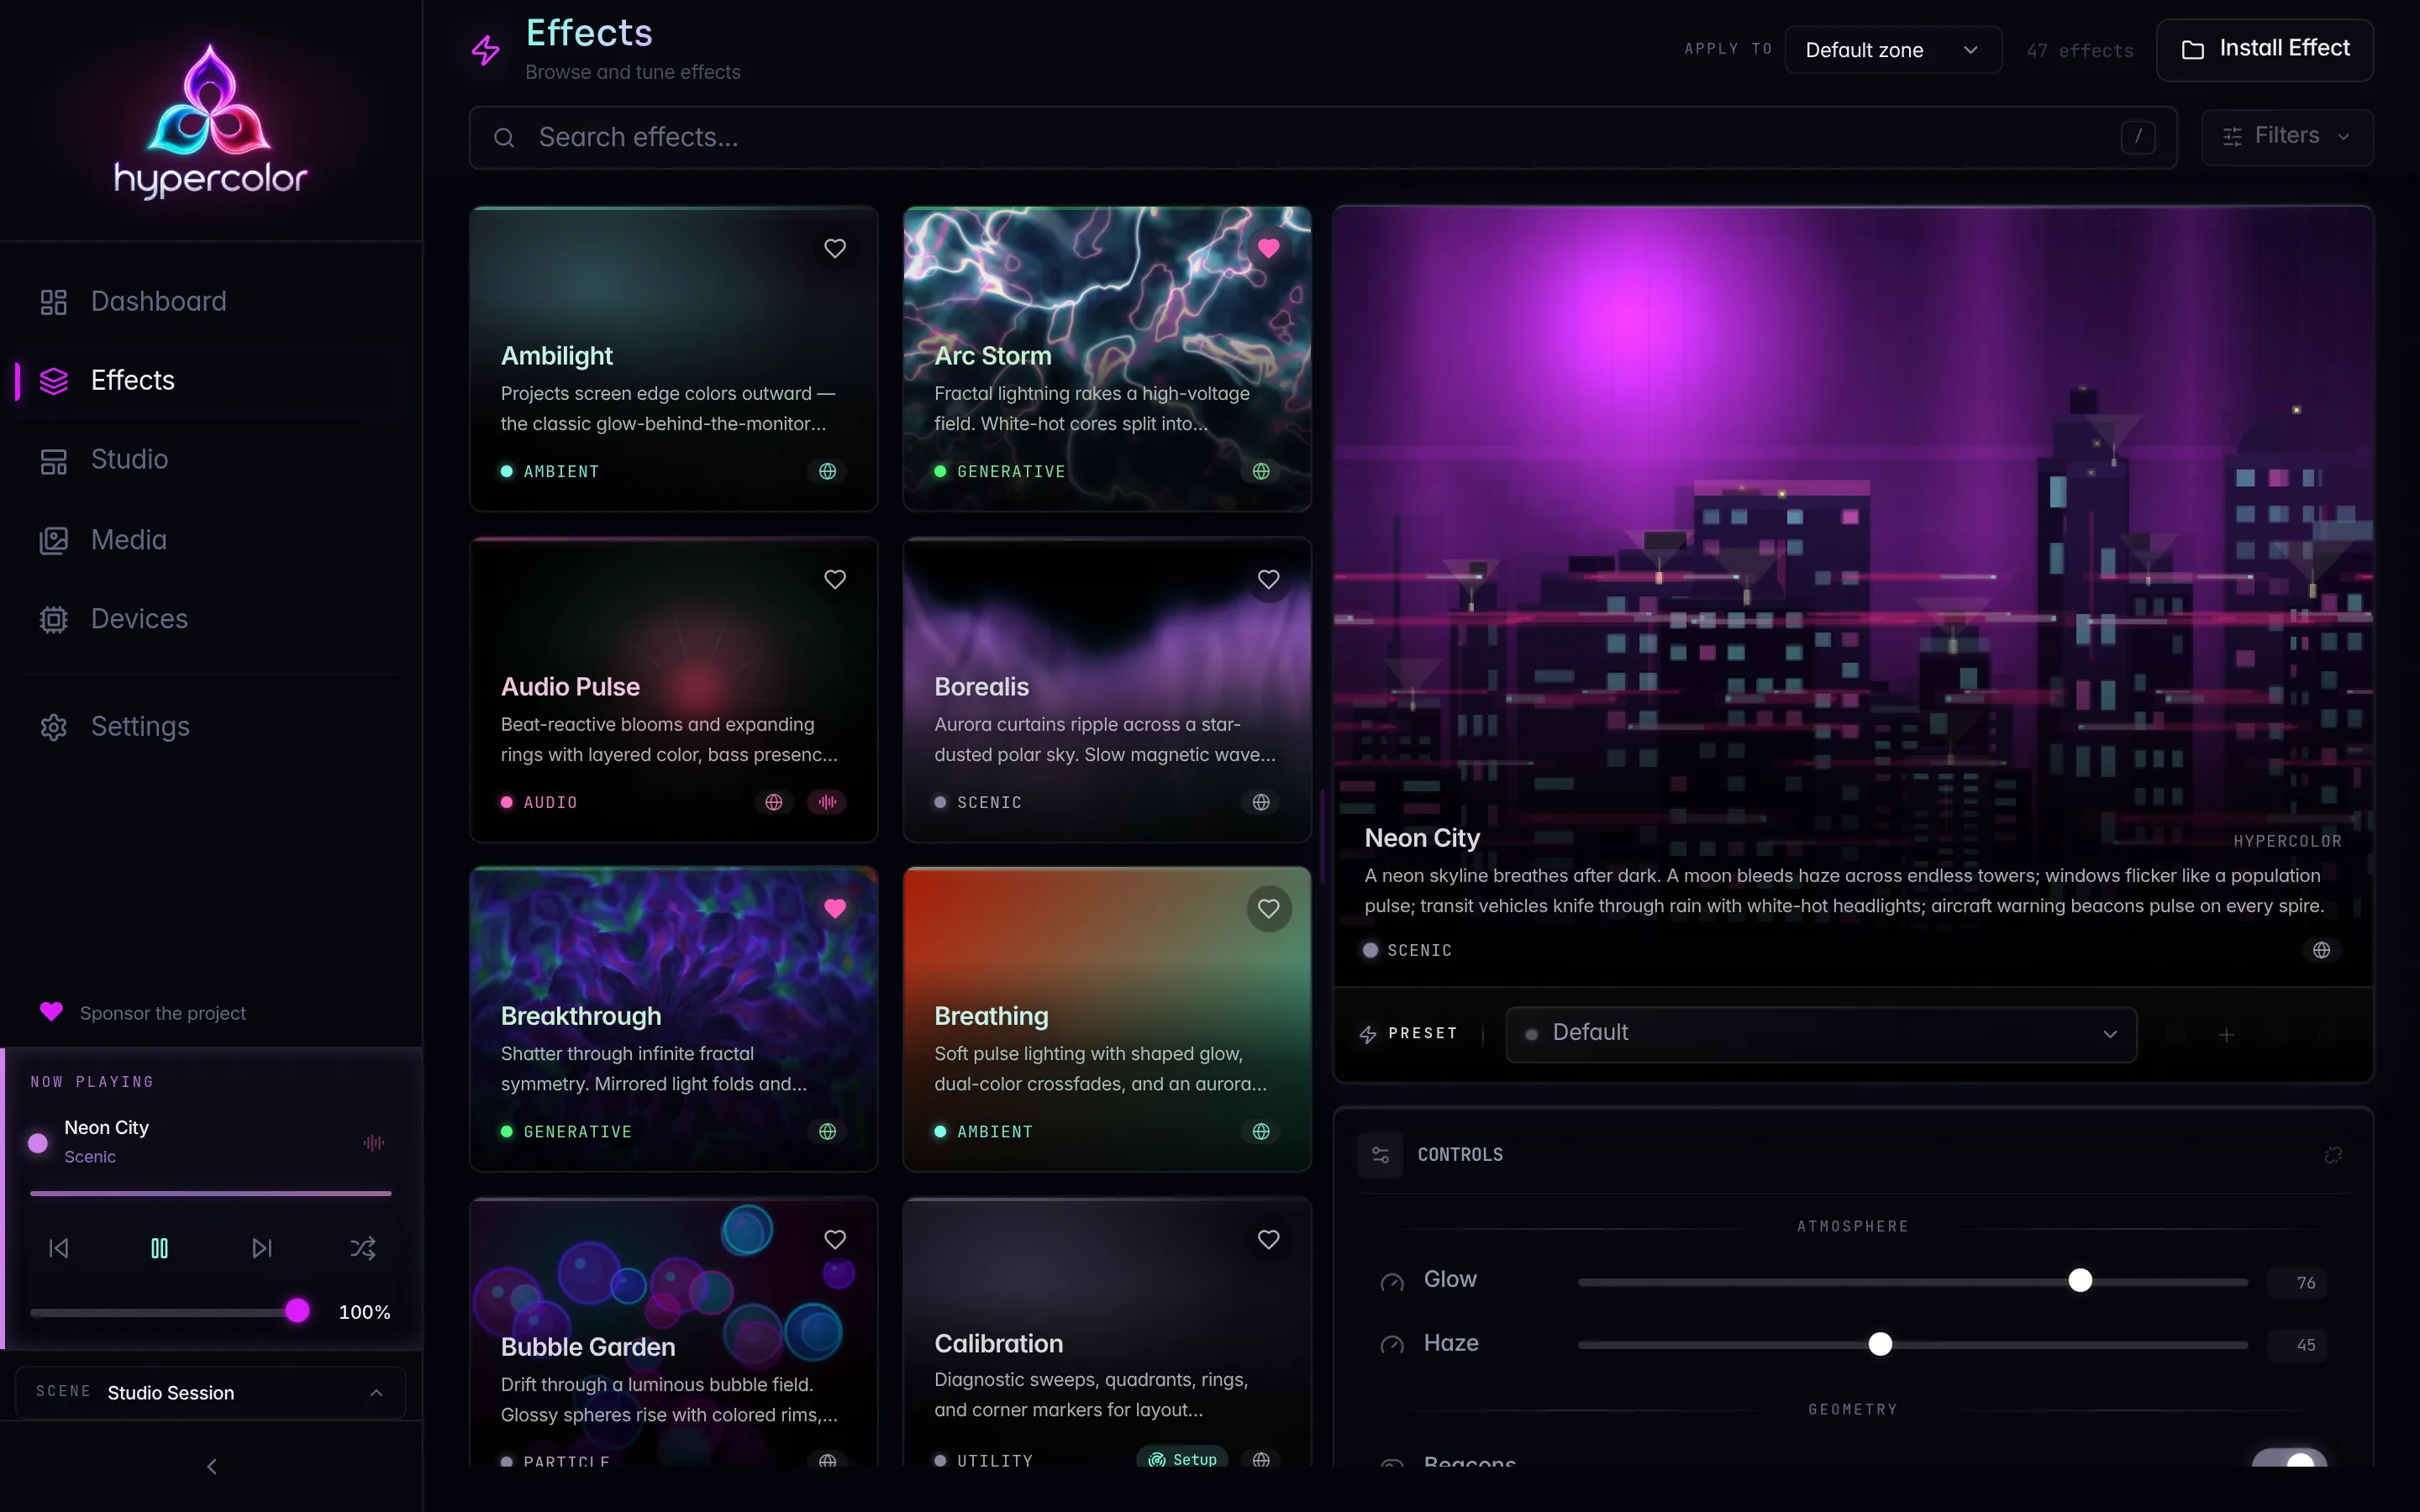
The install-and-apply path is the clearest case where a single agent job spans both CLIs. The SDK authoring CLI gets the effect onto the daemon; the daemon CLI or an MCP tool makes it live. Building HTML effects is its own topic with its own section.
#Workflow C: diagnose a sick device
A device stops responding, or the frame rate drops. This playbook narrows from the whole system to the offending device, reading live metrics at each step. It mirrors the shipped troubleshoot prompt, which runs the same diagnostic descent.
#1. Check the whole system
Start broad. get_status shows whether the engine is running and whether the delivered frame rate is tracking the target.
// get_status → returns (abridged)
{
  "running": true,
  "fps": { "target": 60, "capacity": 22.4, "delivered": 21.8, "actual": 22.4 },
  "devices": { "connected": 3, "total": 4, "total_leds": 432 }
}
Capacity well below target and one device missing from the connected count. Two threads to pull.
#2. Find the offender
Filter get_devices by connection status to surface the disconnected device.
// get_devices with { "status": "disconnected" } → returns (abridged)
{
  "devices": [
    {
      "id": "0197a2f4-6c1e-7d3a-9b02-4f8e1c5a7d90",
      "name": "Desk Strip",
      "state": "disconnected",
      "transport": "network",
      "led_count": 90
    }
  ],
  "summary": { "total": 1, "connected": 0, "total_leds": 90 }
}
The same query over the CLI:
hypercolor devices list --status disconnected -j#3. Run diagnostics
Call the diagnose tool. It takes no arguments and runs the canonical default-safe diagnostic pass. The tool returns the same checks, summary, and snapshot payload as the REST diagnostic collector, including render timing and per-device output queues.
// diagnose with {} → returns (abridged)
{
  "checks": [
    {
      "category": "devices",
      "name": "output_queues",
      "status": "warning",
      "detail": "queues=4, lagging=1, dropped_total=184, errors_total=41"
    }
  ],
  "summary": { "passed": 8, "warnings": 1, "failed": 0 },
  "snapshot": {
    "device_output": {
      "items": [
        {
          "id": "0197a2f4-6c1e-7d3a-9b02-4f8e1c5a7d90",
          "delivered_fps": 0,
          "accepted_fps": 60,
          "coalesced_backend_overrun": 184,
          "transport_failed": 41
        }
      ]
    }
  }
}
The snapshot.device_output.items[] block is the signal: accepted_fps of 60 against delivered_fps of 0, with climbing backend-overrun coalescing and transport failures, means the render loop is producing frames the transport cannot deliver. That is a connectivity failure, not a rendering one.
The CLI equivalent runs named checks and can write a full report file for a bug report:
hypercolor diagnose --check devices --check render -j
hypercolor diagnose --report ./hypercolor-report.json --system#4. Interpret and act
Read the checks before acting. A network device that drops to delivered_fps: 0 with rising transport failures is usually outside the daemon’s control: powered down, on a different VLAN, or behind AP isolation. The fix lives in Network devices, not in a nonexistent reconnect tool. A device that is connected but rendering wrong colors is a different class of problem, covered in Color science for LEDs. Distinguishing the two is exactly what the diagnostic snapshot lets an agent do.
The pattern repeats across all three workflows: orient on shared state, narrow with a filtered query, act with a structured call, and verify by reading state back. An agent that follows it never operates blind.
#Where to go next
- Tools reference: Every tool’s full argument schema, defaults, enums, and read-only and idempotency flags.
- Resources reference: The
hypercolor://resources these workflows read, with payload shapes and freshness notes. - Prompt templates: The
mood_lighting,troubleshoot, andsetup_automationprompts these playbooks mirror. - CLI scripting for agents: The full agent-facing CLI contract: JSON output, exit codes, env vars, and jq recipes.
- CLI reference: The complete command tree behind every shell example above.